Getting Started

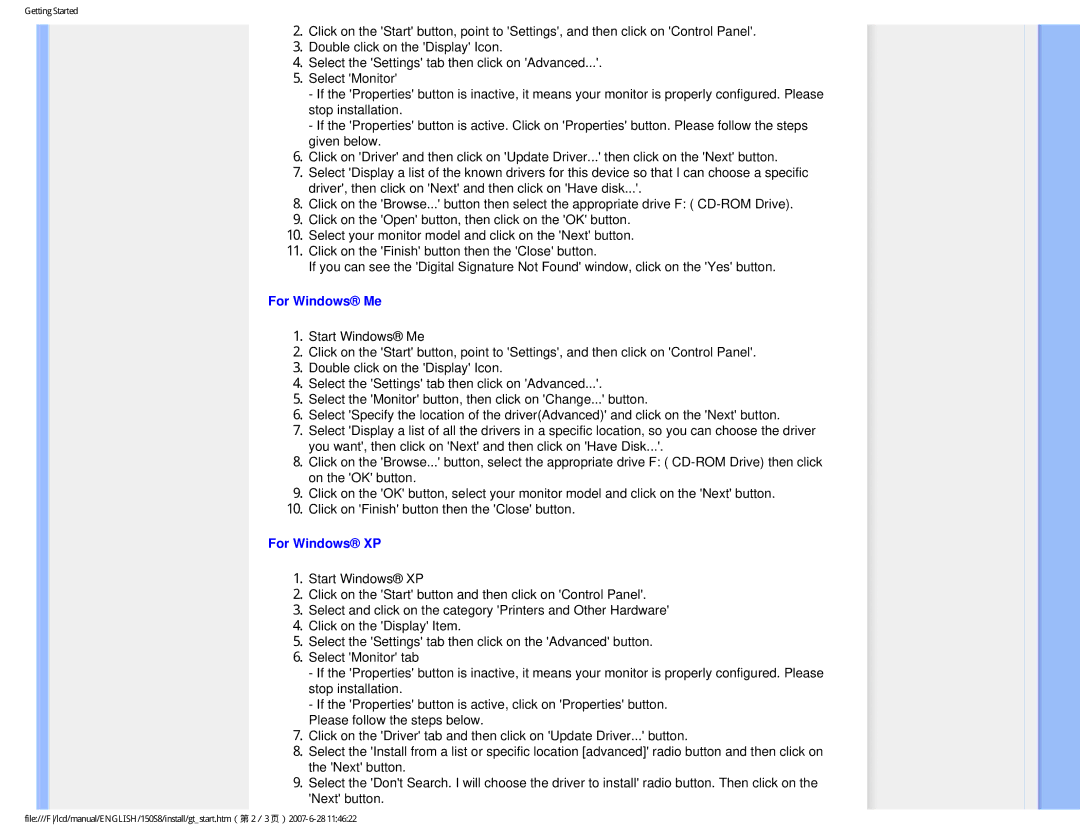
2.Click on the 'Start' button, point to 'Settings', and then click on 'Control Panel'.

3.Double click on the 'Display' Icon.

4.Select the 'Settings' tab then click on 'Advanced...'.

5.Select 'Monitor'

-If the 'Properties' button is inactive, it means your monitor is properly configured. Please stop installation.

-If the 'Properties' button is active. Click on 'Properties' button. Please follow the steps given below.

6.Click on 'Driver' and then click on 'Update Driver...' then click on the 'Next' button.

7.Select 'Display a list of the known drivers for this device so that I can choose a specific driver', then click on 'Next' and then click on 'Have disk...'.

8.Click on the 'Browse...' button then select the appropriate drive F: ( CD-ROM Drive).

9.Click on the 'Open' button, then click on the 'OK' button.

10.Select your monitor model and click on the 'Next' button.

11.Click on the 'Finish' button then the 'Close' button.

If you can see the 'Digital Signature Not Found' window, click on the 'Yes' button.

For Windows® Me

1.Start Windows® Me

2.Click on the 'Start' button, point to 'Settings', and then click on 'Control Panel'.

3.Double click on the 'Display' Icon.

4.Select the 'Settings' tab then click on 'Advanced...'.

5.Select the 'Monitor' button, then click on 'Change...' button.

6.Select 'Specify the location of the driver(Advanced)' and click on the 'Next' button.

7.Select 'Display a list of all the drivers in a specific location, so you can choose the driver you want', then click on 'Next' and then click on 'Have Disk...'.

8.Click on the 'Browse...' button, select the appropriate drive F: ( CD-ROM Drive) then click on the 'OK' button.

9.Click on the 'OK' button, select your monitor model and click on the 'Next' button.

10.Click on 'Finish' button then the 'Close' button.

For Windows® XP

1.Start Windows® XP

2.Click on the 'Start' button and then click on 'Control Panel'.

3.Select and click on the category 'Printers and Other Hardware'

4.Click on the 'Display' Item.

5.Select the 'Settings' tab then click on the 'Advanced' button.

6.Select 'Monitor' tab

-If the 'Properties' button is inactive, it means your monitor is properly configured. Please stop installation.

-If the 'Properties' button is active, click on 'Properties' button.

Please follow the steps below.

7.Click on the 'Driver' tab and then click on 'Update Driver...' button.

8.Select the 'Install from a list or specific location [advanced]' radio button and then click on the 'Next' button.

9.Select the 'Don't Search. I will choose the driver to install' radio button. Then click on the 'Next' button.

file:///F/lcd/manual/ENGLISH/150S8/install/gt_start.htm(第 2/3 页)2007-6-28 11:46:22

Page 51
Image 51
Philips 150S8 user manual For Windows Me, For Windows XP

150S8 specifications

The Philips 150S8 monitor is a reliable and versatile display option that caters to both professional and everyday users, merging practical performance with sleek design. Featuring a 15-inch LCD screen, the 150S8 boasts a resolution of 1024 x 768 pixels, which ensures crisp image quality that is suitable for various applications, from office tasks to casual use.

One of the standout features of the Philips 150S8 is its excellent color accuracy and vibrant visuals. The monitor leverages advanced display technologies that enhance the viewing experience by delivering brighter, sharper images with improved contrast ratios. This is particularly beneficial for graphic design, photo editing, and other visual media work where color fidelity is paramount.

The Philips 150S8 is equipped with a fast response time, reducing motion blur during quick transitions and making it a good choice for video playback and gaming, even at the moderate size. With an aspect ratio of 4:3, users get a traditional widescreen experience, making it easy to manage multiple windows and applications simultaneously.

Moreover, ergonomics play an important role in the design of the Philips 150S8. The monitor features adjustable settings for height, swivel, and tilt, allowing users to customize their setup for optimal viewing comfort. This focus on user wellness extends to its low blue light technology, which effectively reduces eye strain during prolonged usage sessions, an essential consideration for modern work environments.

Connectivity is also a strong point for the Philips 150S8. It offers a range of input options, including VGA and DVI ports, ensuring compatibility with a variety of devices. This flexibility allows users to connect the monitor seamlessly to their computers or laptops without sacrificing performance.

In terms of energy efficiency, the Philips 150S8 is designed with sustainability in mind. It conforms to various environmental standards, contributing to reduced power consumption, which is an increasingly important factor for eco-conscious consumers.

Overall, the Philips 150S8 monitor combines functionality, user-friendly features, and modern technology, making it an excellent addition to any workspace or home office environment. Its balance of performance and ergonomics ensures that it can meet the demands of a wide range of users without compromising on quality.