Step A
Connect power
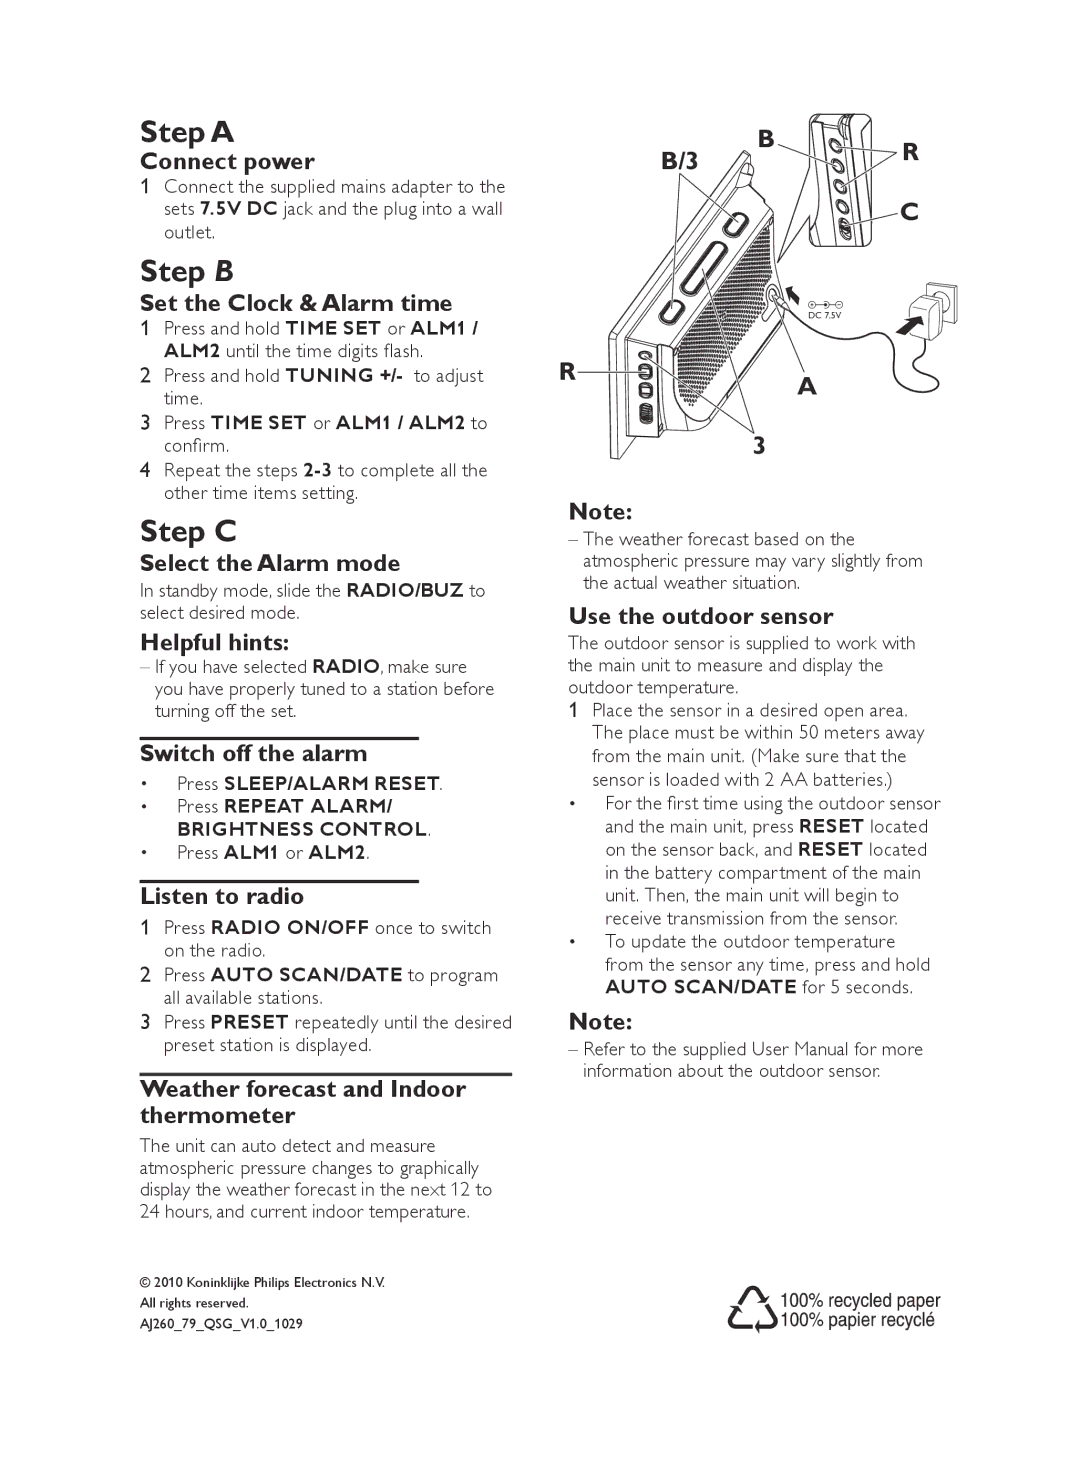
1Connect the supplied mains adapter to the sets 7.5V DC jack and the plug into a wall outlet.
Step B
Set the Clock & Alarm time
1Press and hold TIME SET or ALM1 / ALM2 until the time digits flash.
2Press and hold TUNING +/- to adjust time.
3Press TIME SET or ALM1 / ALM2 to confirm.
4Repeat the steps
Step C
Select the Alarm mode
In standby mode, slide the RADIO/BUZ to select desired mode.
Helpful hints:
–If you have selected RADIO, make sure you have properly tuned to a station before turning off the set.
Switch off the alarm
•• Press SLEEP/ALARM RESET.
•• Press REPEAT ALARM/
BRIGHTNESS CONTROL.
•• Press ALM1 or ALM2.
Listen to radio
1Press RADIO ON/OFF once to switch on the radio.
2Press AUTO SCAN/DATE to program all available stations.
3Press PRESET repeatedly until the desired preset station is displayed.
Weather forecast and Indoor thermometer
The unit can auto detect and measure atmospheric pressure changes to graphically display the weather forecast in the next 12 to 24 hours, and current indoor temperature.
B/3 | B | R |
| ||
|
| |
|
| C |
DC 7.5V
RA
3
Note:
–The weather forecast based on the atmospheric pressure may vary slightly from the actual weather situation.
Use the outdoor sensor
The outdoor sensor is supplied to work with the main unit to measure and display the outdoor temperature.
1Place the sensor in a desired open area. The place must be within 50 meters away
from the main unit. (Make sure that the sensor is loaded with 2 AA batteries.)
•• For the first time using the outdoor sensor and the main unit, press RESET located on the sensor back, and RESET located in the battery compartment of the main unit. Then, the main unit will begin to receive transmission from the sensor.
•• To update the outdoor temperature from the sensor any time, press and hold AUTO SCAN/DATE for 5 seconds.
Note:
–Refer to the supplied User Manual for more information about the outdoor sensor.
© 2010 Koninklijke Philips Electronics N.V. All rights reserved. AJ260_79_QSG_V1.0_1029
