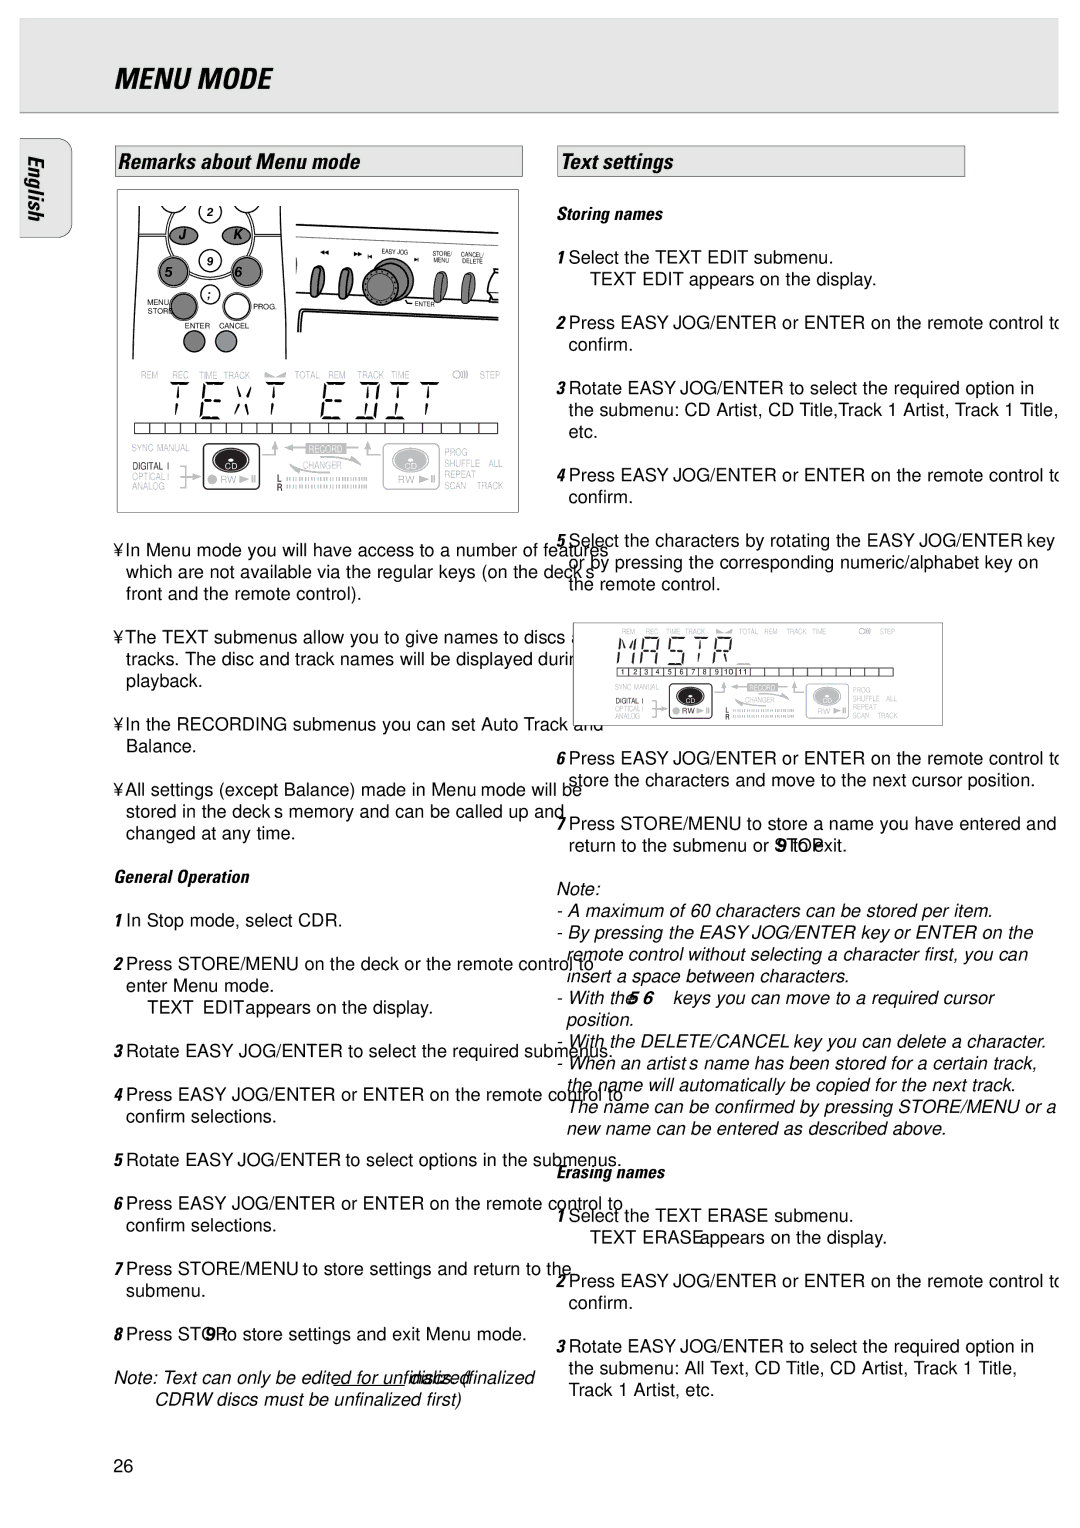
CDR775 specifications
The Philips CDR775 is a distinguished audio component that seamlessly blends elegance with advanced technology, primarily focusing on CD recording. Launched as a part of Philips’ effort to bring CD-R technology to a broader audience, the CDR775 stands out in the crowded market of audio devices due to its user-friendly features, superior sound quality, and durability.At the heart of the CDR775 lies its dual functionality: it acts as both a CD recorder and a standard CD player. This dual role is a significant advantage for audio enthusiasts who wish to create their own music compilations while also enjoying commercial CDs. The device supports CD-R and CD-RW formats, allowing users the flexibility to either create permanent discs or re-record over them, resulting in greater versatility for those who frequently update their music collections.
One of the key technologies incorporated in the Philips CDR775 is its digital signal processing. This technology ensures that audio quality is maintained throughout the recording process, minimizing distortion and producing crisp sound reproduction. Furthermore, the unit features advanced error correction mechanisms, which are vital in preserving audio integrity during playback and recording.
The user interface is designed for simplicity, featuring an intuitive control panel that makes operation straightforward even for those who are less technically inclined. The large display offers clear information about track status, remaining recording time, and other critical function indicators. This attention to usability is one of the factors that has made the CDR775 a popular choice among casual users and serious audiophiles alike.
In terms of connectivity, the CDR775 is equipped with various input and output options, including RCA jacks for analog connections and digital optical inputs. This versatility allows it to integrate seamlessly with existing audio systems, making it an ideal choice for home studios or music listening setups.
In summary, the Philips CDR775 is a robust and versatile CD recorder that appeals to a wide range of users. Its combination of dual functionality, superior audio processing technology, user-friendly design, and flexible connectivity options make it a notable product in the realm of home audio equipment. Whether you are archiving your favorite records or simply enjoying high-quality playback, the CDR775 is engineered to deliver an exceptional audio experience.