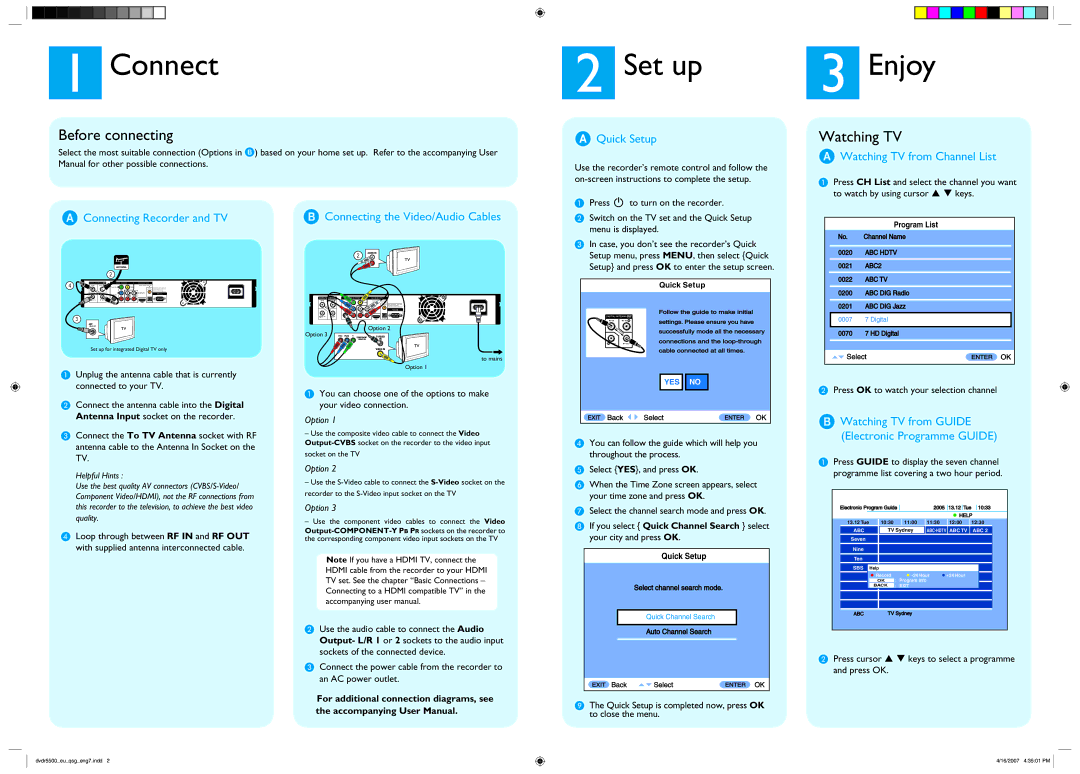
DVR5100, DVR5100/75, DVR7100 specifications
The Philips DVR7100, DVR5100/75, and DVR5100 are part of Philips' line of advanced digital video recorders designed to enhance home entertainment experiences. These devices allow users to record, pause, and playback their favorite television shows and movies with unparalleled convenience and quality.The Philips DVR7100 offers a robust set of features, including a large hard drive capacity that allows for extensive recording times. With its intuitive user interface, users can easily navigate through recorded programs and scheduled recordings. The DVR7100 supports various video formats, enabling playback of recorded material in high-definition quality. Its built-in TV guide makes it easy for users to browse upcoming shows and set recordings with just a few clicks.
In comparison, the DVR5100/75 and DVR5100 models similarly boast impressive capabilities. Both models support dual recording, meaning users can record two programs at once while watching another, maximizing viewing options. The DVR5100/75 model comes with a sleek design and an easy-to-understand setup process, making it user-friendly for both tech-savvy individuals and those less familiar with technology.
All three models incorporate advanced compression technologies that optimize storage space without sacrificing video quality. This ensures that users can store more content while enjoying crisp visuals and clear audio. Moreover, the devices support various connectivity options, including HDMI and composite outputs, making them compatible with a range of television systems.
Another standout characteristic is the time-shift feature available on these DVRs, allowing users to pause live television and resume from where they left off. This functionality provides unprecedented control over viewing experiences, especially during busy household moments when interruptions are common.
In summary, the Philips DVR7100, DVR5100/75, and DVR5100 exemplify the best in digital recording technology, offering features like dual recording, extensive storage options, and user-friendly interfaces. With their advanced capabilities, these models cater to a diverse audience, making it easy for anyone to enjoy their favorite shows and movies with minimal hassle. These devices are not just recorders; they are gateways to a personalized viewing experience, allowing users to take charge of how they engage with media in their homes.

