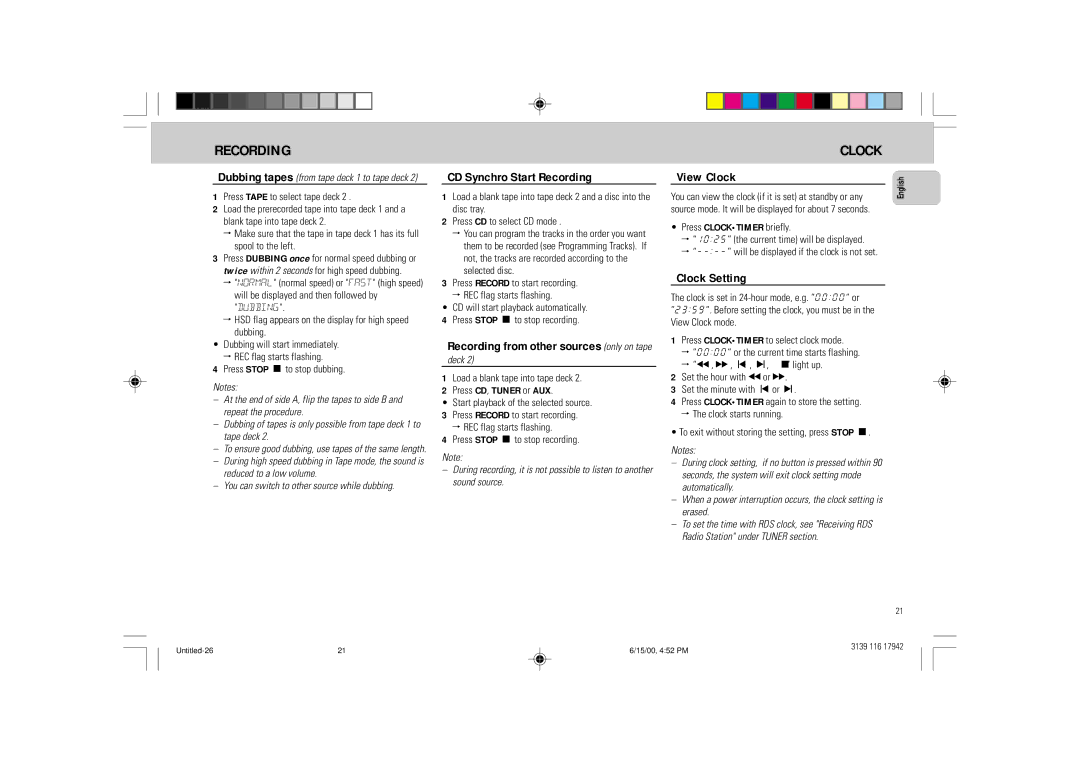
RECORDING

Dubbing tapes (from tape deck 1 to tape deck 2)

1Press TAPE to select tape deck 2 .

2Load the prerecorded tape into tape deck 1 and a blank tape into tape deck 2.

Make sure that the tape in tape deck 1 has its full spool to the left.

3Press DUBBING once for normal speed dubbing or twice within 2 seconds for high speed dubbing.

"NORMAL" (normal speed) or "FAST" (high speed) will be displayed and then followed by "DUBBING".

HSD flag appears on the display for high speed dubbing.

Dubbing will start immediately. REC flag starts flashing.

4Press STOP Çto stop dubbing.

Notes:

At the end of side A, flip the tapes to side B and repeat the procedure.

Dubbing of tapes is only possible from tape deck 1 to tape deck 2.

To ensure good dubbing, use tapes of the same length.

During high speed dubbing in Tape mode, the sound is reduced to a low volume.

You can switch to other source while dubbing.

CD Synchro Start Recording

1Load a blank tape into tape deck 2 and a disc into the disc tray.

2Press CD to select CD mode .

You can program the tracks in the order you want them to be recorded (see Programming Tracks). If not, the tracks are recorded according to the selected disc.

3Press RECORD to start recording.

REC flag starts flashing.

CD will start playback automatically.

4 Press STOP Çto stop recording.

Recording from other sources (only on tape

deck 2)

1Load a blank tape into tape deck 2.

2Press CD, TUNER or AUX.

Start playback of the selected source.

3 Press RECORD to start recording.

REC flag starts flashing.

4Press STOP Çto stop recording.

Note:

During recording, it is not possible to listen to another sound source.

CLOCK

View Clock

English

You can view the clock (if it is set) at standby or any


source mode. It will be displayed for about 7 seconds.


Press CLOCK•TIMER briefly.

10:25” (the current time) will be displayed.

--:-- will be displayed if the clock is not set.

Clock Setting

The clock is set in 24-hour mode, e.g. “00:00“ or

23:59“. Before setting the clock, you must be in the View Clock mode.

1Press CLOCK•TIMER to select clock mode.

00:00” or the current time starts flashing.

à, á, í, ë, Ç” light up.

2Set the hour with àor á.

3Set the minute with íor ë.

4Press CLOCK•TIMER again to store the setting.

The clock starts running.

To exit without storing the setting, press STOP Ç.

Notes:

During clock setting, if no button is pressed within 90 seconds, the system will exit clock setting mode automatically.

When a power interruption occurs, the clock setting is erased.

To set the time with RDS clock, see "Receiving RDS Radio Station" under TUNER section.

21

Untitled-26

21

6/15/00, 4:52 PM

3139 116 17942


Page 21
Image 21
Philips FW 358C manual CD Synchro Start Recording, View Clock, Clock Setting, Recording from other sources only on tape

FW 358C specifications

The Philips FW 358C is a compact and versatile audio system that boasts an array of features designed to elevate the listening experience. This system is primarily known for its user-friendly interface and a rich sound profile that caters to various musical tastes.

One of the standout features of the FW 358C is its powerful CD player, which supports multiple formats including CD, CD-R, and CD-RW. This capability ensures users can enjoy their favorite albums, as well as personalized collections without hassle. With a built-in tuner, listeners can access their favorite radio stations, whether they prefer FM or AM broadcasts. The system's preset function allows easy recall of favorite stations, making it convenient for everyday use.

Additionally, the FW 358C features an innovative Digital Sound Control technology. This technology allows users to select from various preset modes optimized for different music genres, ensuring that the audio output harmonizes beautifully with pop, rock, jazz, or classical music. The Bass Reflex speaker system delivers deep, rich bass while maintaining clarity in the mid and high ranges, enriching the listening experience.

Connectivity is another significant aspect of the FW 358C. It comes equipped with an easy access USB port, allowing users to play MP3 files directly from USB drives. This compatibility makes it incredibly convenient for those who prefer digital music libraries. Furthermore, the auxiliary input allows for connection with other audio devices, such as smartphones or tablets, providing a seamless way to enjoy music from different sources.

In terms of design, the Philips FW 358C has a sleek and modern look that fits well in any home decor. Its compact size makes it ideal for limited spaces, whether in a living room, bedroom, or office setting.

The remote control included with the system allows for convenient operation from a distance, enhancing the user experience. With a focus on both functionality and aesthetic appeal, the Philips FW 358C is an excellent choice for anyone seeking a reliable, all-in-one audio solution that adapts to their listening preferences. This system is designed not only for music lovers but also for anyone who appreciates quality sound production in a stylish package.