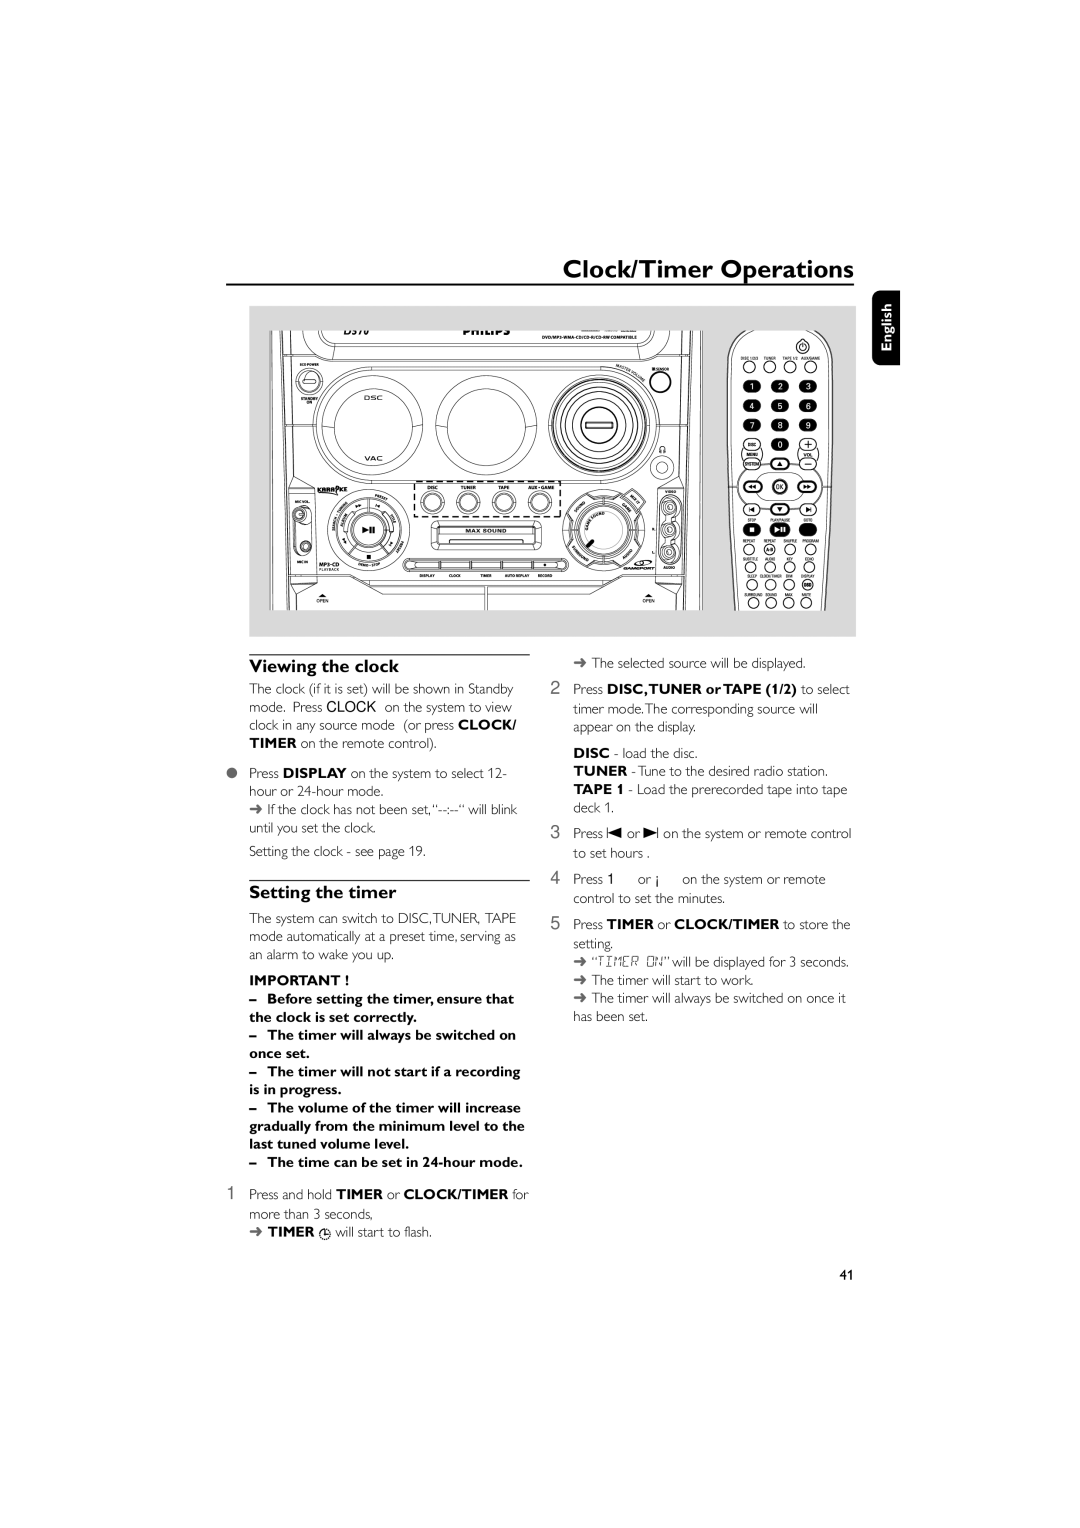
FWD570 specifications
The Philips FWD570 is a versatile and innovative home audio system, designed to deliver high-quality sound and an impressive user experience. This compact system combines various features, making it an ideal choice for music enthusiasts and casual listeners alike.One of the standout features of the Philips FWD570 is its powerful sound output, which is achieved through its well-engineered speaker system. The FWD570 includes enhanced bass technology, providing deep, resonant lows that enrich the listening experience. With a built-in amplifier, it ensures that every note is clear and vibrant, perfect for a range of genres from classical to contemporary pop.
Connectivity is a key strength of the FWD570. It comes with multiple input options, including CD, USB, and Bluetooth, allowing users to play their favorite tracks from various sources. The Bluetooth functionality makes it incredibly user-friendly, as it enables streaming from smartphones, tablets, and other devices wirelessly. This feature allows for easy access to streaming services and personal music libraries, providing a seamless way to enjoy music.
In addition to music playback, the Philips FWD570 also offers radio functionality, complete with FM tuning. This feature gives users access to a wide array of radio stations, offering a diverse range of content beyond just music. The LCD display adds convenience, providing real-time information on tracks and radio stations.
Another notable aspect of this audio system is its design. The Philips FWD570 boasts a sleek and modern appearance, making it a stylish addition to any room. Its compact size ensures that it can fit easily on shelves or desks without taking up much space.
The system also includes several audio enhancement features, such as preset equalizer settings, which allow users to customize their listening experience according to their preferences. Whether you prefer a bass-heavy sound or a more balanced output, the equalizer settings enable precise adjustments to suit any mood.
In conclusion, the Philips FWD570 is a well-rounded audio system that excels in sound quality, connectivity options, and user-friendly features. With its powerful performance, modern design, and versatility, it stands out as a commendable choice for those seeking an enriching audio experience at home. Whether you're hosting a party or simply enjoying a quiet evening in, the FWD570 ensures that your favorite music is delivered with clarity and depth, making it an excellent investment for any audiophile.