
MANT950 specifications
The Philips MANT950 is a cutting-edge outdoor antenna designed to deliver top-tier reception for digital television signals. With a sleek and modern design, this antenna is not only functional but also aesthetically pleasing, making it a great addition to any home exterior.One of the standout features of the MANT950 is its excellent range. It is capable of receiving signals from up to 50 miles away, which ensures that users can access a variety of channels, including local and national broadcasts. This impressive range is supported by its advanced amplifier technology, which boosts signal strength and minimizes interference. As a result, viewers can enjoy a clearer picture and better sound quality while watching their favorite shows.
The MANT950 also incorporates a multi-directional reception capability. Unlike traditional antennas that require precise positioning, this model can pick up signals from multiple directions simultaneously. This is particularly beneficial for users living in areas with obstructions such as hills or tall buildings, as it increases the likelihood of receiving strong signals from different broadcast towers.
Durability is another key characteristic of the Philips MANT950. The antenna is constructed with high-quality materials designed to withstand harsh weather conditions, including heavy rain, snow, and strong winds. This ensures a reliable performance year-round, making it a dependable choice for outdoor use.
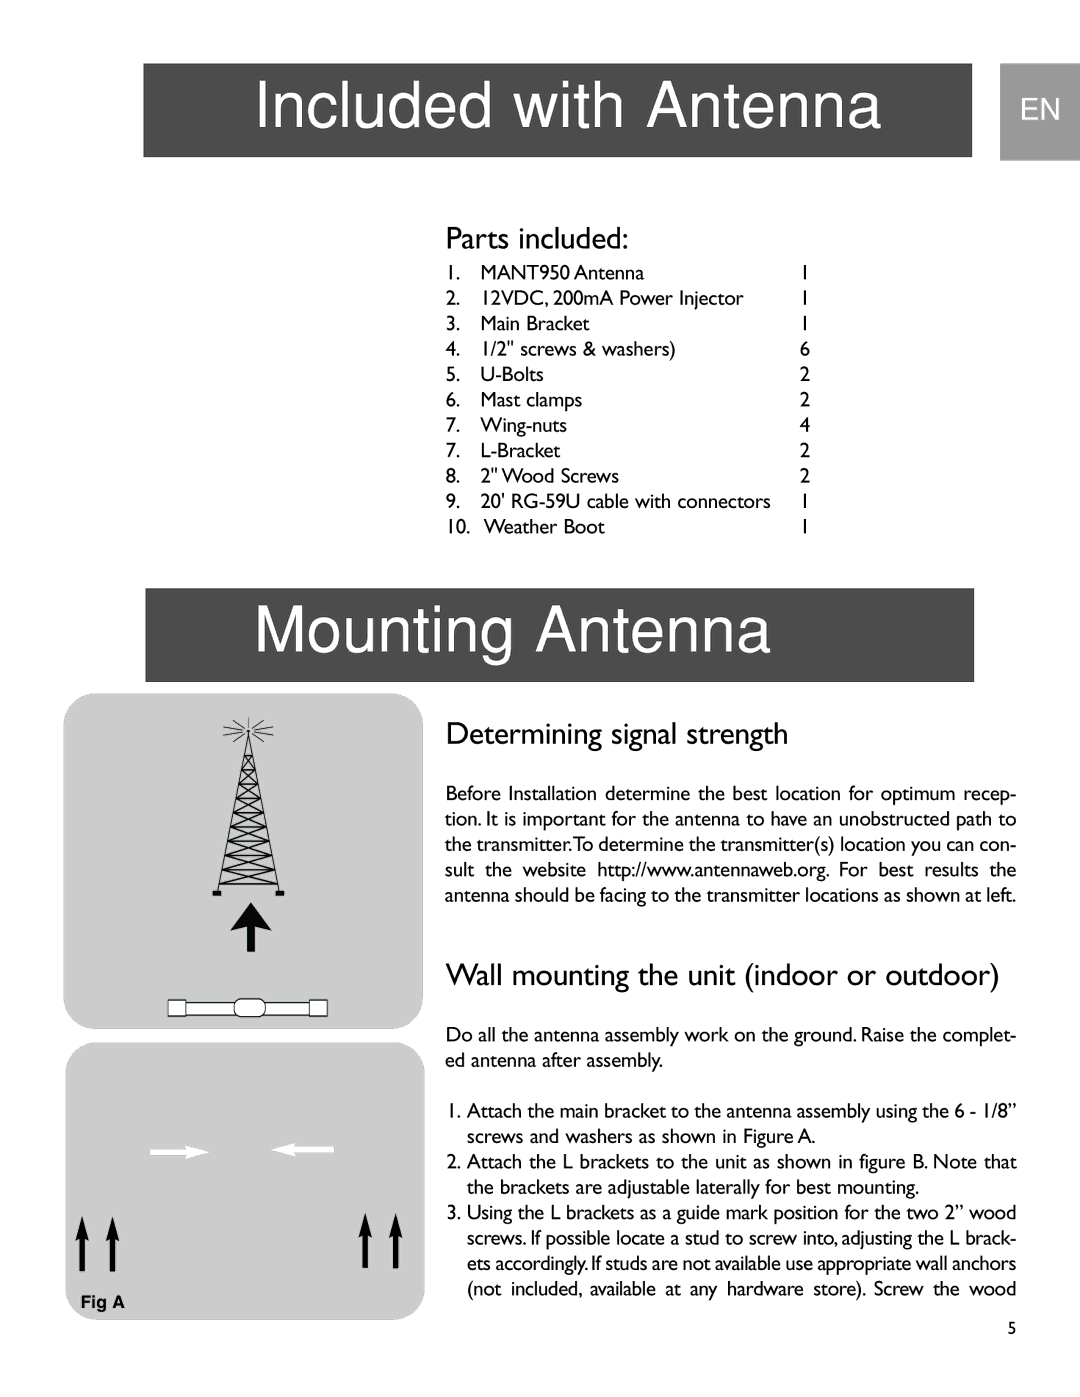
Installation of the MANT950 is straightforward, with an included mounting kit that allows for easy setup on rooftops, walls, or poles. Users will appreciate the user-friendly instructions that accompany the antenna, allowing for quick and hassle-free installation without the need for professional assistance.
The MANT950 is also compatible with most digital TV receivers and can be effortlessly connected to televisions or DVRs. This versatility makes it a great option for anyone looking to cut the cord and enjoy over-the-air television without monthly fees.
In conclusion, the Philips MANT950 is a highly capable outdoor antenna that combines advanced technology, robust performance, and ease of installation. With its excellent range, multi-directional reception, and durability, it stands out as a top choice for those seeking to enhance their viewing experience.