More Information
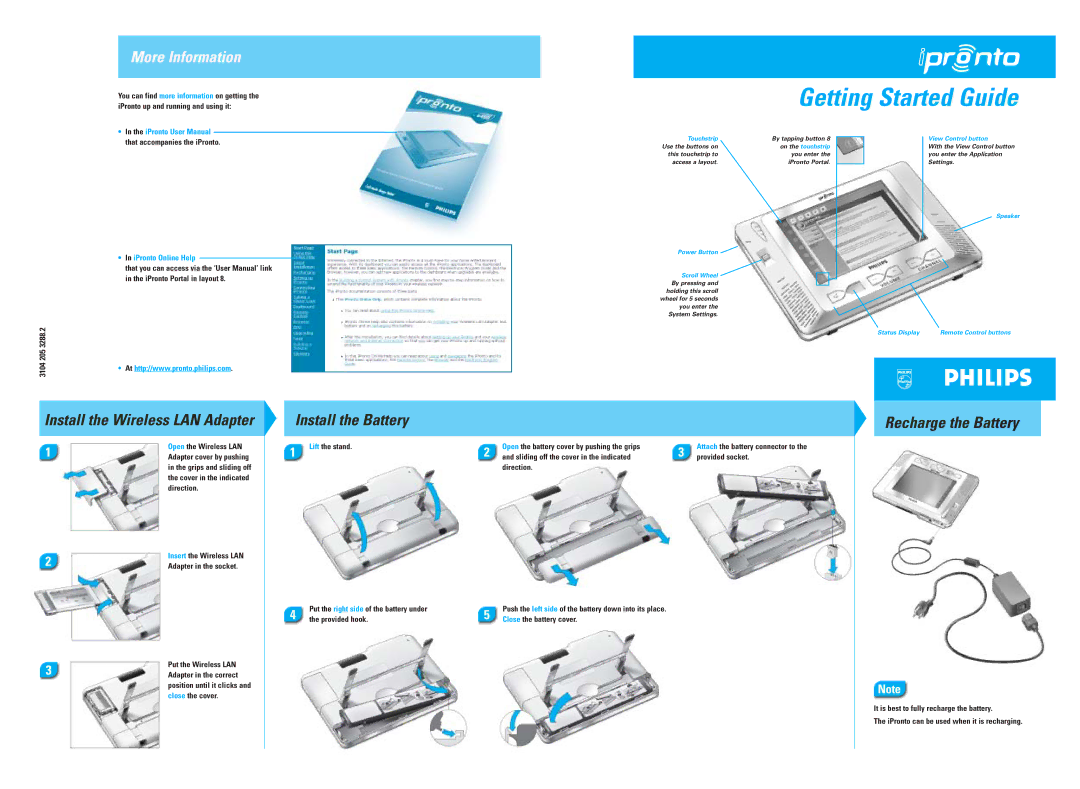
You can find more information on getting the iPronto up and running and using it:
Getting Started Guide
•In the iPronto User Manual that accompanies the iPronto.
•In iPronto Online Help
that you can access via the ‘User Manual’ link in the iPronto Portal in layout 8.
Touchstrip | By tapping button 8 |
|
Use the buttons on | on the touchstrip |
|
this touchstrip to | you enter the |
|
access a layout. | iPronto Portal. |
|
|
Power Button 
Scroll Wheel By pressing and holding this scroll wheel for 5 seconds you enter the System Settings.
View Control button
With the View Control button you enter the Application Settings.
Speaker
205 3288.2 |
|
3104 | • At http://www.pronto.philips.com. |
|
Status Display | Remote Control buttons |
Install the Wireless LAN Adapter
Install the Battery
Recharge the Battery
Open the Wireless LAN
1Adapter cover by pushing in the grips and sliding off the cover in the indicated direction.
2 | Insert the Wireless LAN |
Adapter in the socket. |
1
Lift the stand.
2 | Open the battery cover by pushing the grips | 3 | Attach the battery connector to the |
and sliding off the cover in the indicated | provided socket. |
direction.
Put the Wireless LAN
3Adapter in the correct position until it clicks and close the cover.
4 | Put the right side of the battery under |
the provided hook. |
5 | Push the left side of the battery down into its place. |
Close the battery cover. |
Note
It is best to fully recharge the battery.
The iPronto can be used when it is recharging.
