6 Zone Stereo Speaker Selector, ISM6 specifications
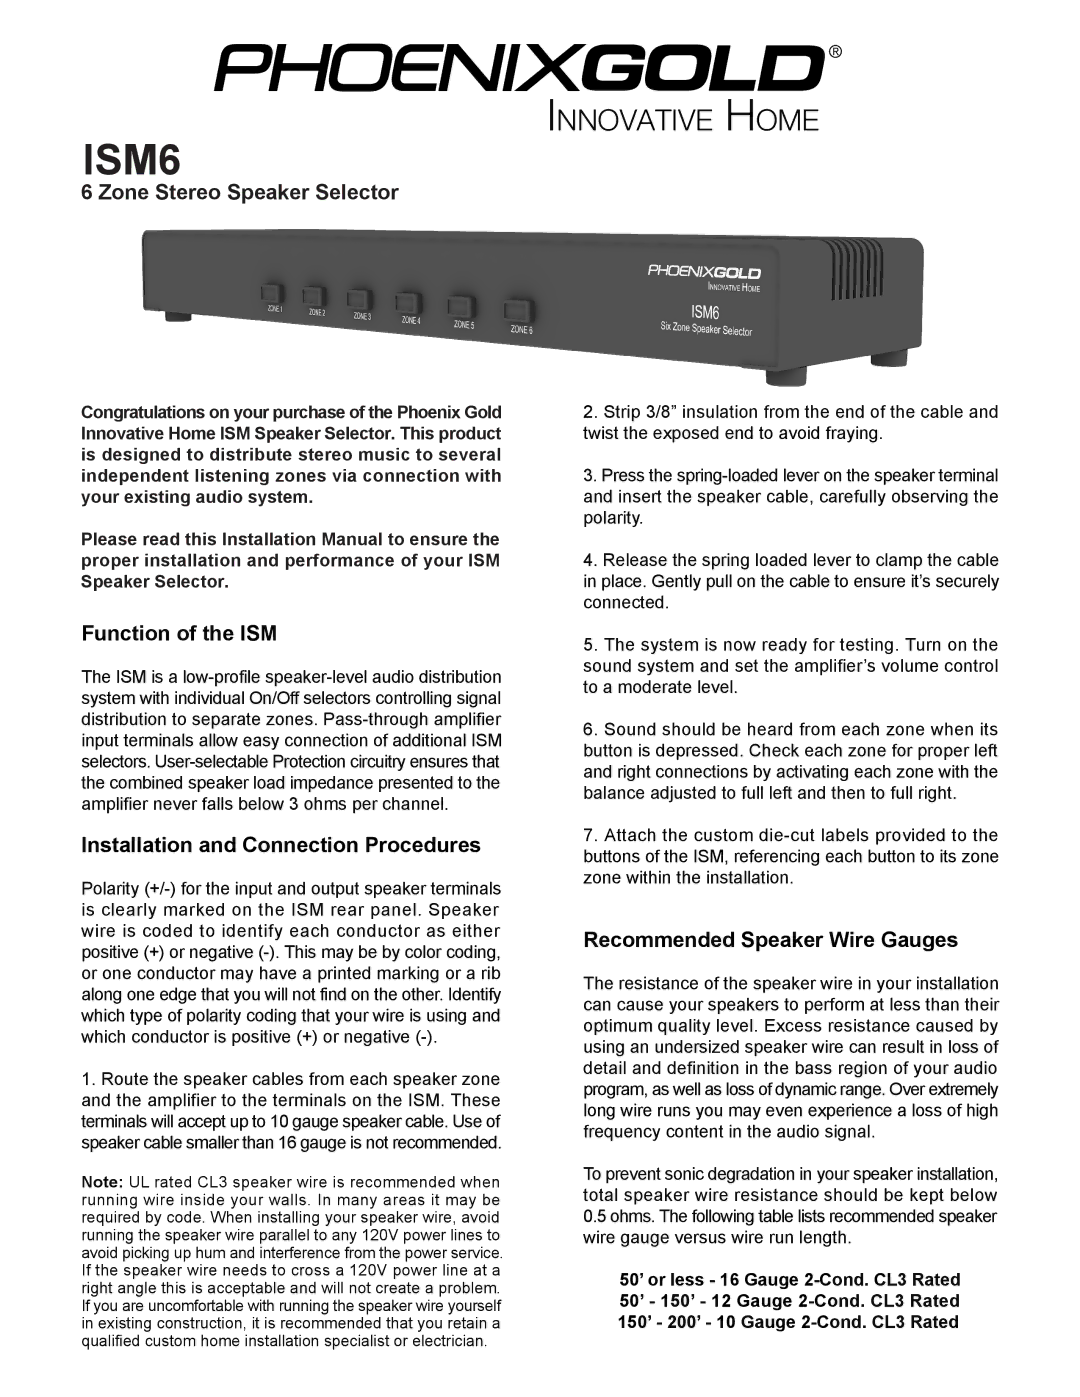
The Phoenix Gold ISM6,6 Zone Stereo Speaker Selector is an advanced audio solution designed for audio enthusiasts who want to manage multiple speakers across different zones without sacrificing sound quality. This innovative device offers flexibility and control, making it an ideal choice for residential or commercial audio installations.One of the standout features of the ISM6,6 is its ability to support up to six pairs of speakers while maintaining a high level of audio performance. This allows users to effortlessly distribute sound throughout multiple rooms or areas, enabling them to create tailored sonic environments for different settings. The selector is equipped with push-button controls for each zone, making it straightforward for users to switch between various speaker sets, providing an intuitive user experience.
The design of the ISM6,6 is both sleek and functional, featuring a durable construction that ensures longevity. With its compact form factor, it can be easily integrated into home or business audio setups without taking up much space. The device is also compatible with a variety of audio sources, giving users the versatility they need to connect different types of equipment with ease.
In terms of technology, the Phoenix Gold ISM6,6 features high-quality, gold-plated binding posts that ensure a secure and reliable connection. This enhances the overall sound quality by minimizing interference and ensuring that audio signals transmit cleanly to the speakers. Additionally, the selector employs advanced circuitry designed to handle high power levels, allowing users to enjoy music without worrying about distortion or degradation of sound, even at high volumes.
Another important characteristic of the ISM6,6 is its impedance matching capability. This feature protects amplifiers from potential damages that can occur when multiple speakers are connected. It ensures that the amplifier operates within safe limits, providing peace of mind to users who want to enjoy their audio system without technical concerns.
Overall, the Phoenix Gold ISM6,6 Zone Stereo Speaker Selector stands out for its blend of functionality, durability, and sound quality. Whether you’re looking to enhance your home theater experience or create a dynamic sound environment for a commercial space, the ISM6,6 delivers excellent performance with ease of use. Its ability to control multiple speaker pairs while ensuring optimal sound quality makes it a must-have for any serious audio setup.