FTVS/Video Side Panel
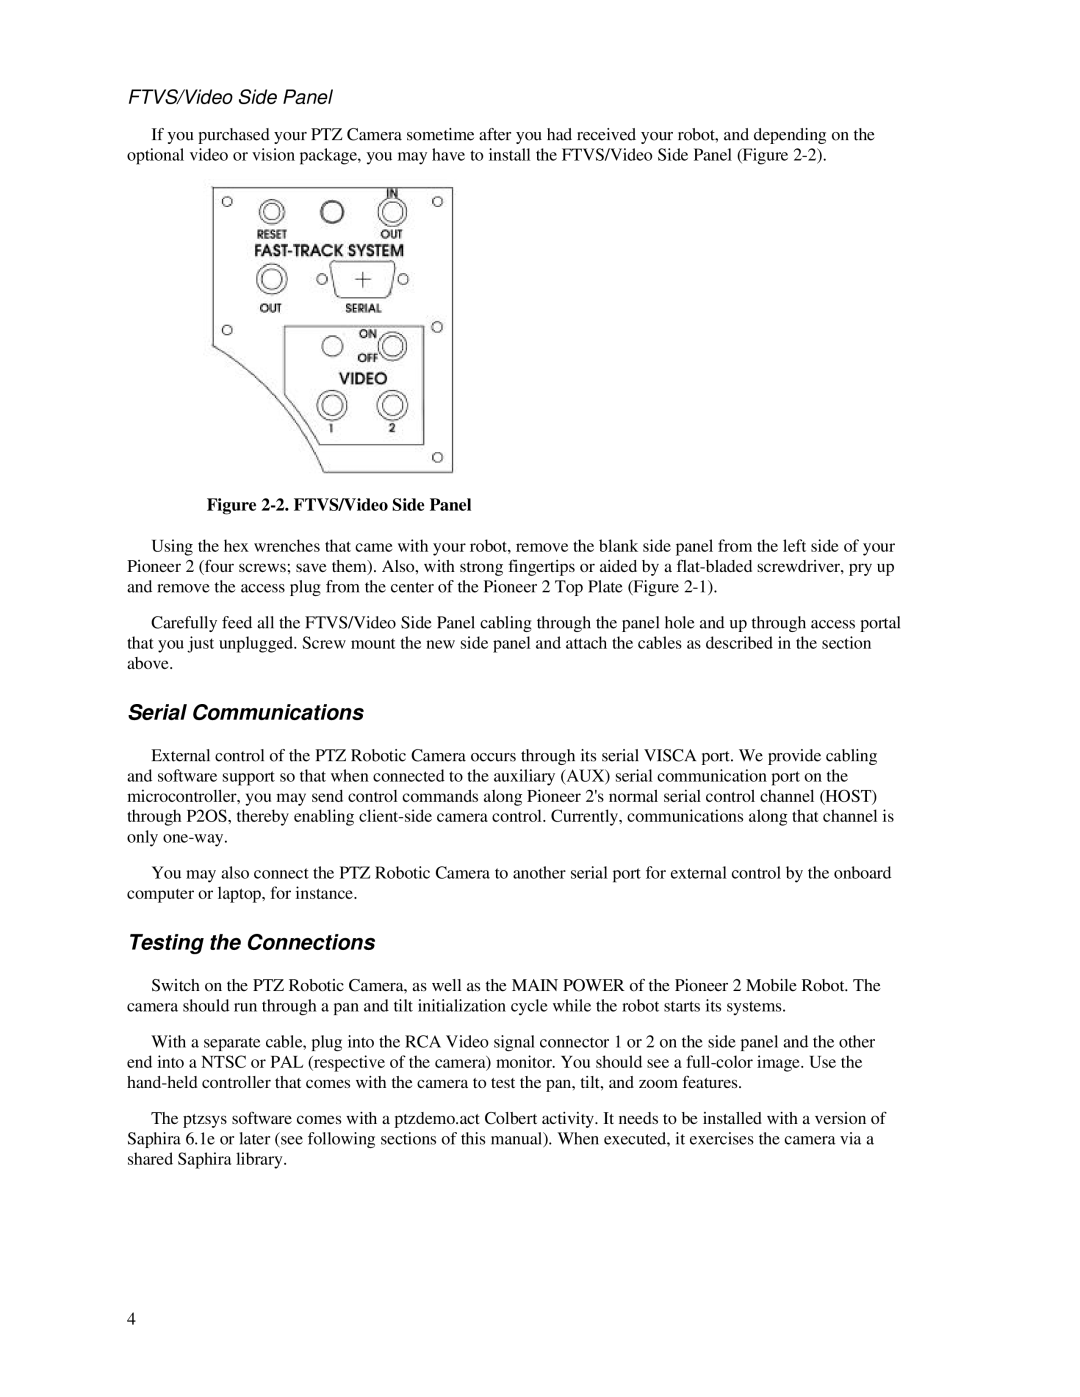
If you purchased your PTZ Camera sometime after you had received your robot, and depending on the optional video or vision package, you may have to install the FTVS/Video Side Panel (Figure
Figure 2-2. FTVS/Video Side Panel
Using the hex wrenches that came with your robot, remove the blank side panel from the left side of your Pioneer 2 (four screws; save them). Also, with strong fingertips or aided by a
Carefully feed all the FTVS/Video Side Panel cabling through the panel hole and up through access portal that you just unplugged. Screw mount the new side panel and attach the cables as described in the section above.
Serial Communications
External control of the PTZ Robotic Camera occurs through its serial VISCA port. We provide cabling and software support so that when connected to the auxiliary (AUX) serial communication port on the microcontroller, you may send control commands along Pioneer 2's normal serial control channel (HOST) through P2OS, thereby enabling
You may also connect the PTZ Robotic Camera to another serial port for external control by the onboard computer or laptop, for instance.
Testing the Connections
Switch on the PTZ Robotic Camera, as well as the MAIN POWER of the Pioneer 2 Mobile Robot. The camera should run through a pan and tilt initialization cycle while the robot starts its systems.
With a separate cable, plug into the RCA Video signal connector 1 or 2 on the side panel and the other end into a NTSC or PAL (respective of the camera) monitor. You should see a
The ptzsys software comes with a ptzdemo.act Colbert activity. It needs to be installed with a version of Saphira 6.1e or later (see following sections of this manual). When executed, it exercises the camera via a shared Saphira library.
4
