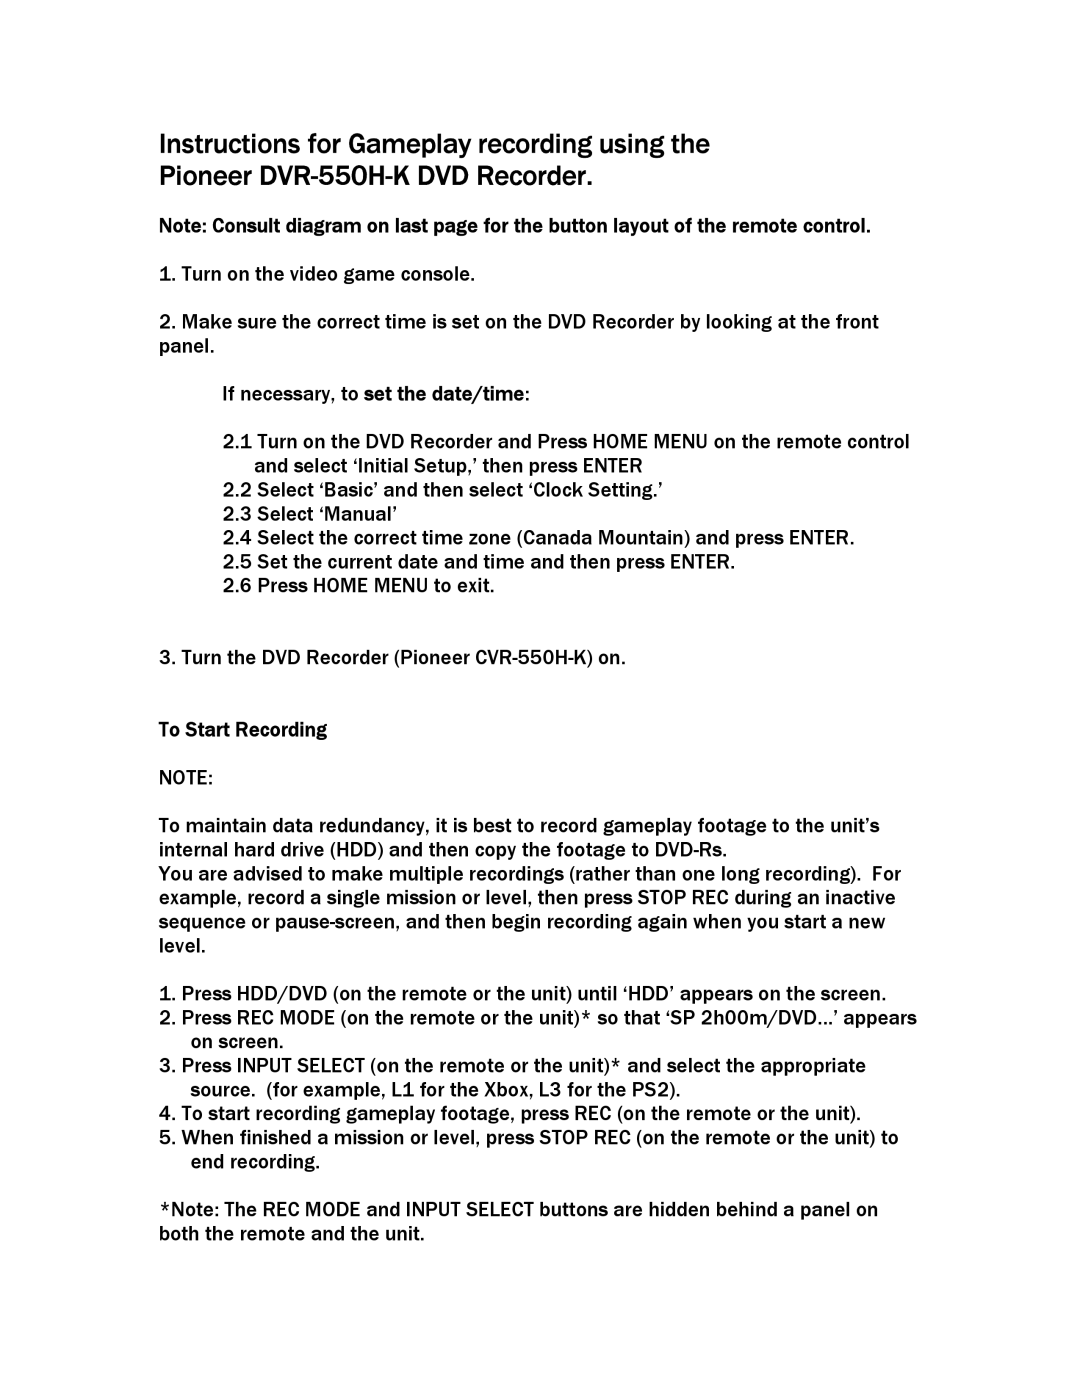
DVR-550H-K specifications
The Pioneer DVR-550H-K is a versatile and innovative home entertainment device that has made a significant impact in the market of digital video recorders. Launched to great acclaim, this unit combines cutting-edge technology with user-friendly features, making it a favorite among audiovisual enthusiasts.One of the standout features of the DVR-550H-K is its impressive recording capabilities. With a built-in hard drive capacity of 160GB, users have ample space to store their favorite television programs and movies. The unit allows for high-quality video recording in various formats, ensuring that users can enjoy their content in the best possible quality. Furthermore, the DVR supports both standard and high-definition broadcasts, allowing viewers to capture and enjoy their favorite shows without any compromises.
Another notable technology used in the DVR-550H-K is its progressive scan capability. This results in smoother, clearer images, reducing motion blur during fast-moving scenes and enhancing the overall viewing experience. Additionally, the device is equipped with a high-quality built-in tuner, giving users the freedom to easily record and schedule programming from various TV channels.
A key characteristic of the Pioneer DVR-550H-K is its user-friendly interface. The device includes a straightforward remote control and an intuitive on-screen menu that makes navigating through recorded content and selecting settings a breeze. Users can easily set up recording schedules and access their favorite shows, ensuring that they never miss out on important programming.
The DVR is also compatible with various connectivity options, including HDMI, which allows for simple connection to modern televisions and audio systems. This compatibility ensures that the device can integrate seamlessly into existing home entertainment setups. Furthermore, it comes with a USB port for direct playback from external storage devices, enhancing its usability.
Finally, the Pioneer DVR-550H-K incorporates advanced digital technologies for improved performance, such as Dolby Digital audio for a richer sound experience. Overall, the combination of storage, recording versatility, and user-friendly features makes the DVR-550H-K a remarkable choice for anyone looking to enhance their home entertainment experience. With its robust capabilities and thoughtful design, this digital video recorder continues to be a reliable option for capturing and enjoying television content.
