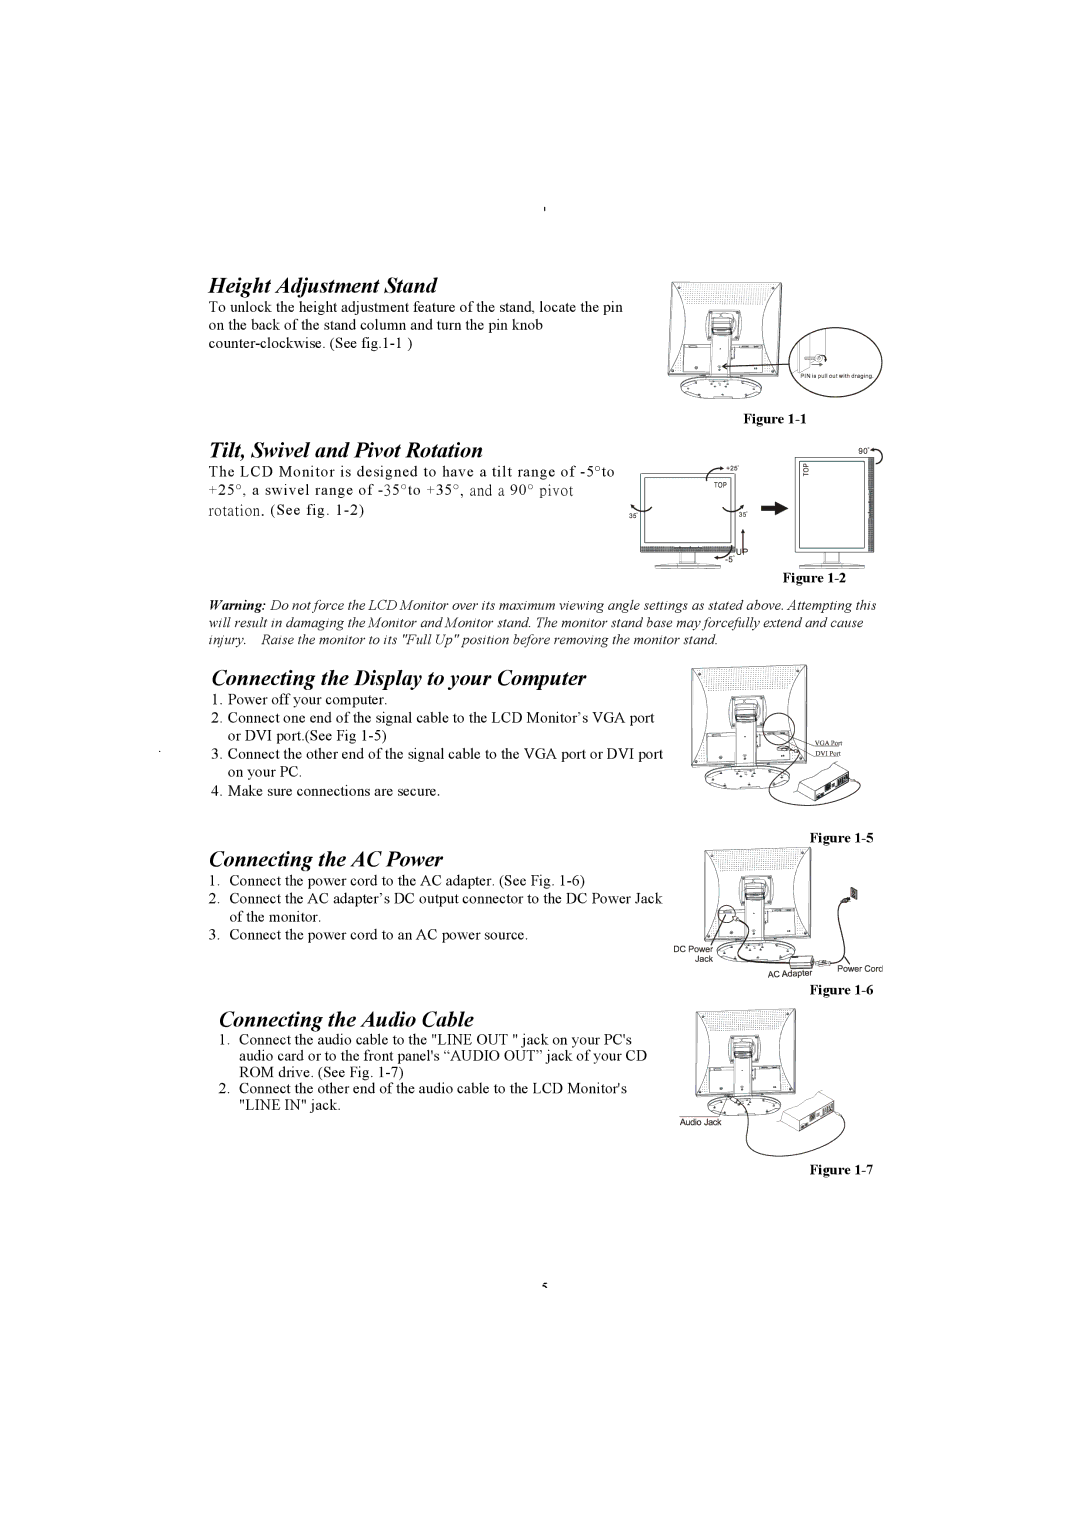
Height Adjustment Stand
To unlock the height adjustment feature of the stand, locate the pin on the back of the stand column and turn the pin knob
Figure
Tilt, Swivel and Pivot Rotation
The LCD Monitor is designed to have a tilt range of
Figure
Warning: Do not force the LCD Monitor over its maximum viewing angle settings as stated above. Attempting this will result in damaging the Monitor and Monitor stand. The monitor stand base may forcefully extend and cause injury. Raise the monitor to its "Full Up" position before removing the monitor stand.
Connecting the Display to your Computer
1. Power off your computer.
2. Connect one end of the signal cable to the LCD Monitor’s VGA port or DVI port.(See Fig
3. Connect the other end of the signal cable to the VGA port or DVI port on your PC.
4. Make sure connections are secure.
Connecting the AC Power
1.Connect the power cord to the AC adapter. (See Fig.
2.Connect the AC adapter’s DC output connector to the DC Power Jack of the monitor.
3.Connect the power cord to an AC power source.
Connecting the Audio Cable
1.Connect the audio cable to the "LINE OUT " jack on your PC's audio card or to the front panel's “AUDIO OUT” jack of your CD ROM drive. (See Fig.
2.Connect the other end of the audio cable to the LCD Monitor's "LINE IN" jack.
Figure |
Figure |
Figure |
5
