LCi-RTS105 specifications
Polk Audio has made a name for itself in the audio industry by consistently delivering high-quality speakers that balance performance and aesthetics, and the LCi-RTS105 is no exception. This loudspeaker exemplifies Polk's commitment to providing immersive listening experiences whether you're enjoying music or watching movies.At the heart of the LCi-RTS105 is its unique design, characterized by a sleek, low-profile architecture that seamlessly integrates into any home decor. This discreet form factor makes it an ideal choice for those who prioritize style without compromising on sound quality. The speaker is engineered to be flush-mounted, allowing it to blend effortlessly with walls or ceilings, making it suitable for a variety of installation scenarios, including in-wall and in-ceiling applications.
One of the standout features of the LCi-RTS105 is its advanced Dynamic Balance technology. This proprietary Polk technology minimizes distortion and enhances sound clarity by analyzing the speaker components and their interactions. As a result, listeners can experience a more accurate and balanced sound reproduction across various frequencies.
The LCi-RTS105 is equipped with a high-efficiency 5.25-inch woofer that delivers rich, powerful bass, while its 1-inch silk dome tweeter provides smooth and articulate high frequencies. The combination of these drivers ensures a wide frequency response that can handle everything from the subtle nuances of classical music to the explosive soundtracks of the latest action films.
Polk's commitment to quality is also evident in the materials used in the LCi-RTS105. The cabinet is constructed with high-quality MDF (medium-density fiberboard) for enhanced rigidity and reduced resonance. This ensures that the audio performance remains clear and undistorted, providing an engaging listening experience.
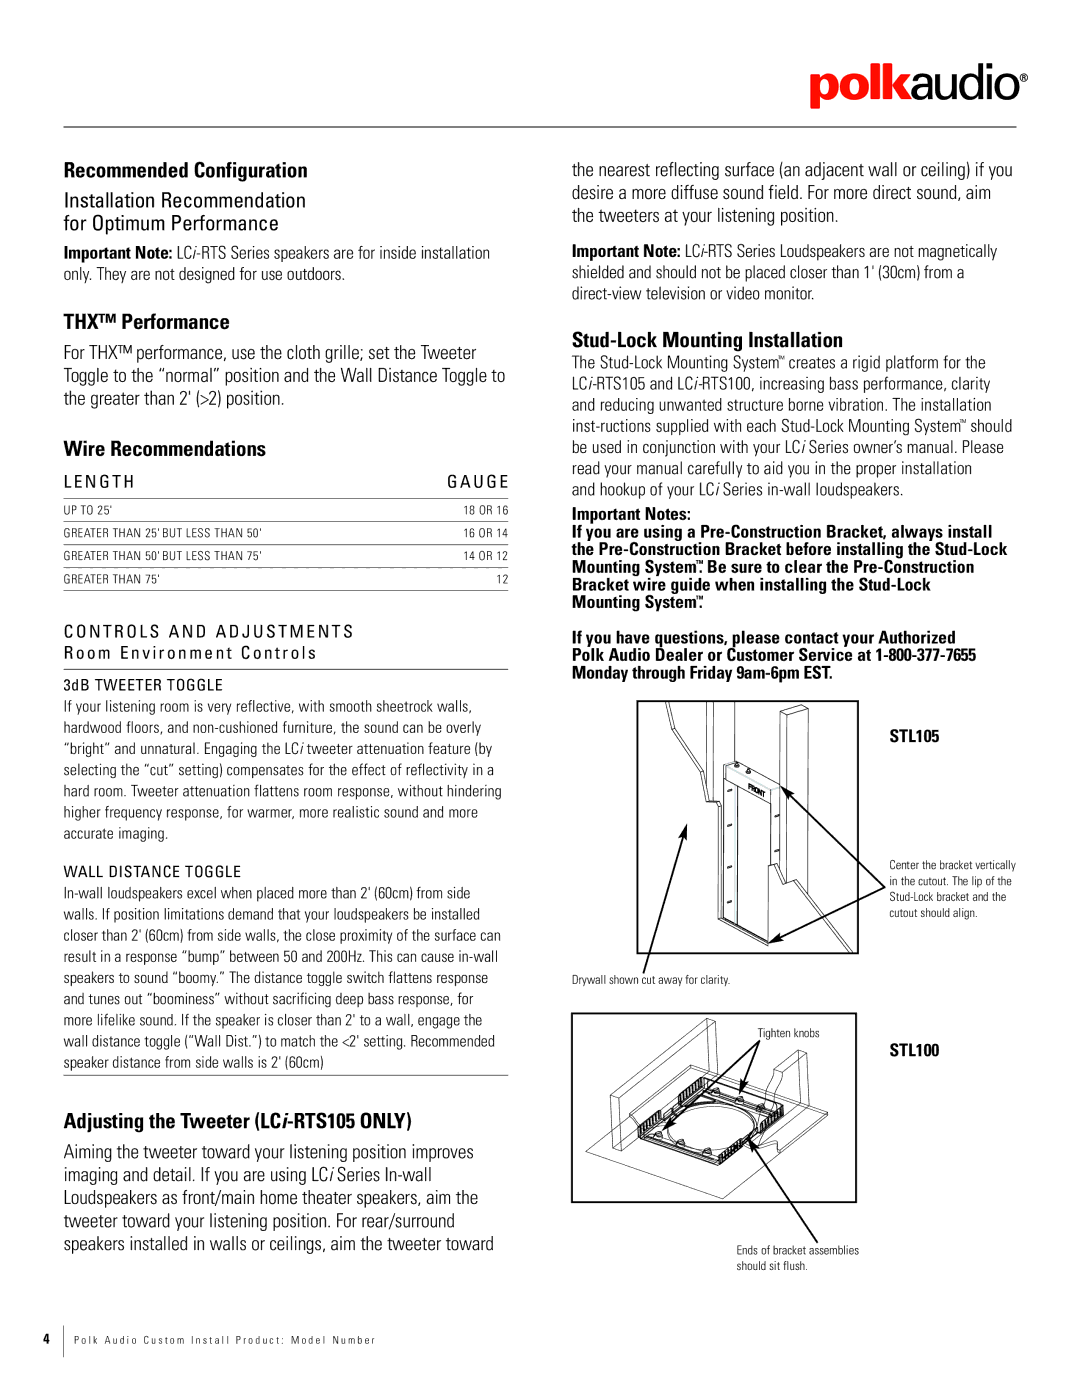
Another notable characteristic of the LCi-RTS105 is its easy installation process. The speaker features a paintable grille, allowing users to customize its appearance to match their room's aesthetic. Additionally, the speaker’s low-profile design facilitates simple mounting, making it an appealing option for both DIY enthusiasts and professional installers.
Overall, the Polk Audio LCi-RTS105 stands out as an exceptional choice for those seeking a stylish yet powerful speaker solution. With its advanced technologies, premium materials, and versatile design, it delivers impressive sound quality that caters to the needs of audiophiles and casual listeners alike. Whether used as part of a home theater system or for music playback, the LCi-RTS105 promises to elevate the audio experience to new heights.

