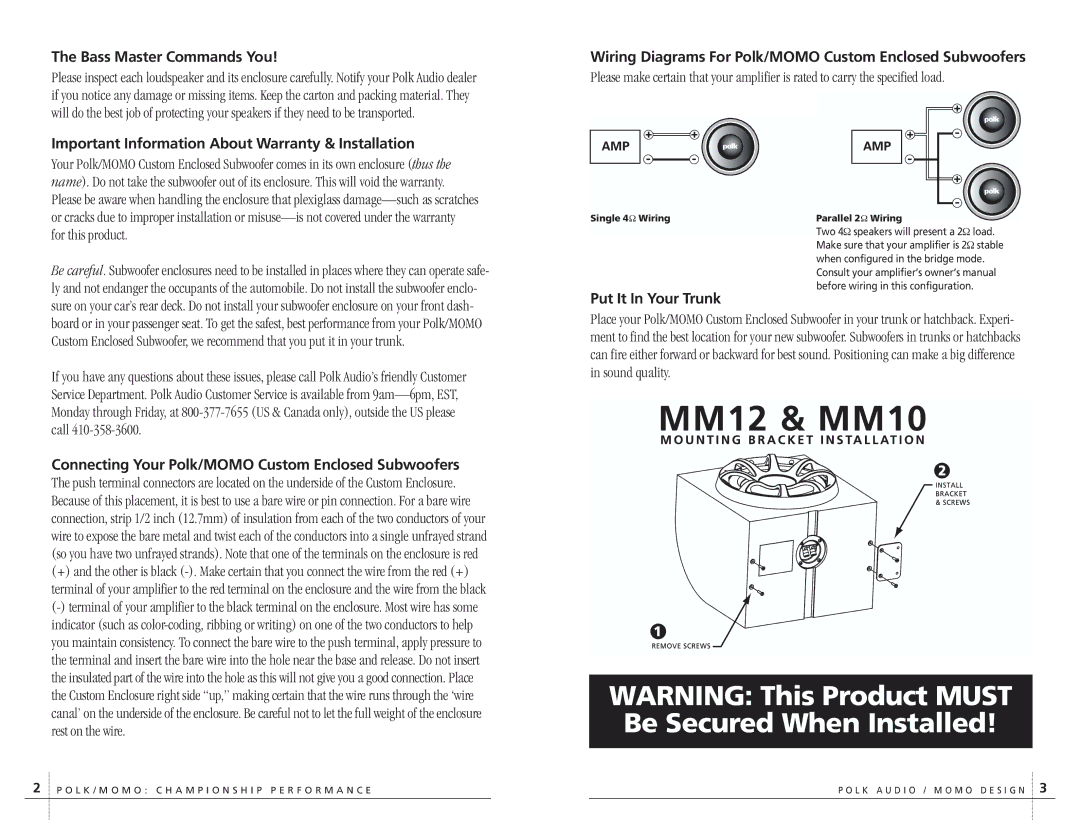
MM10, MM12 specifications
Polk Audio has established itself as a trusted name in the audio industry, and the MM series subwoofers, specifically the MM12 and MM10 models, showcase the brand's commitment to enhancing the audio experience. These subwoofers are designed to provide deep, powerful bass that complements any music genre or home theater setup.The Polk Audio MM12 boasts a 12-inch driver designed for robust performance. This larger driver allows for greater air movement, producing richer and more profound bass tones. It features a durable polypropylene cone and a butyl rubber surround, ensuring longevity and resilience while minimizing distortion, even at higher volumes. The subwoofer's frequency response range extends from 27 Hz to 200 Hz, allowing it to deliver an impressive low-end performance.
In contrast, the MM10 has a smaller 10-inch driver while still offering remarkable sound quality. This model maintains the same durable construction and design principles as the MM12, with a frequency response that ranges from 28 Hz to 200 Hz. The MM10 is especially suitable for smaller spaces or setups where a full-sized subwoofer may not be practical.
Both models utilize Polk's patented Dynamic Balance technology, which ensures the driver operates efficiently by minimizing unwanted resonances. This technology helps to produce a more natural, clear sound, preserving the integrity of the music and allowing listeners to fully appreciate their favorite tracks.
Incorporating advanced engineering, the Polk MM subwoofers feature a unique airflow design that enhances cooling and reduces distortion. This is particularly notable during intense listening sessions where heat buildup can affect performance. The compact, sleek design of both models makes them aesthetically pleasing and easy to integrate into any environment.
Installation is straightforward with both subwoofers. They come equipped with multiple connectivity options, including speaker-level inputs and line-level inputs, ensuring compatibility with a wide array of audio systems. The MM subwoofers are also optimized for use with home theater systems, enhancing movie soundtracks with powerful bass effects.
Overall, the Polk Audio MM12 and MM10 subwoofers stand out with their superior engineering, solid build quality, and exceptional sound performance. Whether paired with a home audio system or used in a dedicated home theater, these subwoofers are sure to deliver an immersive listening experience that resonates with all audio enthusiasts.

