RC80i, RC85i, RC55i, RC65i, RC60i specifications
The Polk Audio RC60i is a remarkable in-ceiling speaker that stands out for its versatility and high-quality sound performance, making it a popular choice for both home audio enthusiasts and professional installers. Designed for a seamless integration into any environment, the RC60i is ideal for multi-room audio setups, home theaters, or simply enhancing a room with ambient sound.One of the standout features of the RC60i is its 6.5-inch Dynamic Balance woofer, which produces deep, rich bass while maintaining clarity across all frequencies. The speaker also features a 1-inch swivel-mounted tweeter, allowing for precise sound directionality. This design means you can optimize your listening experience by angling the tweeter towards the primary listening area, ensuring that the sound is both immersive and tailored to your space.
The RC60i is built with Polk's patented Dynamic Balance technology, which helps in damping unwanted resonances and ensuring a distortion-free audio experience. This innovative technology captures a wider range of sound, producing a smooth response across the audio spectrum. Whether you’re enjoying a movie or your favorite music, the RC60i delivers exceptional sound quality that makes every listening experience enjoyable.
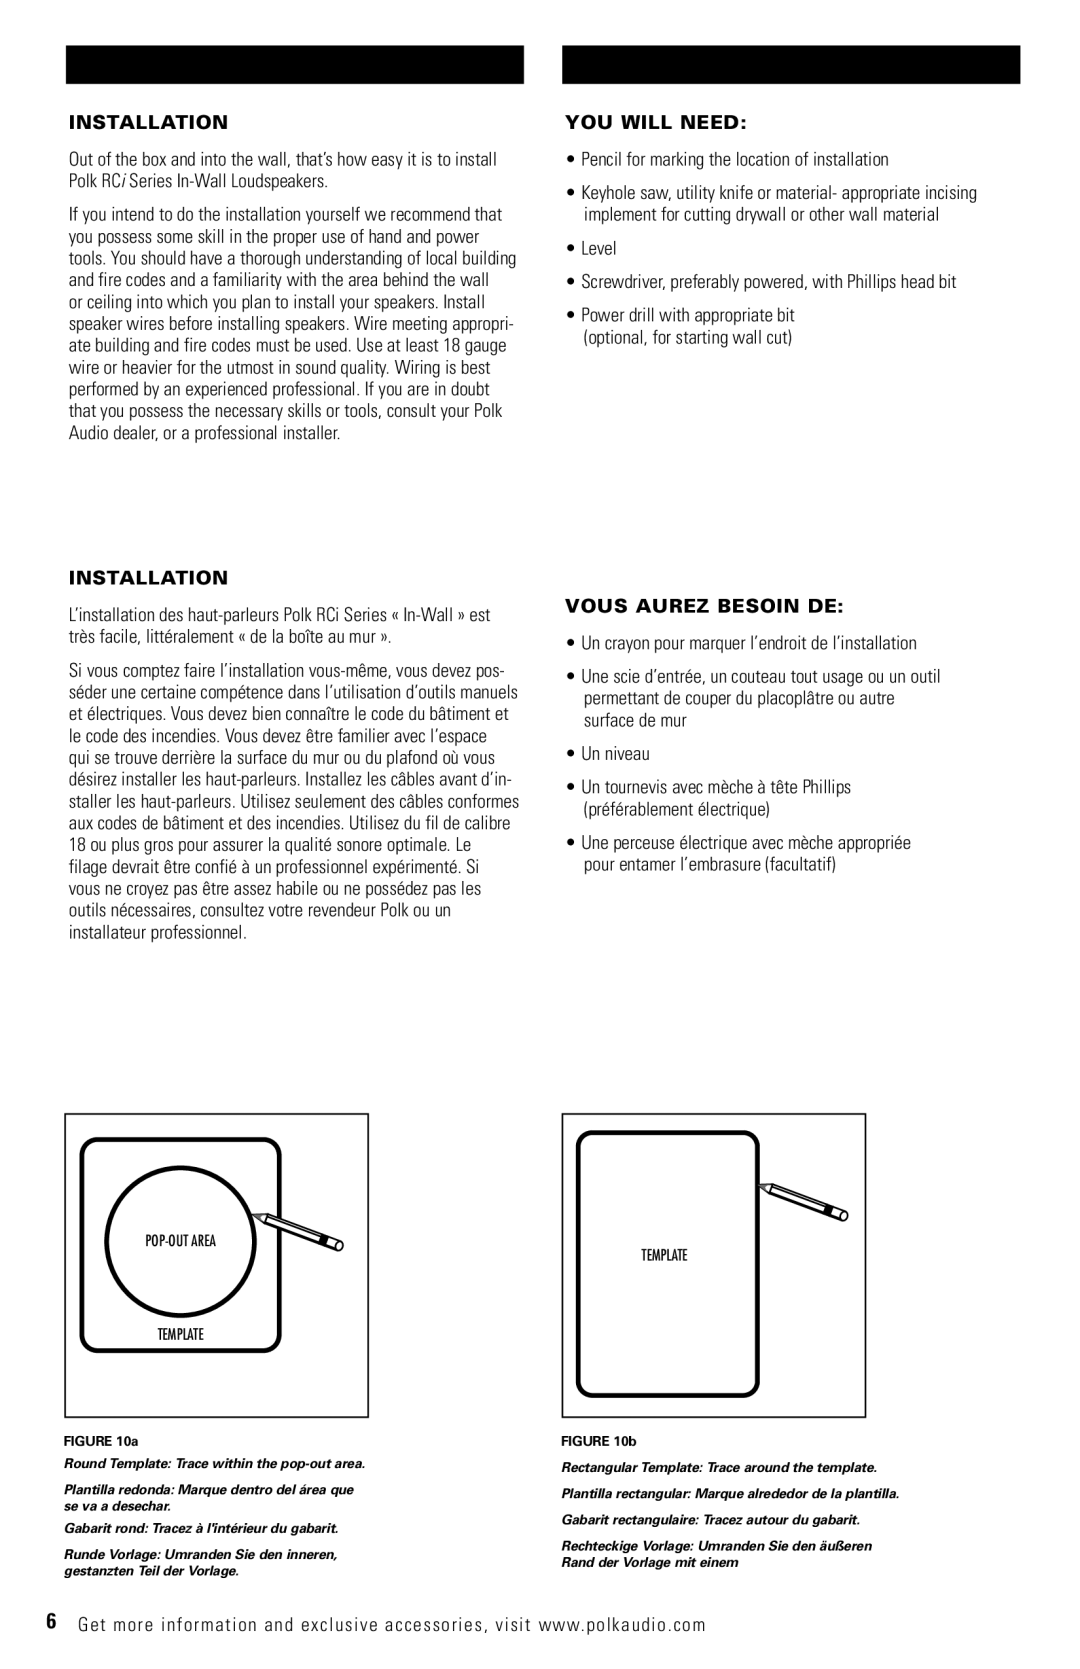
An additional characteristic of the RC60i is its moisture-resistant design, making it suitable for high-humidity areas like bathrooms or kitchens. This feature ensures durability without compromising sound quality, making it a reliable choice for various applications. The speakers are also equipped with an easy-to-install mounting system and come with a cut-out template, making installation a hassle-free process.
Furthermore, the RC60i comes with a sleek, low-profile grille that can be painted to match your ceiling, allowing it to blend seamlessly into your home decor. This aesthetic consideration, combined with high-performance audio capabilities, is what makes the Polk Audio RC60i a standout option for those looking to create a clean, sophisticated look in their space.
In summary, the Polk Audio RC60i is a well-rounded speaker that combines advanced sound technology with practical design elements. Its robust construction, superior sound quality, and versatile application make it an excellent choice for any audio project, whether casual or professional.