CUTTING SAFETY
![]() WARNING: Inspect the area before each use. Remove objects (rocks, broken glass, nails, wire, etc.) which can be thrown by or become entangled in line. Hard objects can damage trimmer head and be thrown causing serious injury.
WARNING: Inspect the area before each use. Remove objects (rocks, broken glass, nails, wire, etc.) which can be thrown by or become entangled in line. Hard objects can damage trimmer head and be thrown causing serious injury.
SUse only for trimming, mowing, and sweep- ing. Do not use for edging, pruning, or
hedge trimming.
SKeep firm footing and balance. Do not over-
reach.
SKeep all parts of your body away from spin-
ning line and muffler. Keep engine below waist level. A hot muffler can cause serious burns.
S Cutting with the line on right side of the shield will throw debris away from the oper- ator.
SUse only in daylight or good artificial light.
TRANSPORTING AND STORAGE
S Allow the engine to cool; secure unit before storing or transporting in vehicle.
S Empty the fuel tank before storing or trans- porting the unit. Use up fuel left in the car- buretor by starting the engine and letting it run until it stops.
S Store unit and fuel in an area where fuel va- pors cannot reach sparks or open flames from water heaters, electric motors or switches, furnaces, etc.
S Store unit so line limiter blade cannot acci- dentally cause injury. Unit can be hung by the tube.
S Store the unit out of the reach of children If situations occur which are not covered in this manual, use care and good judgment. If you need assistance, call
SAFETY NOTICE: Exposure to vibrations through prolonged use of gasoline powered hand tools could cause blood vessel or nerve damage in the fingers, hands, and joints of people prone to circulation disorders or ab- normal swellings. Prolonged use in cold weather has been linked to blood vessel dam- age in otherwise healthy people. If symptoms occur such as numbness, pain, loss of strength, change in skin color or texture, or loss of feeling in the fingers, hands, or joints, discontinue the use of this tool and seek med- ical attention. An
SPECIAL NOTICE: This unit is equipped with a temperature limiting muffler and spark arresting screen which meets the require- ments of California Codes 4442 and 4443. All U.S. forest land and the states of California, Idaho, Maine, Minnesota, New Jersey, Ore- gon, and Washington require by law that many internal combustion engines be equipped with a spark arresting screen. If you operate in a locale where such regulations ex-
ist, you are legally responsible for maintaining the operating condition of these parts. Failure to do so is a violation of the law. For normal homeowner use, the muffler and spark arrest- ing screen will not require any service. After 50 hours of use, we recommend that your muffler be serviced or replaced by your autho- rized service dealer.
![]() WARNING: If received assembled, repeat all steps to ensure your unit is properly assembled and all fasteners are secure.
WARNING: If received assembled, repeat all steps to ensure your unit is properly assembled and all fasteners are secure.
ADJUST THE ASSIST HANDLE
![]() WARNING: When ajdusting the han- dle, be sure it remains between the trigger and the safety label.
WARNING: When ajdusting the han- dle, be sure it remains between the trigger and the safety label.
SLoosen wing nut or knob on handle.
SRotate the handle on the tube to an upright position; retighten wing nut.
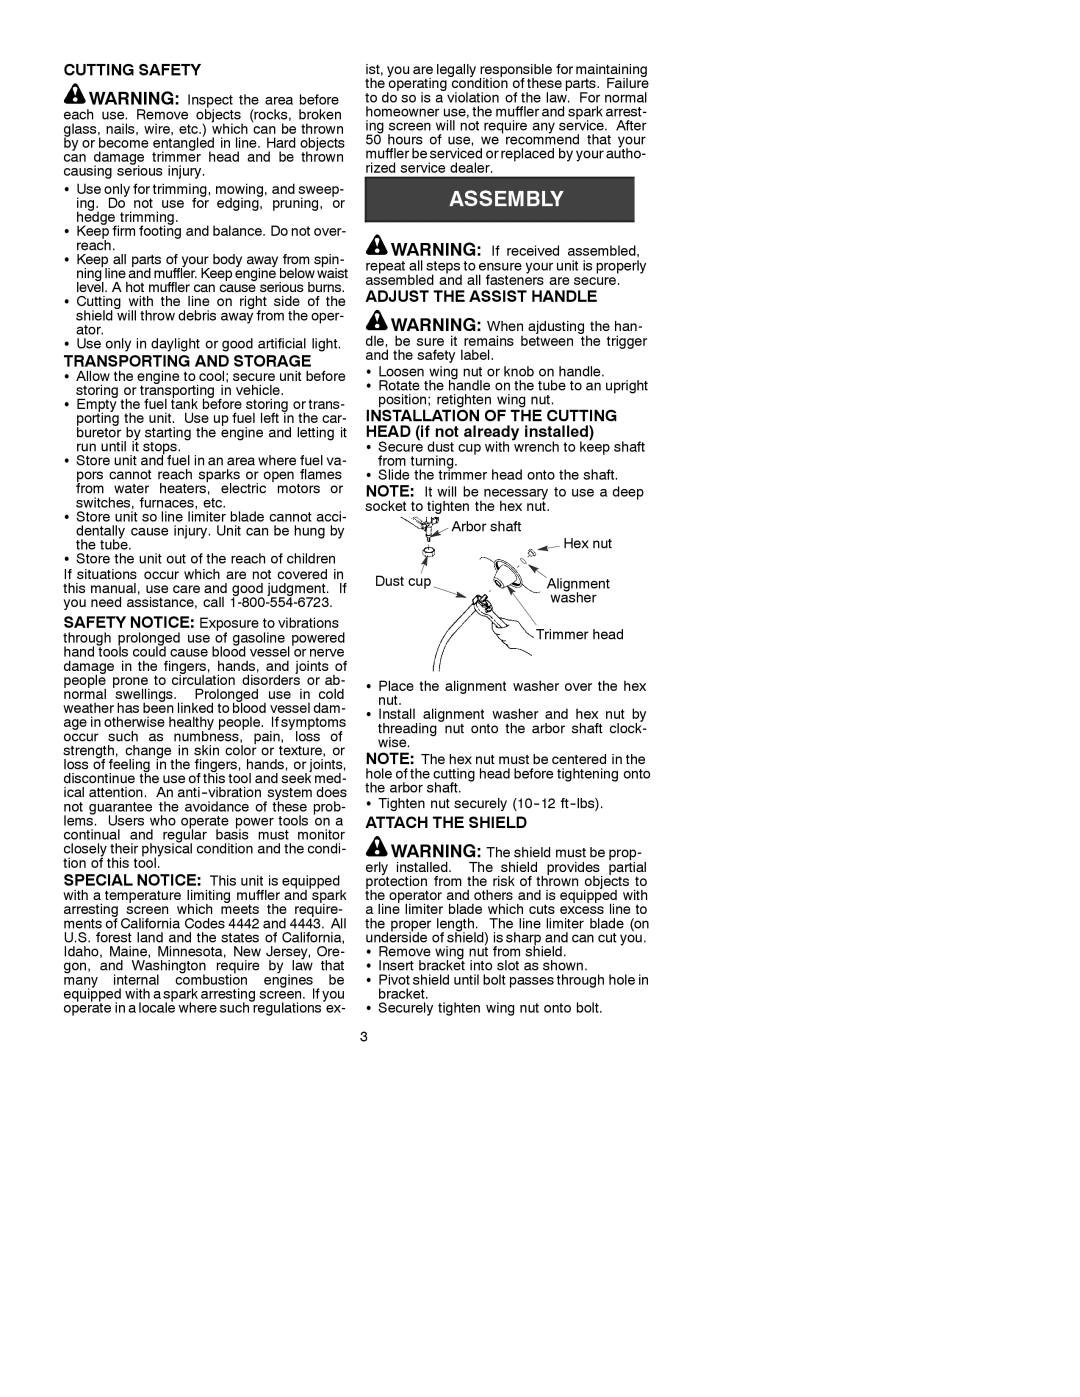
INSTALLATION OF THE CUTTING HEAD (if not already installed)
SSecure dust cup with wrench to keep shaft from turning.
SSlide the trimmer head onto the shaft. NOTE: It will be necessary to use a deep socket to tighten the hex nut.
|
|
|
| Arbor shaft | ||||||||||||
|
|
|
|
|
|
|
|
|
|
|
|
|
|
|
| Hex nut |
|
|
|
|
|
|
|
|
|
|
|
|
|
|
|
|
|
Dust cup |
|
|
|
|
|
|
|
|
|
| Alignment | |||||
|
|
|
|
|
|
|
|
|
| |||||||
|
|
|
|
|
|
|
|
|
|
|
|
|
|
|
| washer |
|
|
|
|
|
|
|
|
|
|
| Trimmer head | |||||
S Place the alignment washer over the hex nut.
S Install alignment washer and hex nut by threading nut onto the arbor shaft clock- wise.
NOTE: The hex nut must be centered in the hole of the cutting head before tightening onto the arbor shaft.
STighten nut securely
ATTACH THE SHIELD
![]() WARNING: The shield must be prop- erly installed. The shield provides partial protection from the risk of thrown objects to the operator and others and is equipped with a line limiter blade which cuts excess line to the proper length. The line limiter blade (on underside of shield) is sharp and can cut you.
WARNING: The shield must be prop- erly installed. The shield provides partial protection from the risk of thrown objects to the operator and others and is equipped with a line limiter blade which cuts excess line to the proper length. The line limiter blade (on underside of shield) is sharp and can cut you.
SRemove wing nut from shield.
SInsert bracket into slot as shown.
SPivot shield until bolt passes through hole in bracket.
SSecurely tighten wing nut onto bolt.
3
