
Mobility Exterior LIft specifications
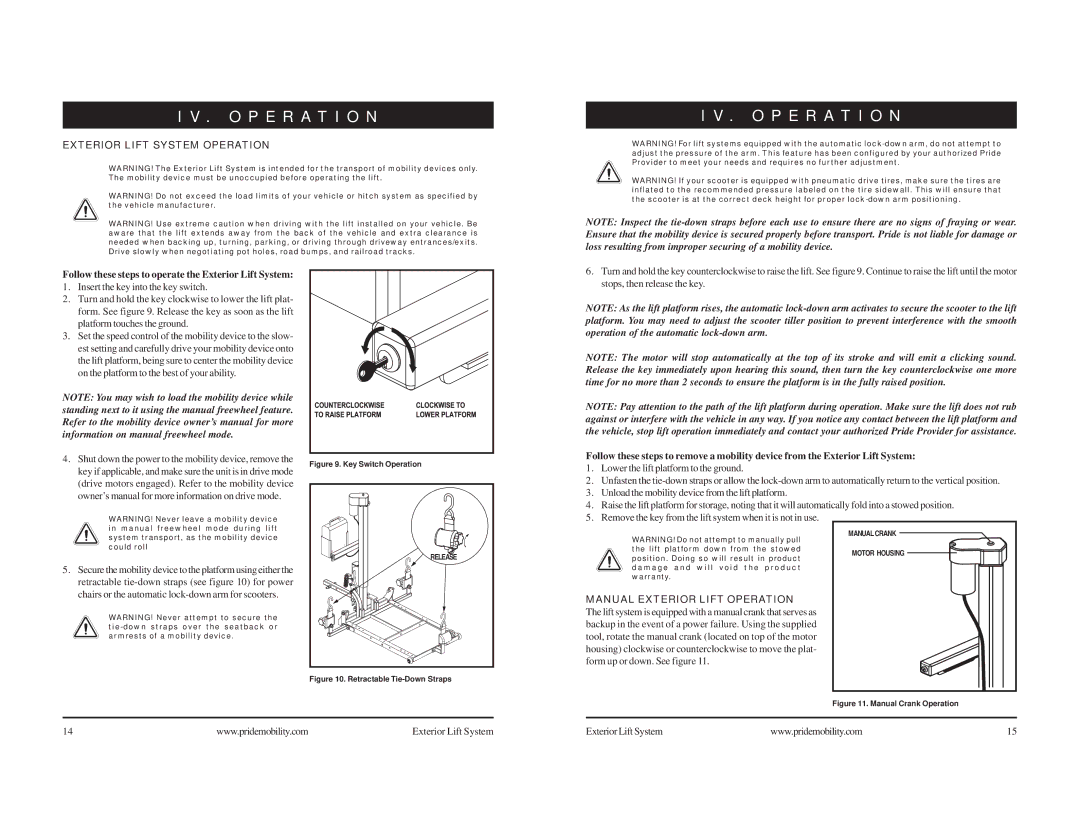
Pride Mobility has established itself as a leader in mobility solutions, and one of its standout products is the Mobility Exterior Lift. Designed for those who require assistance in transporting their mobility devices, this lift combines innovation with user-friendly features tailored to enhance the freedom of movement.The Mobility Exterior Lift is crafted with both safety and convenience in mind. Its robust construction allows it to accommodate a variety of scooters and power wheelchairs. With a weight capacity typically ranging from 350 to 400 pounds, it ensures that most mobility devices can be securely loaded and transported without compromise.
One of the defining features of the Mobility Exterior Lift is its easy installation process. The lift is designed to fit onto a wide range of vehicles, including SUVs, vans, and trucks, making it a versatile option for users. It comes with a vehicle-specific mounting bracket that enhances the stability of the lift when in use. Additionally, the lift boasts a power assist function, allowing users to effortlessly raise and lower their mobility device with just the press of a button.
Safety is paramount, and the Mobility Exterior Lift is equipped with several safety features. The lift includes a secure locking mechanism that ensures the device remains in place during transport. Furthermore, the lift is designed to prevent accidental disengagement, reducing the risk of accidents while driving. The incorporation of reflective strips and bright colors also enhances visibility in low-light conditions, contributing to overall safety.
The technology behind the Mobility Exterior Lift is equally impressive. It utilizes hydraulic or electric systems that provide smooth and effortless operation. Users can control the lift from their vehicle’s interior, ensuring a seamless experience when loading or unloading their mobility device. The lift also features a manual override, giving users peace of mind in case of a power failure.
In terms of design, the Mobility Exterior Lift is built to withstand the elements. Its weather-resistant finish helps protect it from rust and corrosion, ensuring durability over time. The compact design minimizes the impact on the vehicle's aerodynamics and overall appearance while maximizing the functionality.
In summary, the Pride Mobility Mobility Exterior Lift represents an ideal solution for individuals seeking independence and ease of transport. Combining innovative technology with robust safety features and a user-friendly design, this lift empowers users to enjoy their outdoor experiences without hindrance. Whether for daily errands or leisurely outings, the Mobility Exterior Lift enhances mobility and freedom for its users.