SL6 LIFT CHAIR

IV. ASSEMBLY/DISASSEMBLY

NOTE: Depending on chair width, you may need to slide on one side of the
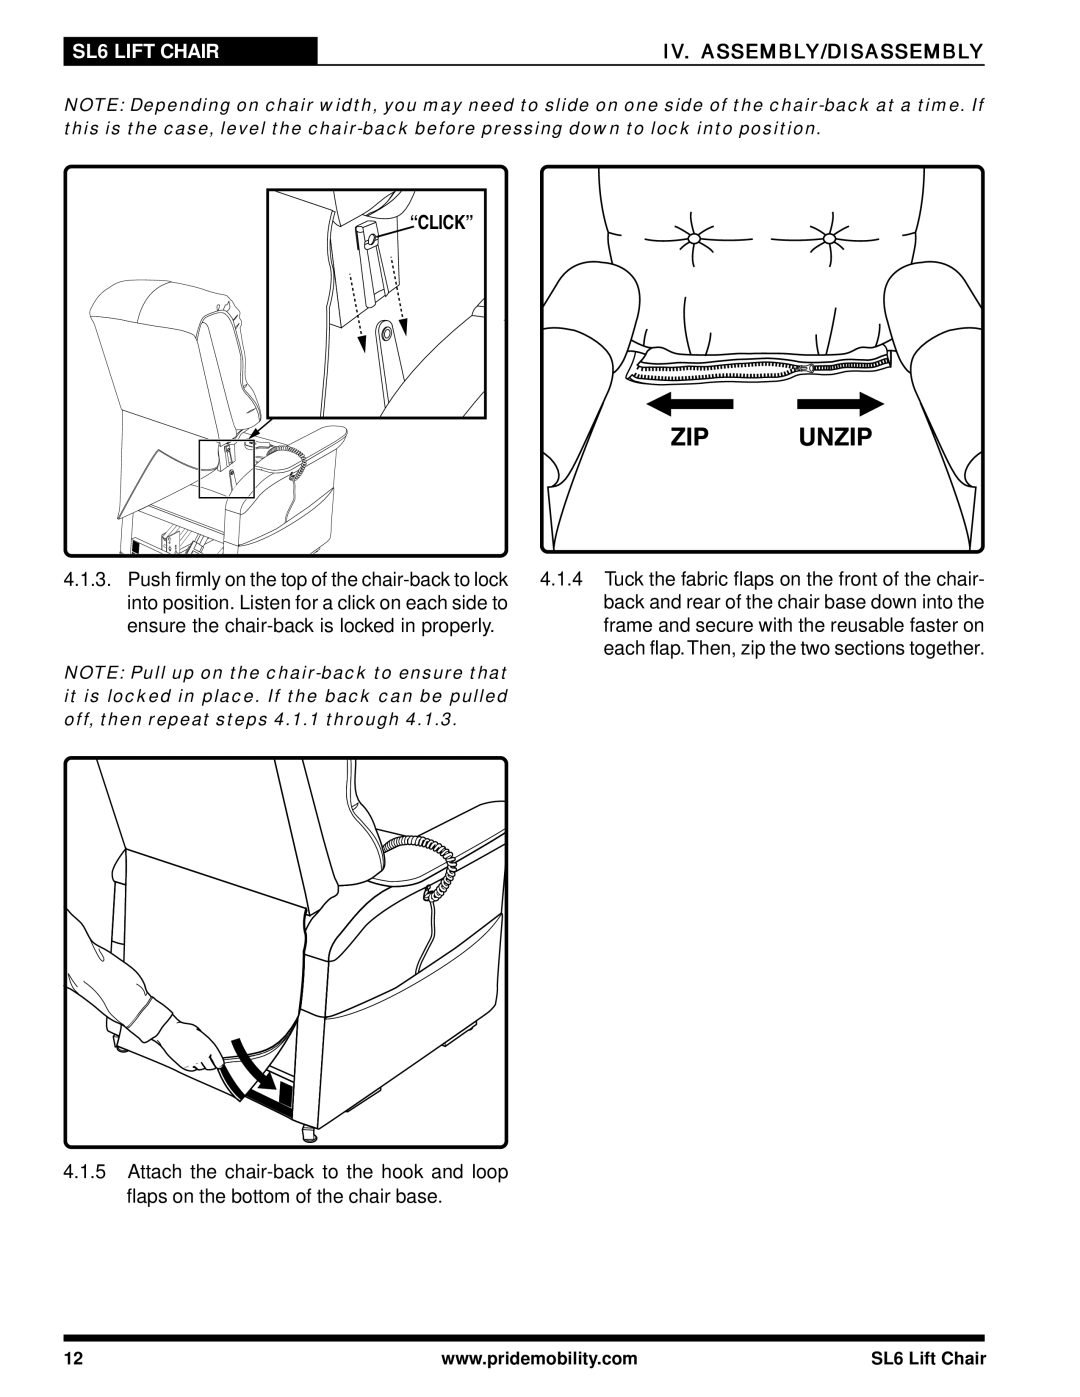
 chair-back at a time. If this is the case, level the chair-back before pressing down to lock into position.

“CLICK”

4.1.3.Push firmly on the top of the chair-back to lock into position. Listen for a click on each side to ensure the chair-back is locked in properly.

NOTE: Pull up on the chair-back to ensure that it is locked in place. If the back can be pulled off, then repeat steps 4.1.1 through 4.1.3.

4.1.4Tuck the fabric flaps on the front of the chair- back and rear of the chair base down into the frame and secure with the reusable faster on each flap.Then, zip the two sections together.

4.1.5Attach the chair-back to the hook and loop flaps on the bottom of the chair base.

12

www.pridemobility.com

SL6 Lift Chair

Page 12
Image 12
Pride Mobility manual SL6 Lift Chair IV. ASSEMBLY/DISASSEMBLY, Click