
FL1 Pro (Nikon), FL1 Pro (Canon), FL1 Pro (Sony) specifications
The ProMaster FL1 Pro series of flash units, designed for Canon, Nikon, and Sony cameras, offers photographers a powerful tool for enhancing their lighting capabilities. Each model shares core features that make it versatile and practical for various shooting conditions, whether in the studio or on location.One of the standout characteristics of the FL1 Pro is its high guide number, providing a strong light output that allows for effective use even in challenging lighting situations. With an impressive range for subject illumination, photographers can achieve optimal exposure without compromising the quality of their images. The unit’s tilt and swivel head allows for versatile bounce lighting, enabling a more natural look by diffusing harsh shadows.
The ProMaster FL1 Pro also benefits from swift recycling times, allowing photographers to capture multiple frames quickly without having to wait for the flash to recharge. Coupled with an advanced overheating protection mechanism, this ensures reliability during high-volume shooting sessions, making it an ideal choice for events or dynamic shooting environments.
One notable technology integrated into the FL1 Pro series is wireless control. Photographers can utilize the built-in 2.4GHz radio system to operate the flash remotely, allowing for creative off-camera lighting setups. This feature is especially appealing for portrait and product photographers looking to experiment with light placement while keeping workflow efficient and organized.
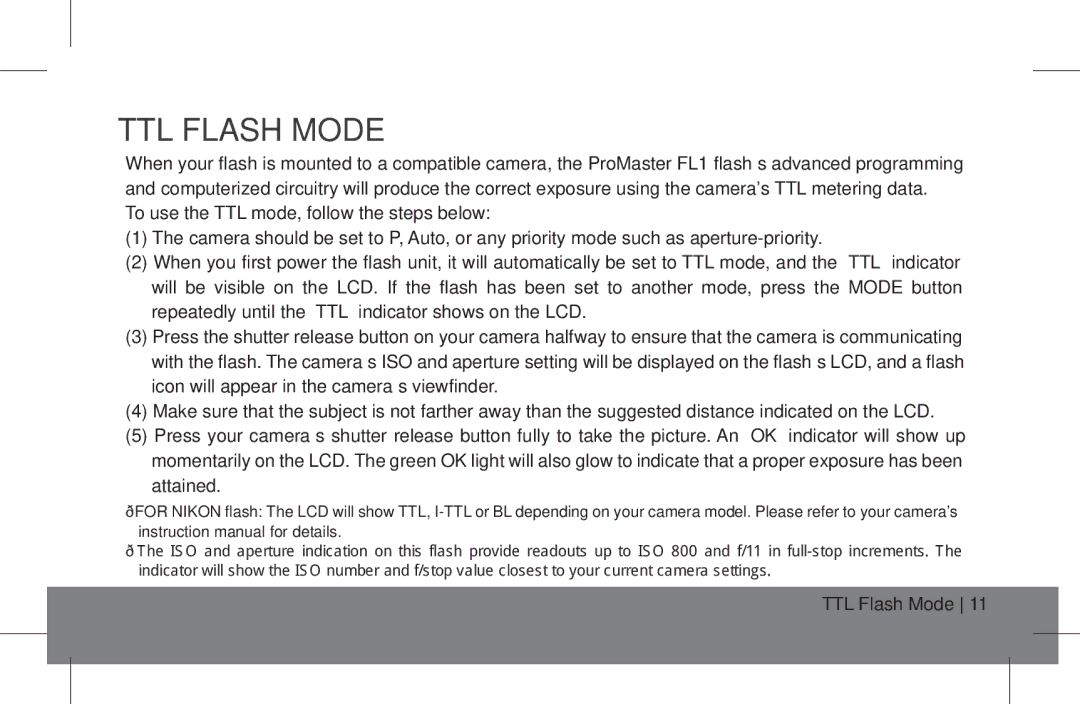
The FL1 Pro boasts an intuitive user interface with an LCD screen that displays settings and options clearly, simplifying adjustments on the fly. The unit also supports various advanced flash modes, including TTL (Through the Lens) and manual modes, granting users flexibility depending on their preferences and shooting styles.
Construction-wise, the ProMaster FL1 Pro is built to withstand the rigors of frequent use. A durable exterior protects the internal components while ensuring that the unit remains lightweight and portable. Additionally, it is compatible with a broad range of light modifiers and accessories, enabling users to customize their lighting setup according to specific artistic needs.
In summary, the ProMaster FL1 Pro flash series, with dedicated models for Canon, Nikon, and Sony, elevates the artistry of photography with its powerful performance, user-friendly features, and robust design. Whether it’s capturing beautiful portraits or dynamic action shots, the FL1 Pro provides reliability and versatility in various shooting scenarios, making it an essential addition to any photographer’s toolkit.