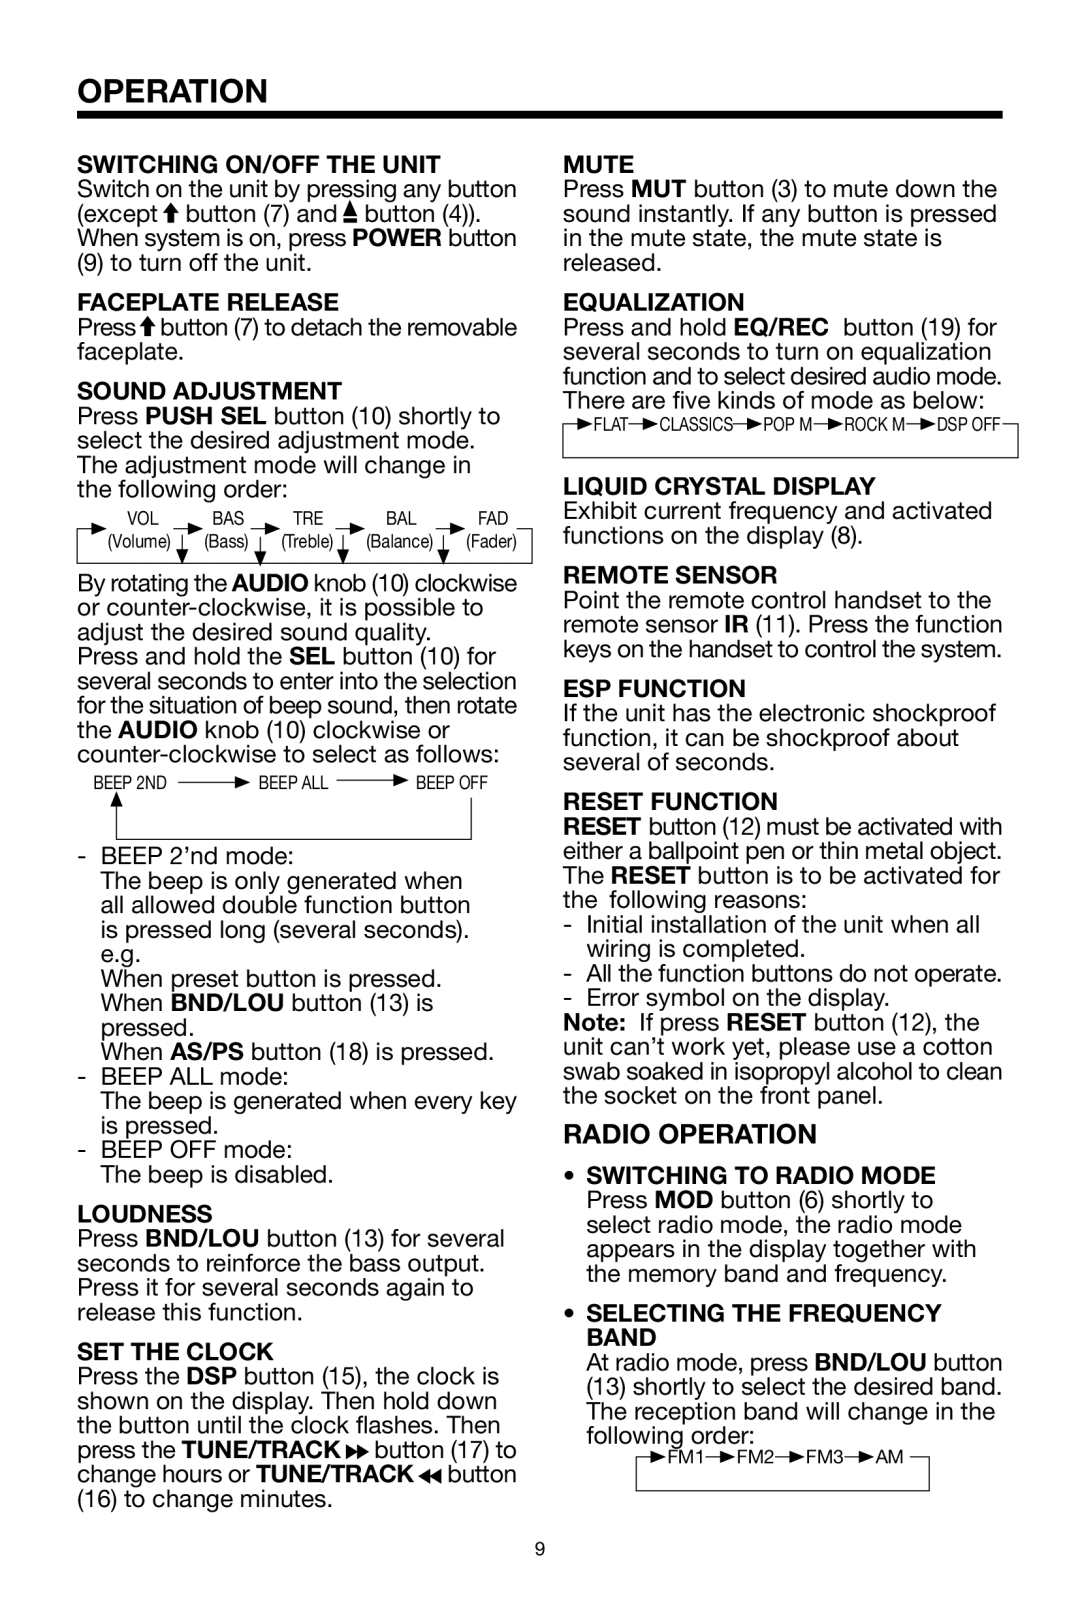
OPERATION

SWITCHING ON/OFF THE UNIT Switch on the unit by pressing any button (except button (7) and button (4)). When system is on, press POWER button

(9) to turn off the unit.

FACEPLATE RELEASE

Press button (7) to detach the removable faceplate.

SOUND ADJUSTMENT

Press PUSH SEL button (10) shortly to select the desired adjustment mode. The adjustment mode will change in the following order:


VOL


BAS


TRE


BAL


FAD


(Volume)


(Bass)


(Treble)


(Balance)


(Fader)


By rotating the AUDIO knob (10) clockwise or counter-clockwise, it is possible to adjust the desired sound quality.

Press and hold the SEL button (10) for several seconds to enter into the selection for the situation of beep sound, then rotate the AUDIO knob (10) clockwise or counter-clockwise to select as follows:

BEEP 2ND BEEP ALL BEEP OFF

-BEEP 2’nd mode:

The beep is only generated when all allowed double function button is pressed long (several seconds). e.g.

When preset button is pressed. When BND/LOU button (13) is pressed.

When AS/PS button (18) is pressed.

-BEEP ALL mode:

The beep is generated when every key is pressed.

-BEEP OFF mode: The beep is disabled.

LOUDNESS

Press BND/LOU button (13) for several seconds to reinforce the bass output. Press it for several seconds again to release this function.

SET THE CLOCK

Press the DSP button (15), the clock is shown on the display. Then hold down the button until the clock flashes. Then press the TUNE/TRACK button (17) to change hours or TUNE/TRACK button (16) to change minutes.

MUTE

Press MUT button (3) to mute down the sound instantly. If any button is pressed in the mute state, the mute state is released.

EQUALIZATION

Press and hold EQ/REC button (19) for several seconds to turn on equalization function and to select desired audio mode. There are five kinds of mode as below:

FLATCLASSICSPOP MROCK MDSP OFF

LIQUID CRYSTAL DISPLAY

Exhibit current frequency and activated functions on the display (8).

REMOTE SENSOR

Point the remote control handset to the remote sensor IR (11). Press the function keys on the handset to control the system.

ESP FUNCTION

If the unit has the electronic shockproof function, it can be shockproof about several of seconds.

RESET FUNCTION

RESET button (12) must be activated with either a ballpoint pen or thin metal object. The RESET button is to be activated for the following reasons:

-Initial installation of the unit when all wiring is completed.

-All the function buttons do not operate.

-Error symbol on the display.

Note: If press RESET button (12), the unit can’t work yet, please use a cotton swab soaked in isopropyl alcohol to clean the socket on the front panel.

RADIO OPERATION

SWITCHING TO RADIO MODE Press MOD button (6) shortly to select radio mode, the radio mode appears in the display together with the memory band and frequency.

SELECTING THE FREQUENCY BAND

At radio mode, press BND/LOU button (13) shortly to select the desired band. The reception band will change in the

following order:

FM1FM2FM3AM

9

Page 9
Image 9
PYLE Audio PLCD65WXMU owner manual Radio Operation

PLCD65WXMU specifications

The PYLE Audio PLCD65WXMU is a versatile and feature-rich digital media receiver that delivers superior sound quality and user-friendly functionality, making it an excellent choice for music enthusiasts on the go. Designed for modern vehicles, this unit supports a range of media formats and connectivity options, ensuring a seamless audio experience.

One of the standout features of the PLCD65WXMU is its compatibility with Bluetooth technology. This allows users to wirelessly stream music from their smartphones, tablets, or other Bluetooth-enabled devices. The built-in microphone enhances hands-free calling, providing convenience and safety while driving. The receiver's user interface is intuitive, featuring a bright, easy-to-read LCD display that shows song information, volume levels, and other essential details at a glance.

The PLCD65WXMU also supports USB and auxiliary inputs, ensuring versatile connectivity options. The USB port allows users to connect their flash drives, enabling access to thousands of songs directly from their media library. The auxiliary input provides additional flexibility for connecting other audio sources, guaranteeing that you can play your favorite tracks regardless of the format.

In terms of audio performance, this receiver impresses with its powerful built-in amplifier and customizable audio settings. The device includes a 4-channel output, allowing for connection to external speakers for an enhanced audio experience. Equipped with bass and treble controls, users can tailor the sound to their preferences, ensuring optimal performance.

Another key characteristic of the PYLE Audio PLCD65WXMU is its durable construction, designed to withstand the rigors of daily use in a vehicle environment. The unit is compatible with a range of car models, making it a versatile choice for many users.

In summary, the PYLE Audio PLCD65WXMU is a feature-packed digital media receiver that combines advanced technologies and user-friendly design. With Bluetooth connectivity, multiple input options, comprehensive audio controls, and durable construction, it stands out as an excellent choice for anyone looking to upgrade their car’s sound system. Its blend of functionality and performance makes it a formidable contender in the car audio market, appealing to both casual listeners and audiophiles alike.