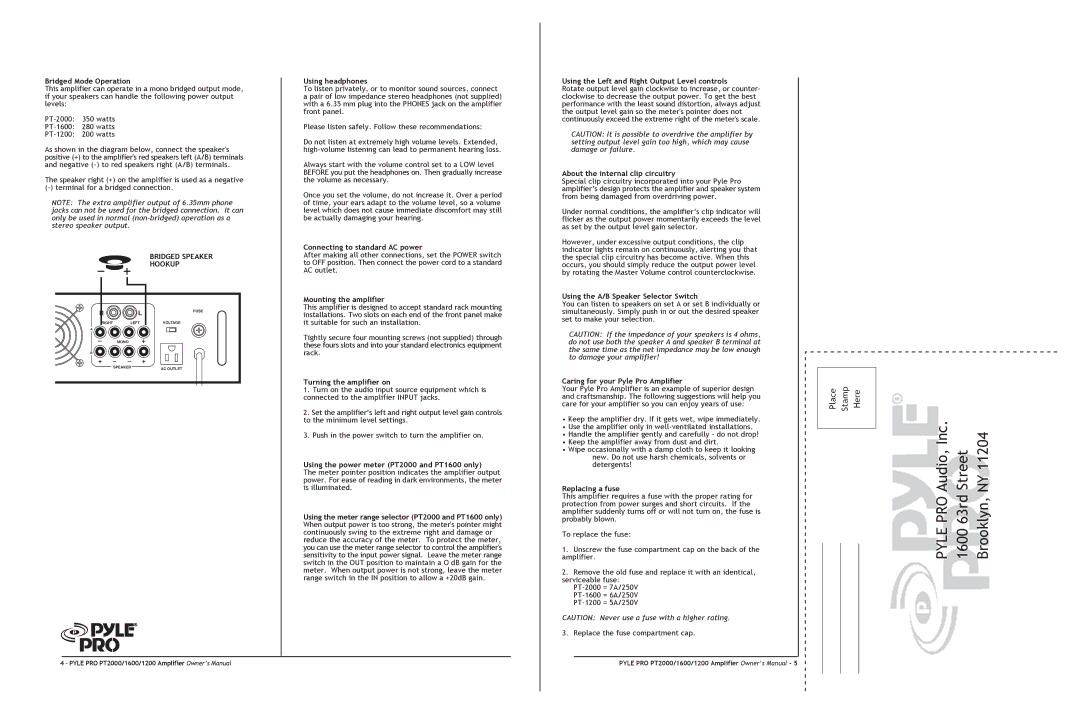
Bridged Mode Operation
This amplifier can operate in a mono bridged output mode, if your speakers can handle the following power output levels:
As shown in the diagram below, connect the speaker's positive (+) to the amplifier's red speakers left (A/B) terminals and negative
The speaker right (+) on the amplifier is used as a negative
NOTE: The extra amplifier output of 6.35mm phone jacks can not be used for the bridged connection. It can only be used in normal
BRIDGED SPEAKER
HOOKUP
Using headphones
To listen privately, or to monitor sound sources, connect a pair of low impedance stereo headphones (not supplied) with a 6.35 mm plug into the PHONES jack on the amplifier front panel.
Please listen safely. Follow these recommendations:
Do not listen at extremely high volume levels. Extended,
Always start with the volume control set to a LOW level BEFORE you put the headphones on. Then gradually increase the volume as necessary.
Once you set the volume, do not increase it. Over a period of time, your ears adapt to the volume level, so a volume level which does not cause immediate discomfort may still be actually damaging your hearing.
Connecting to standard AC power
After making all other connections, set the POWER switch to OFF position. Then connect the power cord to a standard AC outlet.
Mounting the amplifier
Using the Left and Right Output Level controls
Rotate output level gain clockwise to increase, or counter- clockwise to decrease the output power. To get the best performance with the least sound distortion, always adjust the output level gain so the meter's pointer does not continuously exceed the extreme right of the meter's scale.
CAUTION: It is possible to overdrive the amplifier by setting output level gain too high, which may cause damage or failure.
About the internal clip circuitry
Special clip circuitry incorporated into your Pyle Pro amplifier’s design protects the amplifier and speaker system from being damaged from overdriving power.
Under normal conditions, the amplifier’s clip indicator will flicker as the output power momentarily exceeds the level as set by the output level gain selector.
However, under excessive output conditions, the clip indicator lights remain on continuously, alerting you that the special clip circuitry has become active. When this occurs, you should simply reduce the output power level by rotating the Master Volume control counterclockwise.
Using the A/B Speaker Selector Switch
RL
RIGHT LEFT
A
– MONO +
B
+ – – +
SPEAKER
FUSE
VOLTAGE
AC OUTLET
This amplifier is designed to accept standard rack mounting installations. Two slots on each end of the front panel make it suitable for such an installation.
Tightly secure four mounting screws (not supplied) through these fours slots and into your standard electronics equipment rack.
Turning the amplifier on
1.Turn on the audio input source equipment which is connected to the amplifier INPUT jacks.
2.Set the amplifier’s left and right output level gain controls to the minimum level settings.
3.Push in the power switch to turn the amplifier on.
Using the power meter (PT2000 and PT1600 only)
The meter pointer position indicates the amplifier output power. For ease of reading in dark environments, the meter is illuminated.
Using the meter range selector (PT2000 and PT1600 only) When output power is too strong, the meter's pointer might continuously swing to the extreme right and damage or reduce the accuracy of the meter. To protect the meter, you can use the meter range selector to control the amplifier's sensitivity to the input power signal. Leave the meter range switch in the OUT position to maintain a O dB gain for the meter. When output power is not strong, leave the meter range switch in the IN position to allow a +20dB gain.
You can listen to speakers on set A or set B individually or simultaneously. Simply push in or out the desired speaker set to make your selection.
CAUTION: If the impedance of your speakers is 4 ohms, do not use both the speaker A and speaker B terminal at the same time as the net impedance may be low enough to damage your amplifier!
Caring for your Pyle Pro Amplifier
Your Pyle Pro Amplifier is an example of superior design and craftsmanship. The following suggestions will help you care for your amplifier so you can enjoy years of use:
•Keep the amplifier dry. If it gets wet, wipe immediately.
•Use the amplifier only in
•Handle the amplifier gently and carefully - do not drop!
•Keep the amplifier away from dust and dirt.
•Wipe occasionally with a damp cloth to keep it looking new. Do not use harsh chemicals, solvents or detergents!
Replacing a fuse
This amplifier requires a fuse with the proper rating for protection from power surges and short circuits. If the amplifier suddenly turns off or will not turn on, the fuse is probably blown.
To replace the fuse:
1.Unscrew the fuse compartment cap on the back of the amplifier.
2.Remove the old fuse and replace it with an identical, serviceable fuse:
CAUTION: Never use a fuse with a higher rating.
3. Replace the fuse compartment cap.
Here
Stamp
Place
Audio, Inc. | Street | NY 11204 |
PYLE PRO | 1600 63rd | Brooklyn, |
4 – PYLE PRO PT2000/1600/1200 Amplifier Owner’s Manual
PYLE PRO PT2000/1600/1200 Amplifier Owner’s Manual - 5
