Service Bulletin

Title:WideLine rigging hardware torque adjustment

Bulletin #:

WLX0001

Issue Date:

December 15, 2008

Passionate About Sound Models Affected: WideLine 8 Series and WideLine 10 Series Bulletin Revision: B

Production Range: All before December 2007 (serial number 1107xxxxx and earlier)

Description

When subjected to continuous or severe vibration during transport, it is possible for some of the screws attaching the rigging hardware to the WL3082 and WL212-sw (WideLine 8 Series) or WL2102-w and WL218-sw (WideLine 10 Series) to loosen. Since this could cause difficulty in rigging or unwanted rattles, QSC recommends that system owners inspect all rigging hardware before the next system use.

This bulletin applies to enclosures manufactured before December 2007. These units will have serial numbers with a date code of 1107 or earlier (the date code comprises the first four digits of the serial number, in mmyy format).

Instructions

Tools and materials required

• Power drill-screwdriver with adjustable torque clutch

• Torque wrench—set to 60 in-lb (5 ft-lb) or 7 N-m

Loctite® QuickStix™ 248™ medium-strength threadlocker stick (for technical information, availability, distribution, etc., go to http://www.loctite.com)

• T25 and T30 TORX™ bits; Phillips head (cross) bits

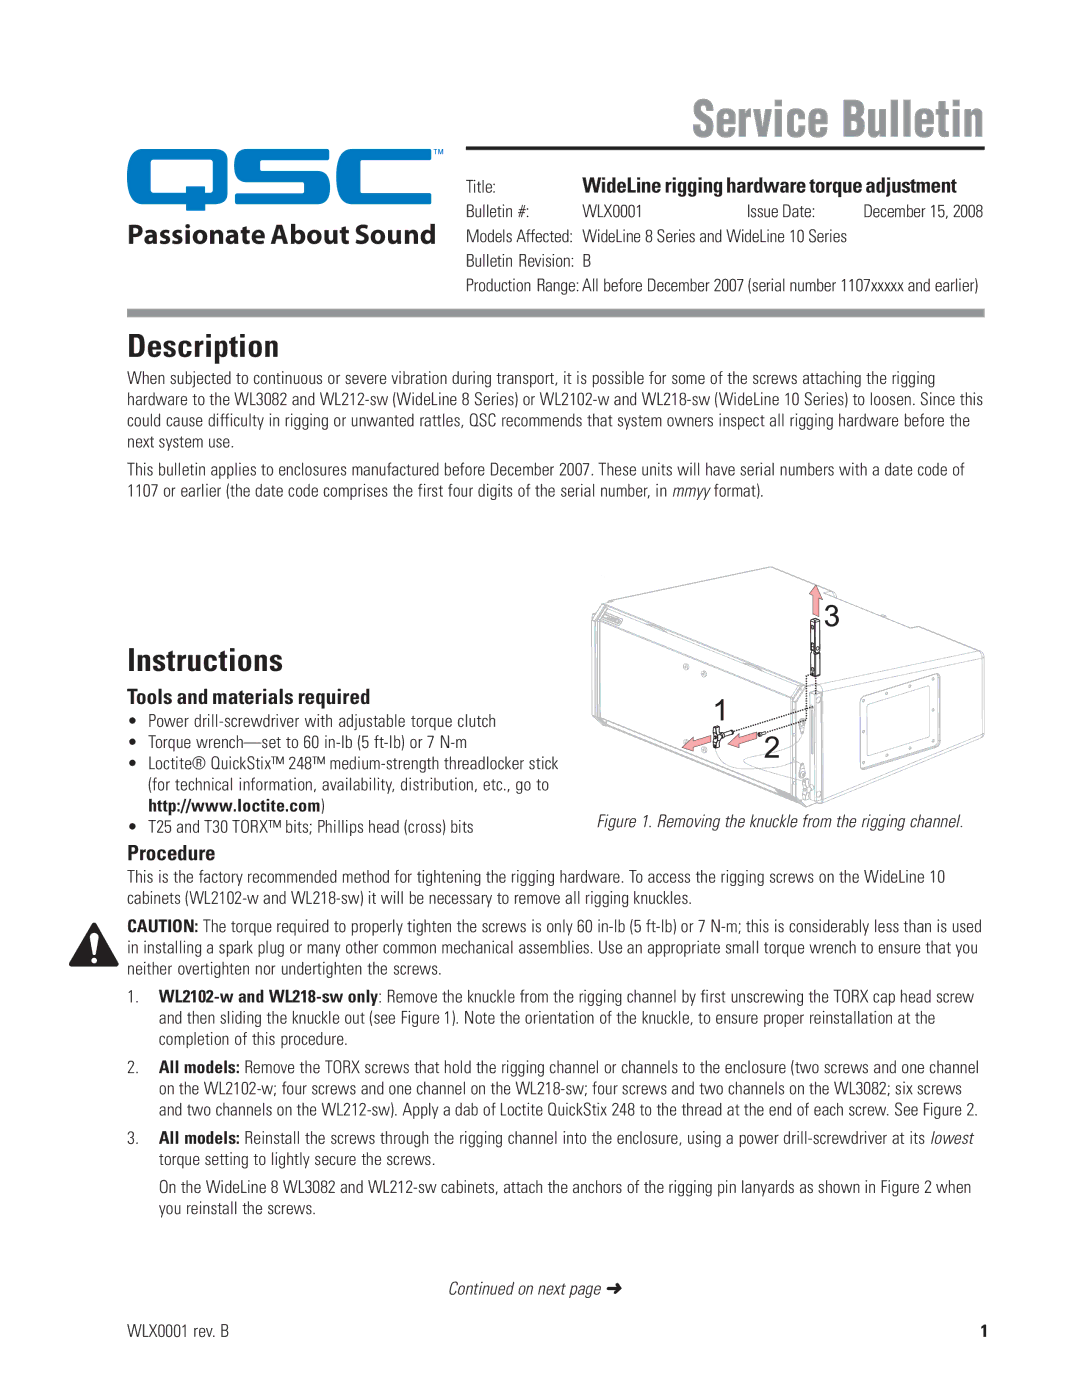
Figure 1. Removing the knuckle from the rigging channel.

Procedure

This is the factory recommended method for tightening the rigging hardware. To access the rigging screws on the WideLine 10 cabinets (WL2102-w and WL218-sw) it will be necessary to remove all rigging knuckles.

CAUTION: The torque required to properly tighten the screws is only 60 in-lb (5 ft-lb) or 7 N-m; this is considerably less than is used in installing a spark plug or many other common mechanical assemblies. Use an appropriate small torque wrench to ensure that you neither overtighten nor undertighten the screws.

1.WL2102-w and WL218-sw only: Remove the knuckle from the rigging channel by first unscrewing the TORX cap head screw and then sliding the knuckle out (see Figure 1). Note the orientation of the knuckle, to ensure proper reinstallation at the completion of this procedure.

2.All models: Remove the TORX screws that hold the rigging channel or channels to the enclosure (two screws and one channel on the WL2102-w; four screws and one channel on the WL218-sw; four screws and two channels on the WL3082; six screws and two channels on the WL212-sw). Apply a dab of Loctite QuickStix 248 to the thread at the end of each screw. See Figure 2.

3.All models: Reinstall the screws through the rigging channel into the enclosure, using a power drill-screwdriver at its lowest torque setting to lightly secure the screws.

On the WideLine 8 WL3082 and WL212-sw cabinets, attach the anchors of the rigging pin lanyards as shown in Figure 2 when you reinstall the screws.

Continued on next page

WLX0001 rev. B

1

Page 1
Image 1
QSC Audio 10 SERIES manual Description, Instructions, TitleWideLine rigging hardware torque adjustment, Procedure

B SERIES, 10 SERIES specifications

QSC Audio has established itself as a leader in professional audio solutions, and the 10 Series and B Series are prime examples of their commitment to quality and innovation. These series cater to a broad range of sound reinforcement applications, ensuring exceptional performance in diverse environments.

The QSC 10 Series consists of active loudspeakers designed for portable and fixed-installation applications. These speakers feature high-output, Class D amplification, which provides substantial power while maintaining energy efficiency. The 10 Series loudspeakers are equipped with advanced DSP (Digital Signal Processing) for enhanced sound quality, allowing users to make precise adjustments to EQ settings, crossover frequencies, and time alignment. With a wide frequency response and minimal distortion, the 10 Series delivers clear and accurate audio reproduction, making it ideal for live performances, events, and critical listening environments.

The B Series, on the other hand, comprises passive loudspeakers that are designed to work seamlessly with QSC amplifiers. These speakers are engineered with high-quality components, providing superior sound fidelity and reliability. The B Series is particularly notable for its robust construction, making it suitable for both touring applications and permanent installations. With a focus on versatility, the B Series is available in various sizes, allowing users to choose the model that best fits their specific needs.

Both series utilize QSC's proprietary technologies, such as the Intrinsic Correction™ algorithm, which optimizes the performance of each loudspeaker in real-time. This technology ensures that users experience consistent sound quality, regardless of the environment or placement of the speakers. Additionally, the intelligent thermal management system prevents overheating, enhancing the durability and longevity of the loudspeakers.

The ergonomic design of both the 10 Series and B Series includes options for multiple mounting configurations, including pole-mounting and rigging points, providing flexibility in setup. The integrated handles and lightweight construction of the 10 Series make it particularly user-friendly for mobile applications.

In summary, the QSC Audio 10 Series and B Series offer professional sound solutions that combine cutting-edge technologies with robust construction. Whether for live events, installations, or portable applications, these series deliver the performance and reliability that sound professionals have come to trust. With their impressive features, QSC continues to redefine the standards of audio excellence in the industry.