*CPFUHTGG"5RGCMGTRJQPG"-KV
HQT".)16QWEJRQKPV
| OWNER’S MANUAL — Please read before using this equipment. |
|
|
Your RadioShack Handsfree Speakerphone Kit is easy to use. It turns your cellular or PCS phone into a speakerphone in your car or truck. Just plug it into any standard (negative ground)
Warning: Always wear your seat belt. Never place a phone where it could damage or interfere with the operation of any passive safety device (airbags or seat belts).
Notes:
•For safety and the best performance, hold your phone upright with a
•To avoid lockup of the speakerphone system, always disconnect the speakerphone kit from power before starting your vehicle.
IMPORTANT
VOLUME ADJUSTMENT: Please note that for optimal use, the earpiece volume must be set to maximum. It is important that the volume is adjusted in two places. First set the phone’s volume and then set the volume on the speakerphone, using the side buttons.
KEYPAD TONES: When placing a call, you will not al- ways hear the
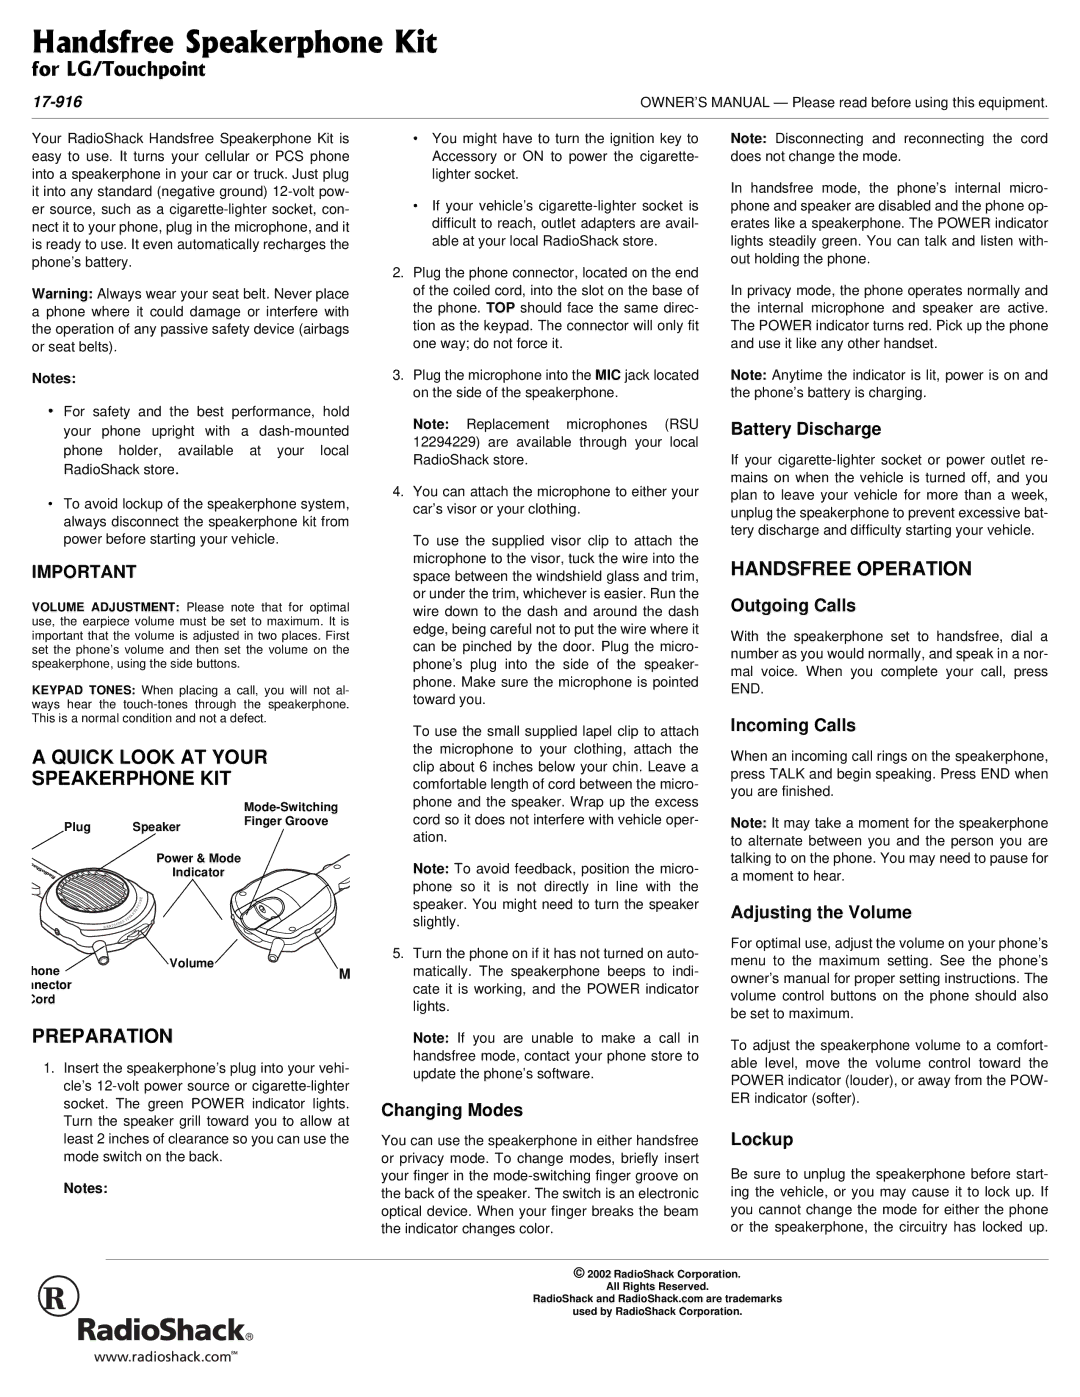
A QUICK LOOK AT YOUR
SPEAKERPHONE KIT
|
|
|
|
|
|
| |
Plug |
| Speaker | Finger Groove | ||||
|
| ||||||
|
|
|
|
|
| Power & Mode |
|
|
|
|
|
|
| Indicator |
|
|
|
|
|
|
| E |
|
|
|
|
|
|
| N |
|
|
|
|
|
| H | O |
|
|
|
| E | R | P |
|
|
| EA | K |
|
|
|
|
|
|
|
|
|
|
|
| |
| SP |
|
|
|
|
|
|
| EE |
|
|
|
|
|
|
| SFR |
|
|
|
|
|
|
| HAND |
|
|
|
|
|
|
hone |
|
|
|
|
| Volume | M |
|
|
|
|
|
| ||
nnector Cord
PREPARATION
1.Insert the speakerphone’s plug into your vehi- cle’s
Notes:
•You might have to turn the ignition key to Accessory or ON to power the cigarette- lighter socket.
•If your vehicle’s
2.Plug the phone connector, located on the end of the coiled cord, into the slot on the base of the phone. TOP should face the same direc- tion as the keypad. The connector will only fit one way; do not force it.
3.Plug the microphone into the MIC jack located on the side of the speakerphone.
Note: Replacement microphones (RSU 12294229) are available through your local RadioShack store.
4.You can attach the microphone to either your car’s visor or your clothing.
To use the supplied visor clip to attach the microphone to the visor, tuck the wire into the space between the windshield glass and trim, or under the trim, whichever is easier. Run the wire down to the dash and around the dash edge, being careful not to put the wire where it can be pinched by the door. Plug the micro- phone’s plug into the side of the speaker- phone. Make sure the microphone is pointed toward you.
To use the small supplied lapel clip to attach the microphone to your clothing, attach the clip about 6 inches below your chin. Leave a comfortable length of cord between the micro- phone and the speaker. Wrap up the excess cord so it does not interfere with vehicle oper- ation.
Note: To avoid feedback, position the micro- phone so it is not directly in line with the speaker. You might need to turn the speaker slightly.
5.Turn the phone on if it has not turned on auto- matically. The speakerphone beeps to indi- cate it is working, and the POWER indicator lights.
Note: If you are unable to make a call in handsfree mode, contact your phone store to update the phone’s software.
Changing Modes
You can use the speakerphone in either handsfree or privacy mode. To change modes, briefly insert your finger in the
Note: Disconnecting and reconnecting the cord does not change the mode.
In handsfree mode, the phone’s internal micro- phone and speaker are disabled and the phone op- erates like a speakerphone. The POWER indicator lights steadily green. You can talk and listen with- out holding the phone.
In privacy mode, the phone operates normally and the internal microphone and speaker are active. The POWER indicator turns red. Pick up the phone and use it like any other handset.
Note: Anytime the indicator is lit, power is on and the phone’s battery is charging.
Battery Discharge
If your
HANDSFREE OPERATION
Outgoing Calls
With the speakerphone set to handsfree, dial a number as you would normally, and speak in a nor- mal voice. When you complete your call, press END.
Incoming Calls
When an incoming call rings on the speakerphone, press TALK and begin speaking. Press END when you are finished.
Note: It may take a moment for the speakerphone to alternate between you and the person you are talking to on the phone. You may need to pause for a moment to hear.
Adjusting the Volume
For optimal use, adjust the volume on your phone’s menu to the maximum setting. See the phone’s owner’s manual for proper setting instructions. The volume control buttons on the phone should also be set to maximum.
To adjust the speakerphone volume to a comfort- able level, move the volume control toward the POWER indicator (louder), or away from the POW- ER indicator (softer).
Lockup
Be sure to unplug the speakerphone before start- ing the vehicle, or you may cause it to lock up. If you cannot change the mode for either the phone or the speakerphone, the circuitry has locked up.
© 2002 RadioShack Corporation.
All Rights Reserved.
RadioShack and RadioShack.com are trademarks
used by RadioShack Corporation.
