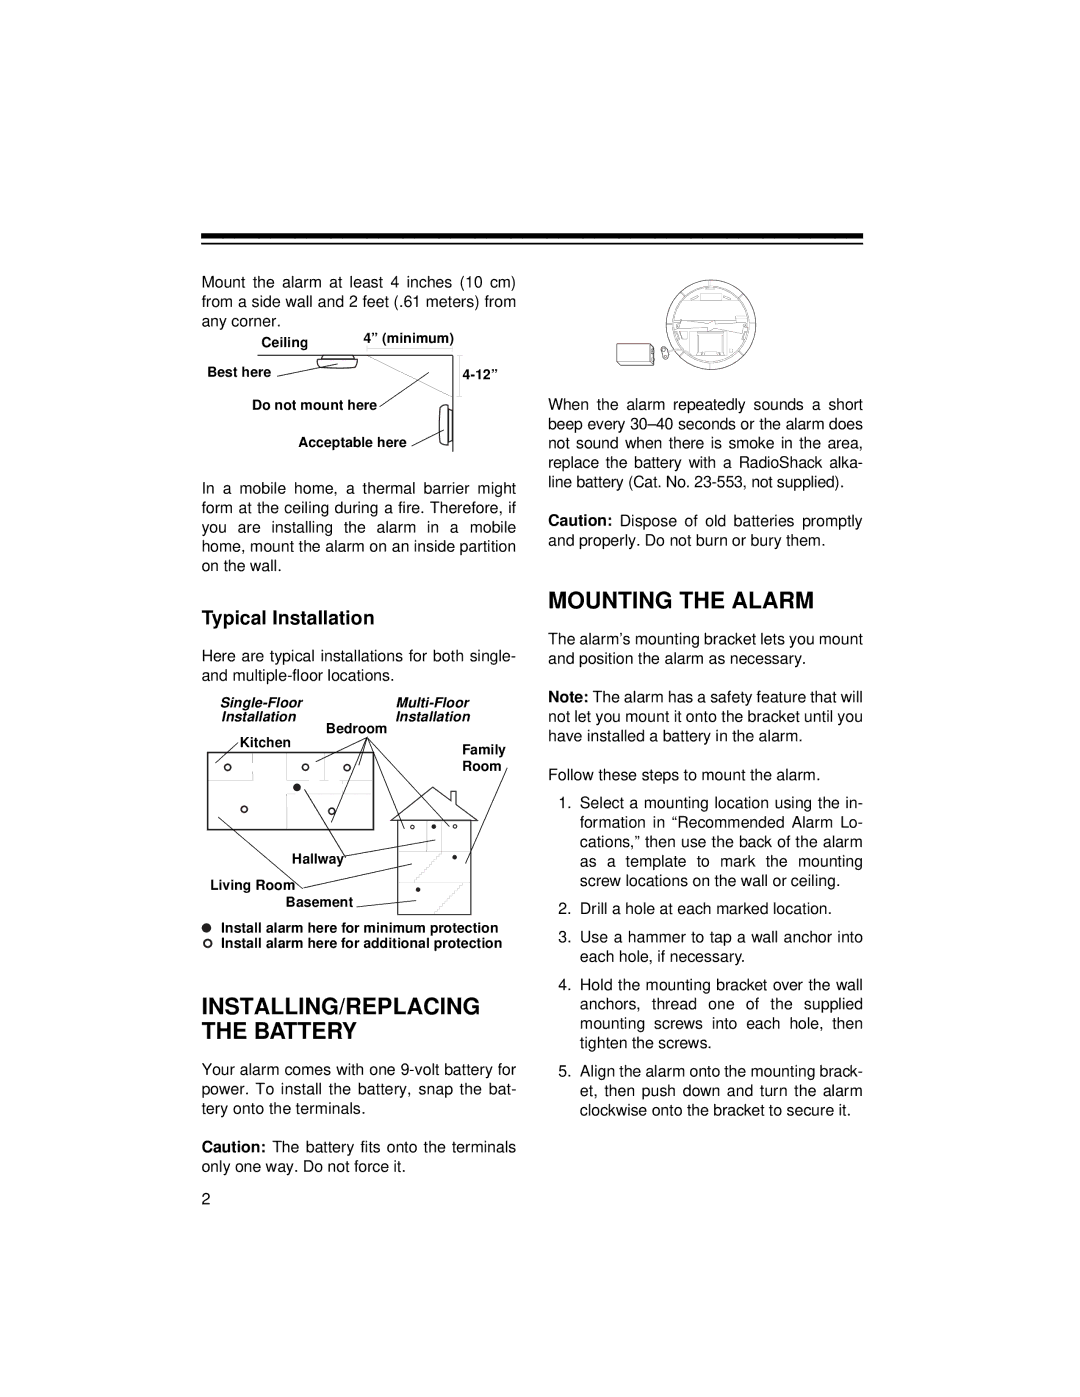
Mount the alarm at least 4 inches (10 cm) from a side wall and 2 feet (.61 meters) from any corner.
| Ceiling | 4” (minimum) | |
|
|
|
|
Best here |
| ||
Do not mount here![]()
Acceptable here ![]()
In a mobile home, a thermal barrier might form at the ceiling during a fire. Therefore, if you are installing the alarm in a mobile home, mount the alarm on an inside partition on the wall.
Typical Installation
Here are typical installations for both single- and
Installation | Installation | |
Kitchen | Bedroom | |
Family | ||
| ||
| Room |
Hallway![]()
Living Room
Basement ![]()
Install alarm here for minimum protection Install alarm here for additional protection
INSTALLING/REPLACING THE BATTERY
Your alarm comes with one
Caution: The battery fits onto the terminals only one way. Do not force it.
When the alarm repeatedly sounds a short beep every
Caution: Dispose of old batteries promptly and properly. Do not burn or bury them.
MOUNTING THE ALARM
The alarm’s mounting bracket lets you mount and position the alarm as necessary.
Note: The alarm has a safety feature that will not let you mount it onto the bracket until you have installed a battery in the alarm.
Follow these steps to mount the alarm.
1.Select a mounting location using the in- formation in “Recommended Alarm Lo- cations,” then use the back of the alarm as a template to mark the mounting screw locations on the wall or ceiling.
2.Drill a hole at each marked location.
3.Use a hammer to tap a wall anchor into each hole, if necessary.
4.Hold the mounting bracket over the wall anchors, thread one of the supplied mounting screws into each hole, then tighten the screws.
5.Align the alarm onto the mounting brack- et, then push down and turn the alarm clockwise onto the bracket to secure it.
2