PDCD810 specifications
The Radio Shack PDCD810 is a compact and portable CD player that was particularly popular during the late 1990s and early 2000s. Known for its lightweight design and user-friendly features, the PDCD810 was designed for music enthusiasts who valued accessibility without sacrificing quality.One of the standout characteristics of the PDCD810 is its sleek, simplistic design, making it easy to carry for on-the-go listening. It features a sturdy plastic shell and a flip-open lid that protects the CD from dust and scratches, ensuring longevity in performance. With its intuitive interface, the player includes centralized buttons for play, pause, skip, and volume control, allowing for seamless operation whether you're at home or on the move.
The PDCD810 supports a wide array of audio formats, with full compatibility for standard audio CDs as well as CD-R and CD-RW formats. This flexibility allows users to enjoy their favorite music collections in various formats, catering to a diverse range of audio preferences. Importantly, the inclusion of anti-shock technology allows for smooth playback, reducing the likelihood of skips when the player is in motion. This feature made it an ideal choice for those who enjoyed listening while exercising or traveling.
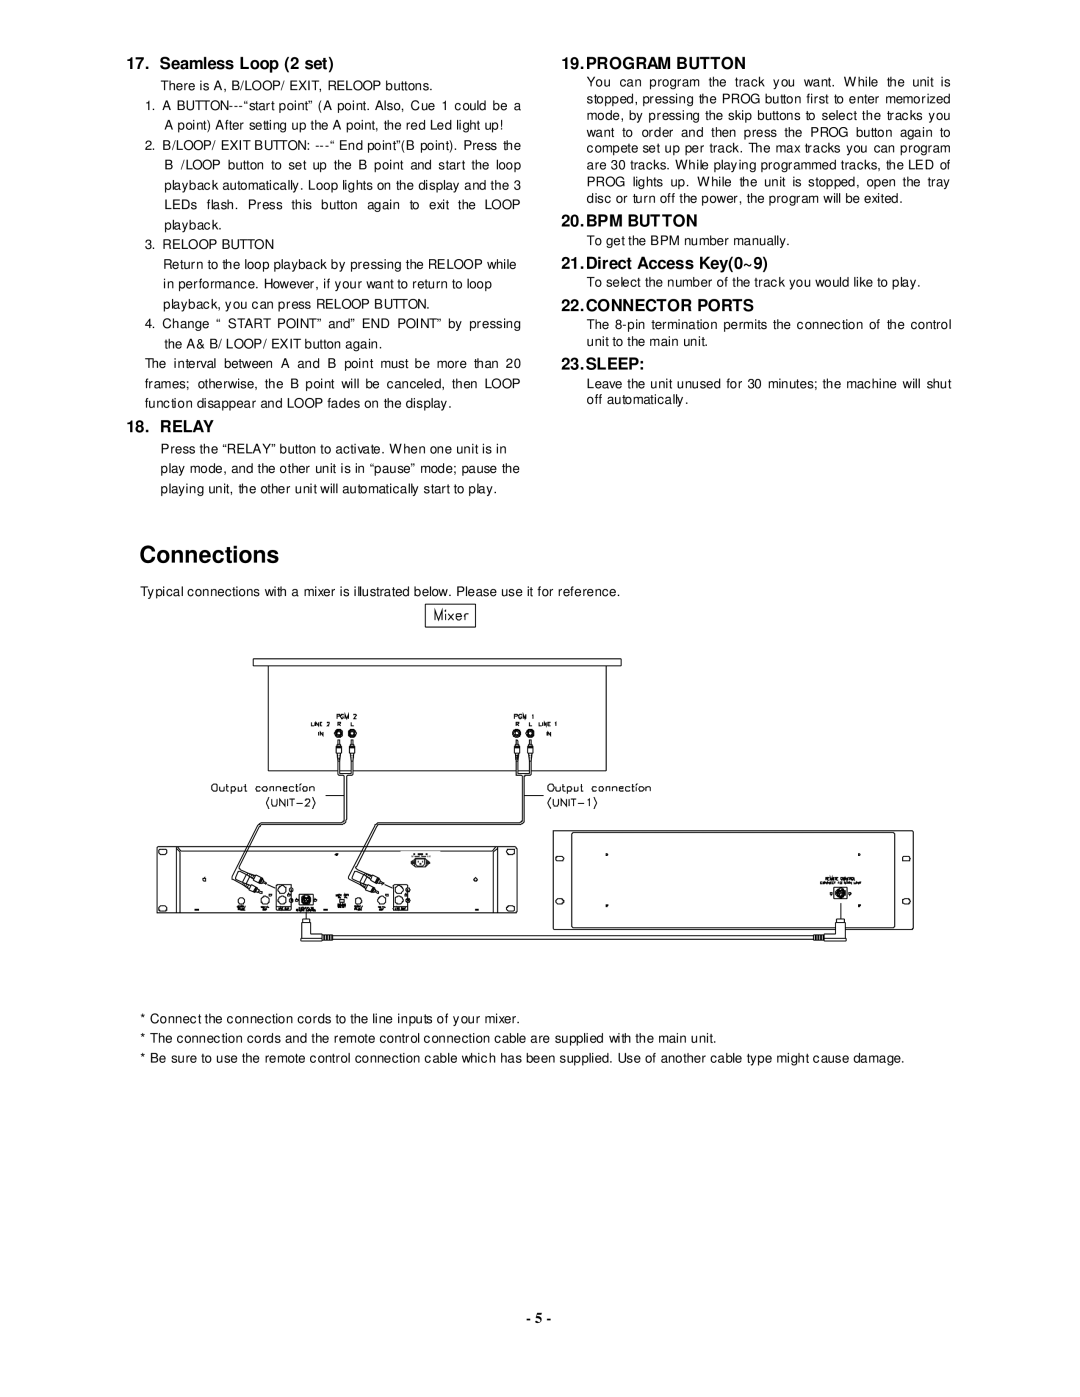
Technologically, the PDCD810 boasts an impressive battery life, powered by standard AA batteries, which can provide hours of continuous playback without interruption. For users looking for a more sustainable option, an AC adapter can also be used, making the PDCD810 versatile for both home and portable use. The headphone jack offers a private listening experience, while the line-out option enables connection to external speakers for an amplified sound experience.
In terms of additional features, the PDCD810 offers programmable memory, allowing users to select specific tracks for playback in their preferred order. This customization adds a personal touch to the listening experience, making it a favorite among users who enjoyed crafting their own playlists.
Overall, the Radio Shack PDCD810 is a vintage gem characterized by its simplicity, portability, and solid performance. With a combination of reliable technology and user-centric features, it continues to be fondly remembered by those who appreciated the joy of music in a compact package. Whether for daily commuting or leisurely afternoons at home, the PDCD810 provided an accessible way to enjoy one’s favorite songs.

