ELECTRICAL CONNECTION
• Connect the hood to the mains through a
• Remove the grease filters (see paragraph Maintenance) being sure that the connector of the feeding cable is correctly inserted in the socket placed on the side of the fan.
| Chimney assembly |
| |
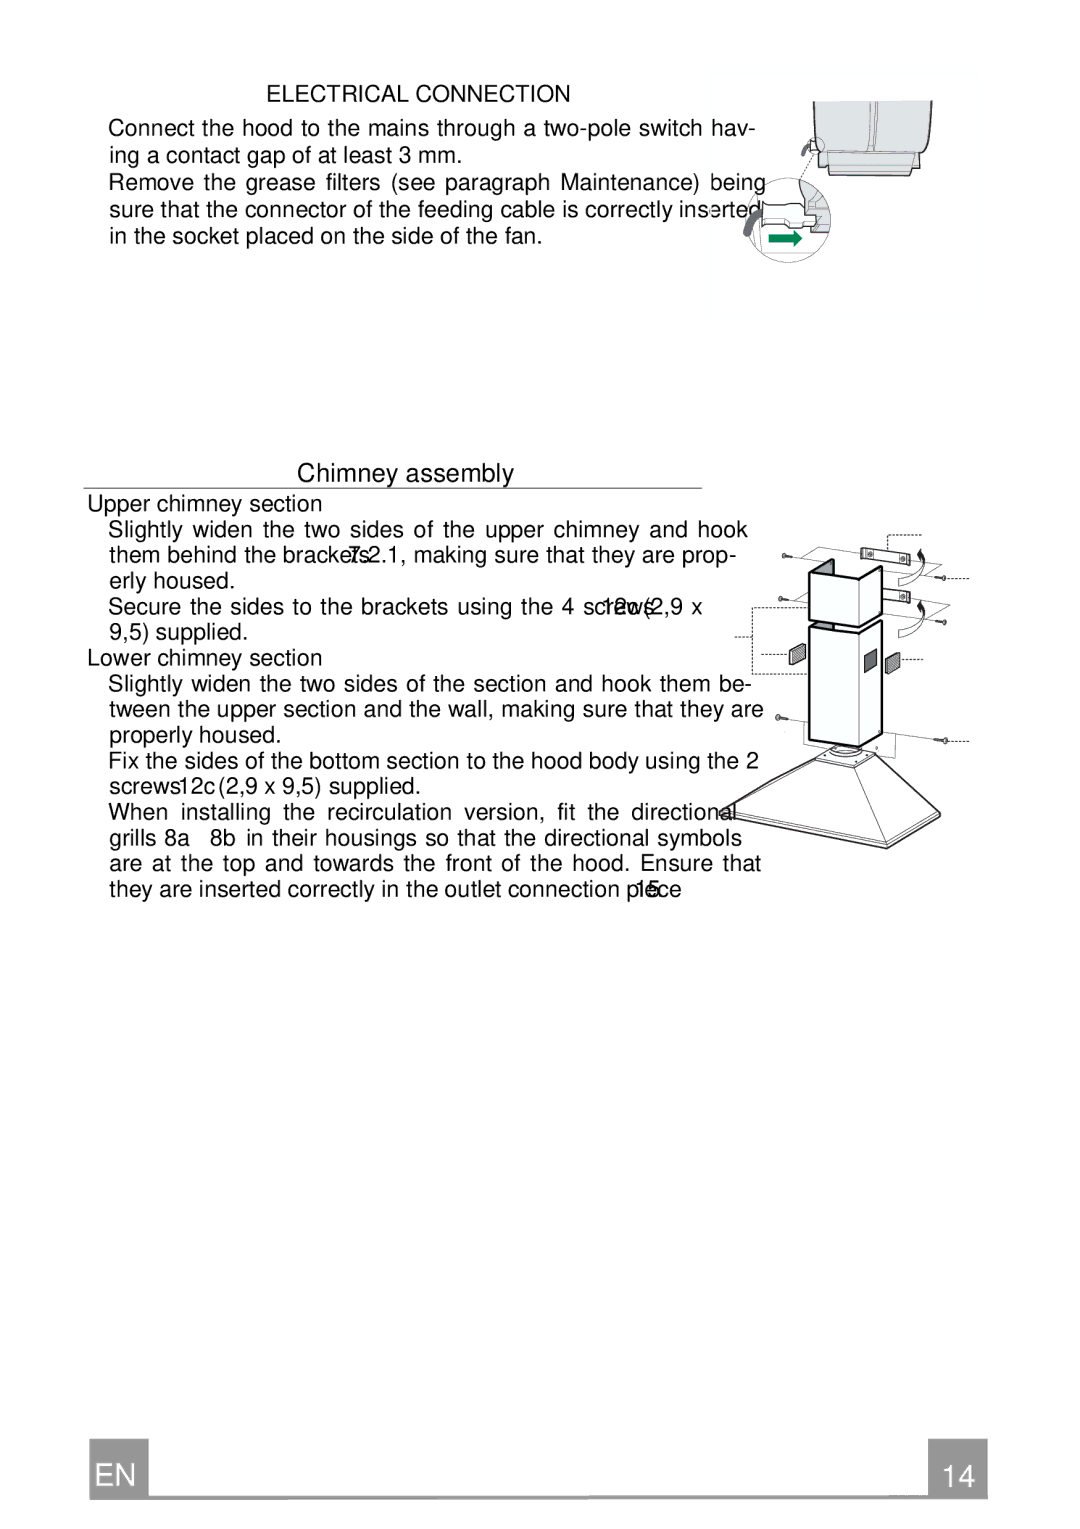
Upper chimney section |
| ||
• | Slightly widen the two sides of the upper chimney and hook |
| |
| them behind the brackets 7.2.1, making sure that they are prop- |
| |
| erly housed. | 2.1 | |
• | Secure the sides to the brackets using the 4 screws 12c (2,9 x | ||
| |||
| 9,5) supplied. | 2 | |
Lower chimney section | 8b | ||
2.2 | |||
• | Slightly widen the two sides of the section and hook them be- | ||
| |||
| tween the upper section and the wall, making sure that they are |
| |
| properly housed. |
| |
• Fix the sides of the bottom section to the hood body using the 2 screws 12c (2,9 x 9,5) supplied.
•When installing the recirculation version, fit the directional grills 8a – 8b in their housings so that the directional symbols are at the top and towards the front of the hood. Ensure that they are inserted correctly in the outlet connection piece 15.
7.2.1
12c
8a
12c
EN |
| 1 |
| 14 |