Mounting Bracket
Using the enclosed template, mark your desired speaker location.
NOTE: the bracket is offset to allow for the slide mount of the speaker onto the bracket.
The offset allows the speaker to be centered when mounting is complete. If mounting in a
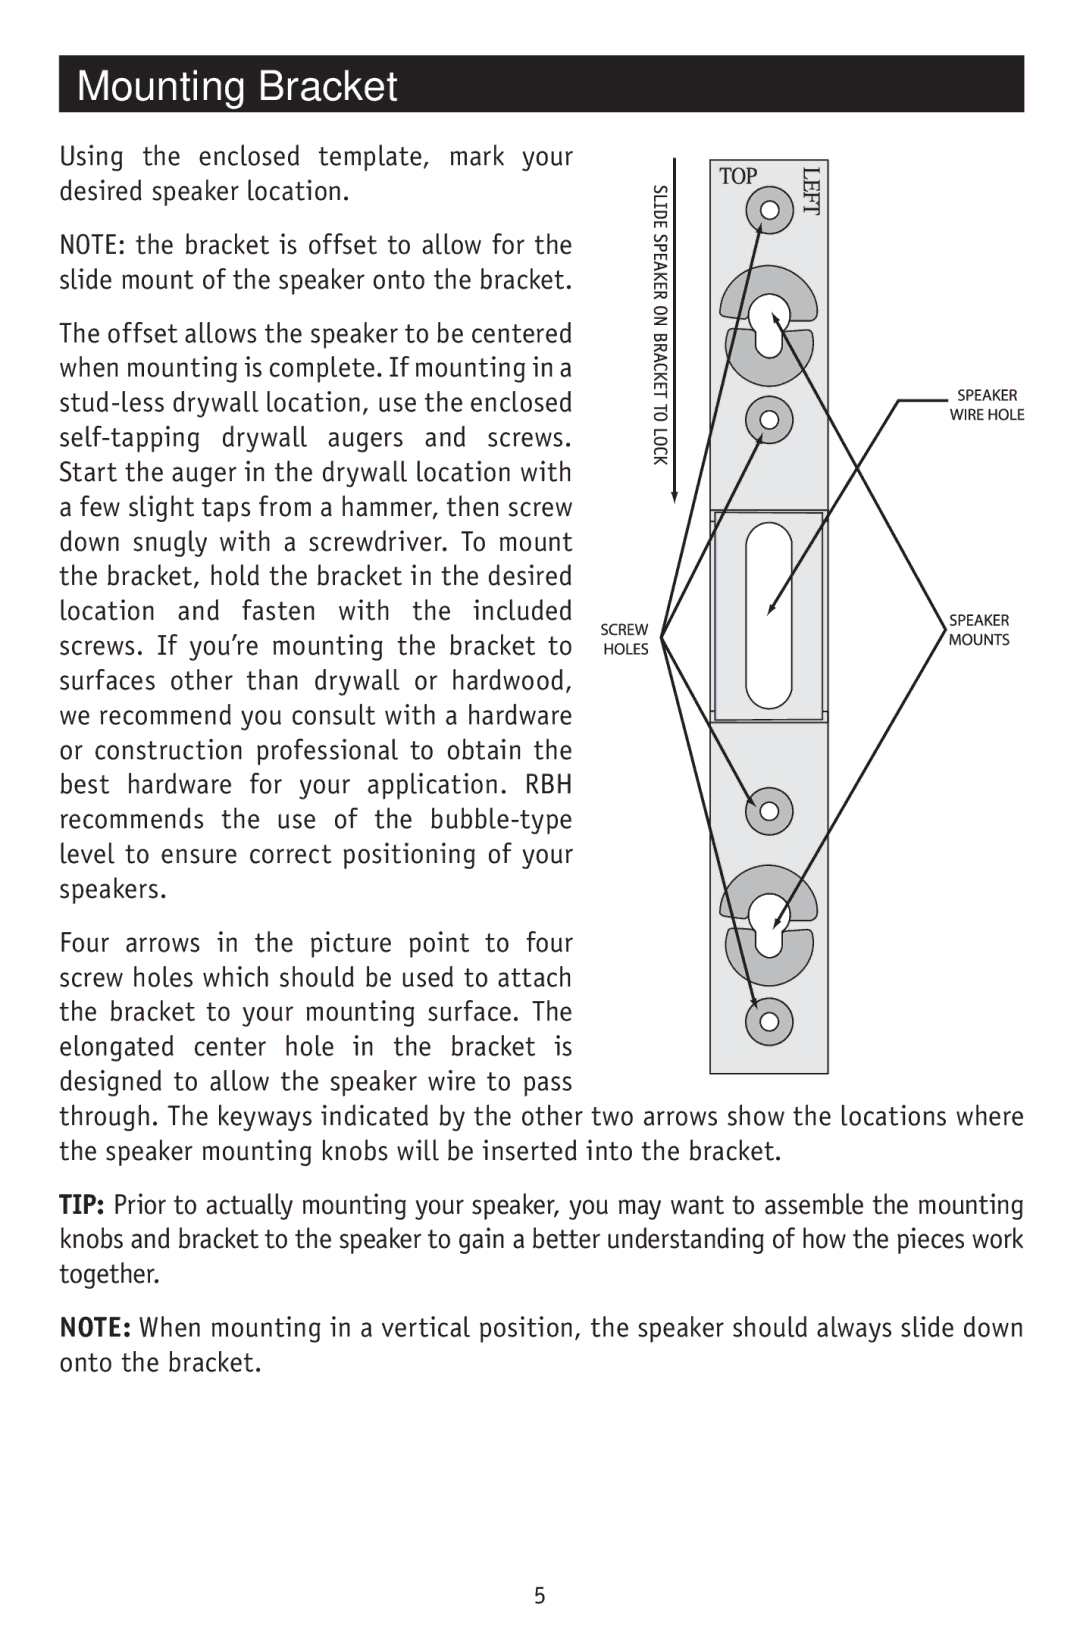
Four arrows in the picture point to four screw holes which should be used to attach
the bracket to your mounting surface. The elongated center hole in the bracket is
designed to allow the speaker wire to pass
through. The keyways indicated by the other two arrows show the locations where the speaker mounting knobs will be inserted into the bracket.
TIP: Prior to actually mounting your speaker, you may want to assemble the mounting knobs and bracket to the speaker to gain a better understanding of how the pieces work together.
NOTE: When mounting in a vertical position, the speaker should always slide down onto the bracket.
5