Note: For the best overall performance, connect your speaker so it is in phase positive to positive (+ to +) and negative to negative (– to
1.With the speaker in its approximate location, measure the distance to the amplifier and route the wire from the speaker to the amplifier.
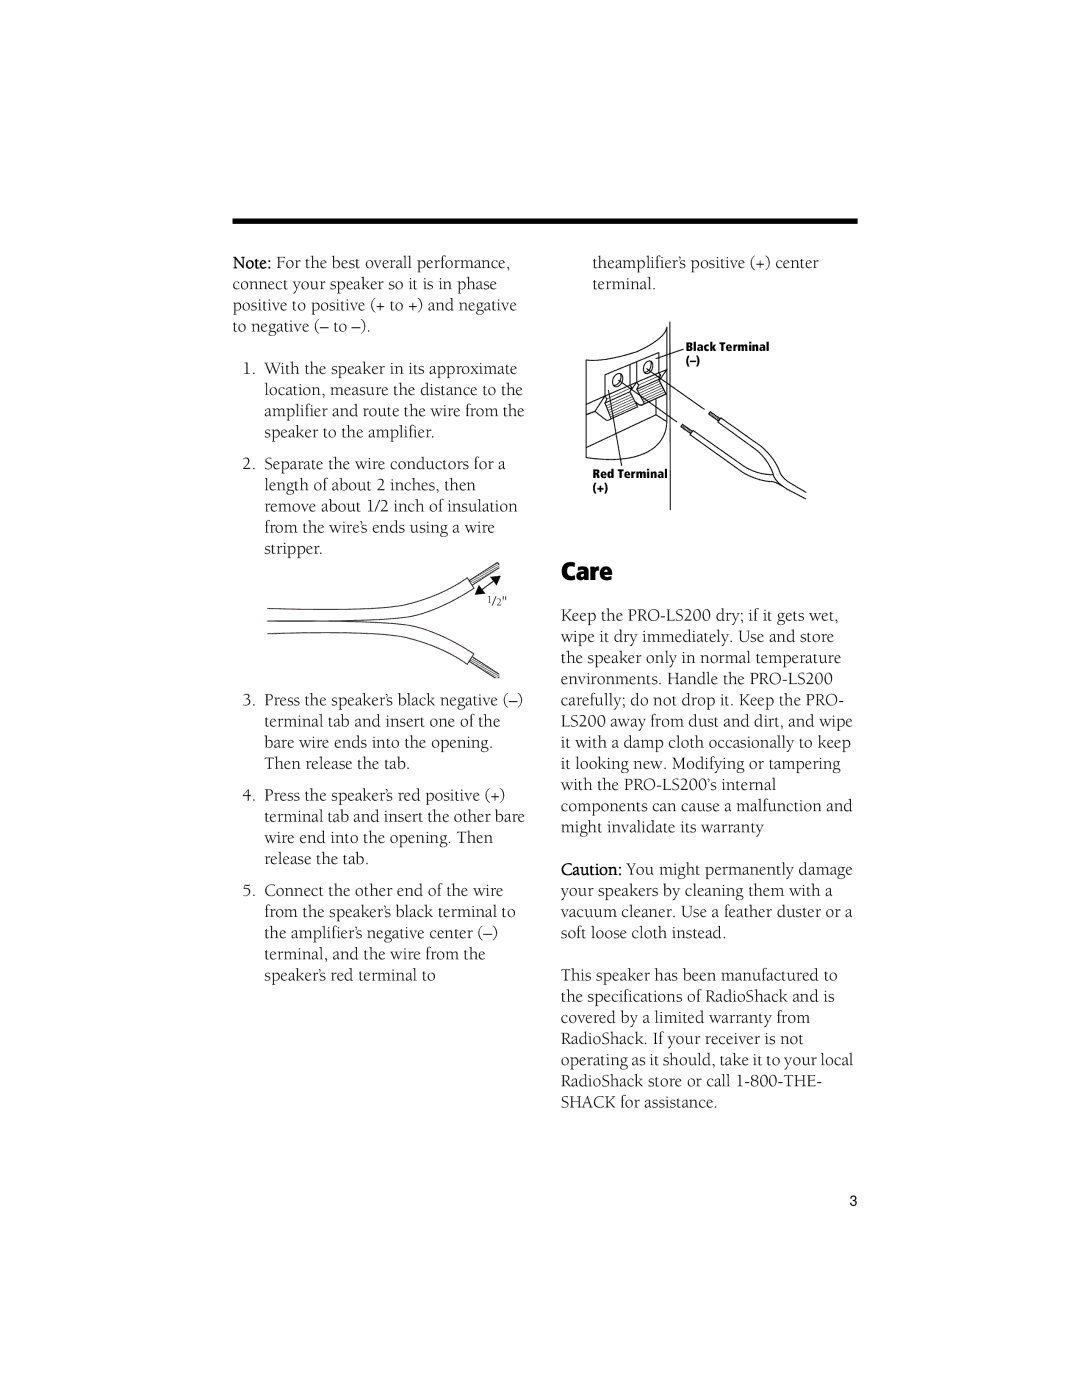
2.Separate the wire conductors for a length of about 2 inches, then remove about 1/2 inch of insulation from the wire’s ends using a wire stripper.
1/2''
3.Press the speaker’s black negative
4.Press the speaker’s red positive (+) terminal tab and insert the other bare wire end into the opening. Then release the tab.
5.Connect the other end of the wire from the speaker’s black terminal to the amplifier’s negative center
theamplifier’s positive (+) center terminal.
Black Terminal
Red Terminal
(+)
Care
Keep the
Caution: You might permanently damage your speakers by cleaning them with a vacuum cleaner. Use a feather duster or a soft loose cloth instead.
This speaker has been manufactured to the specifications of RadioShack and is covered by a limited warranty from RadioShack. If your receiver is not operating as it should, take it to your local RadioShack store or call
3
