Note: During the first few minutes that the treadmill is used, inspect the alignment of the walking belt and align it if necessary (see page 26).
5 Follow your progress with the LED track and the LED displays.
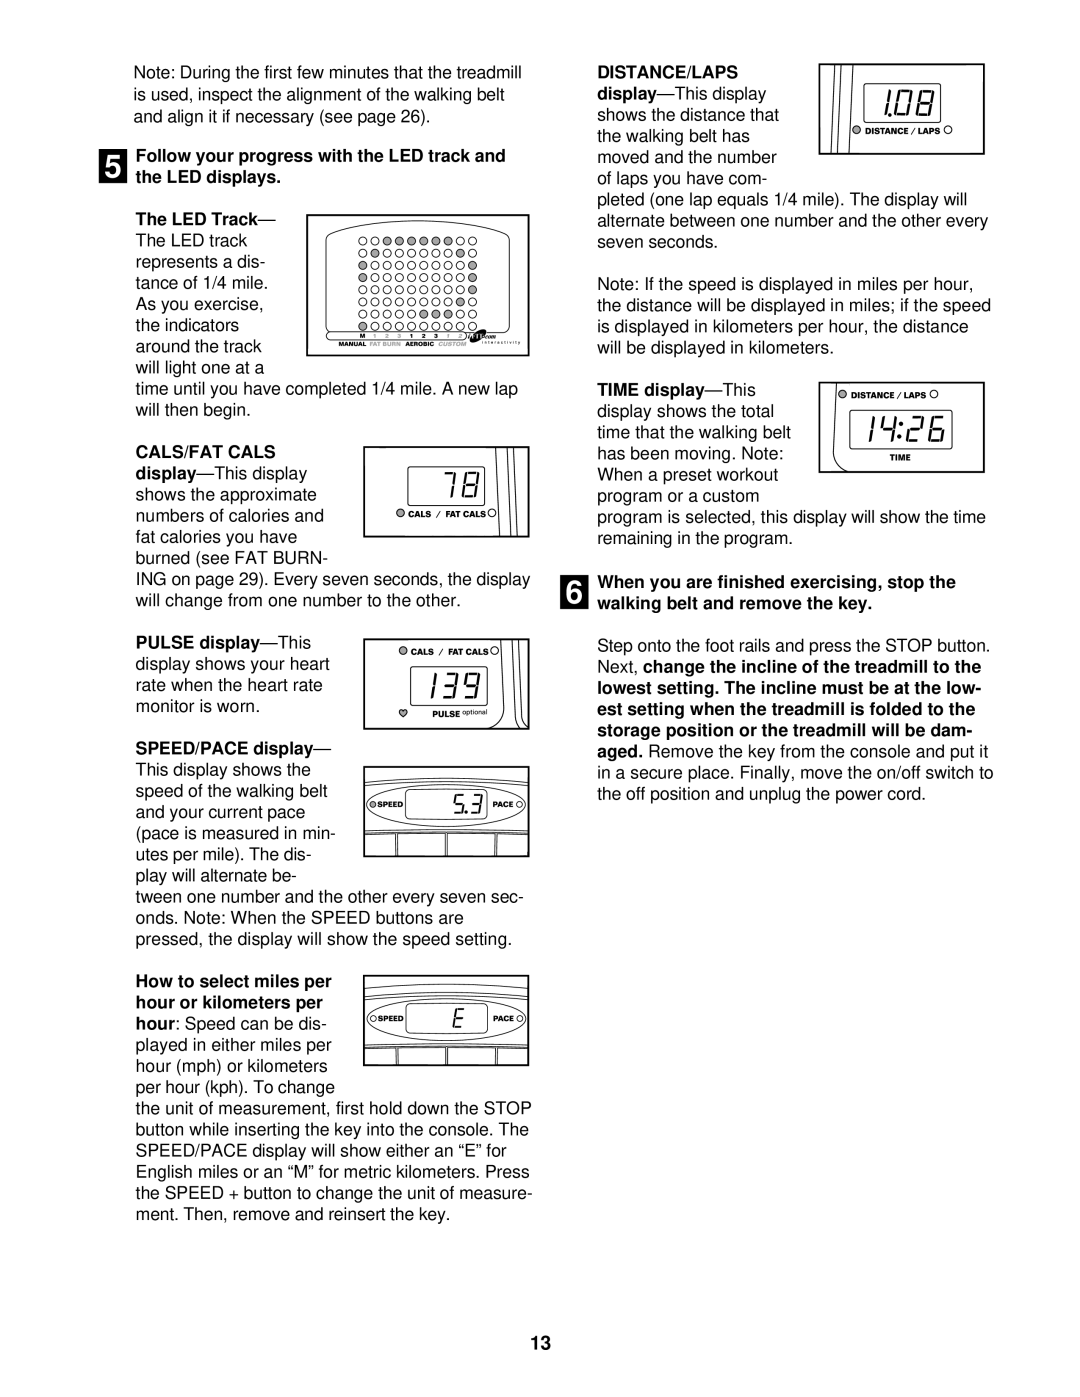
The LED Track—
The LED track represents a dis- tance of 1/4 mile. As you exercise, the indicators around the track will light one at a
time until you have completed 1/4 mile. A new lap will then begin.
CALS/FAT CALS
ING on page 29). Every seven seconds, the display will change from one number to the other.
PULSE
SPEED/PACE display—
This display shows the speed of the walking belt
and your current pace (pace is measured in min- utes per mile). The dis- play will alternate be-
tween one number and the other every seven sec- onds. Note: When the SPEED buttons are pressed, the display will show the speed setting.
How to select miles per hour or kilometers per
hour: Speed can be dis- played in either miles per
hour (mph) or kilometers per hour (kph). To change
the unit of measurement, first hold down the STOP button while inserting the key into the console. The SPEED/PACE display will show either an “E” for English miles or an “M” for metric kilometers. Press the SPEED + button to change the unit of measure- ment. Then, remove and reinsert the key.
DISTANCE/LAPS display—This display shows the distance that
the walking belt has moved and the number
of laps you have com-
pleted (one lap equals 1/4 mile). The display will alternate between one number and the other every seven seconds.
Note: If the speed is displayed in miles per hour, the distance will be displayed in miles; if the speed is displayed in kilometers per hour, the distance will be displayed in kilometers.
TIME display—This display shows the total
time that the walking belt has been moving. Note: When a preset workout
program or a custom
program is selected, this display will show the time remaining in the program.
6 When you are finished exercising, stop the walking belt and remove the key.
Step onto the foot rails and press the STOP button. Next, change the incline of the treadmill to the lowest setting. The incline must be at the low- est setting when the treadmill is folded to the storage position or the treadmill will be dam- aged. Remove the key from the console and put it in a secure place. Finally, move the on/off switch to the off position and unplug the power cord.
13
