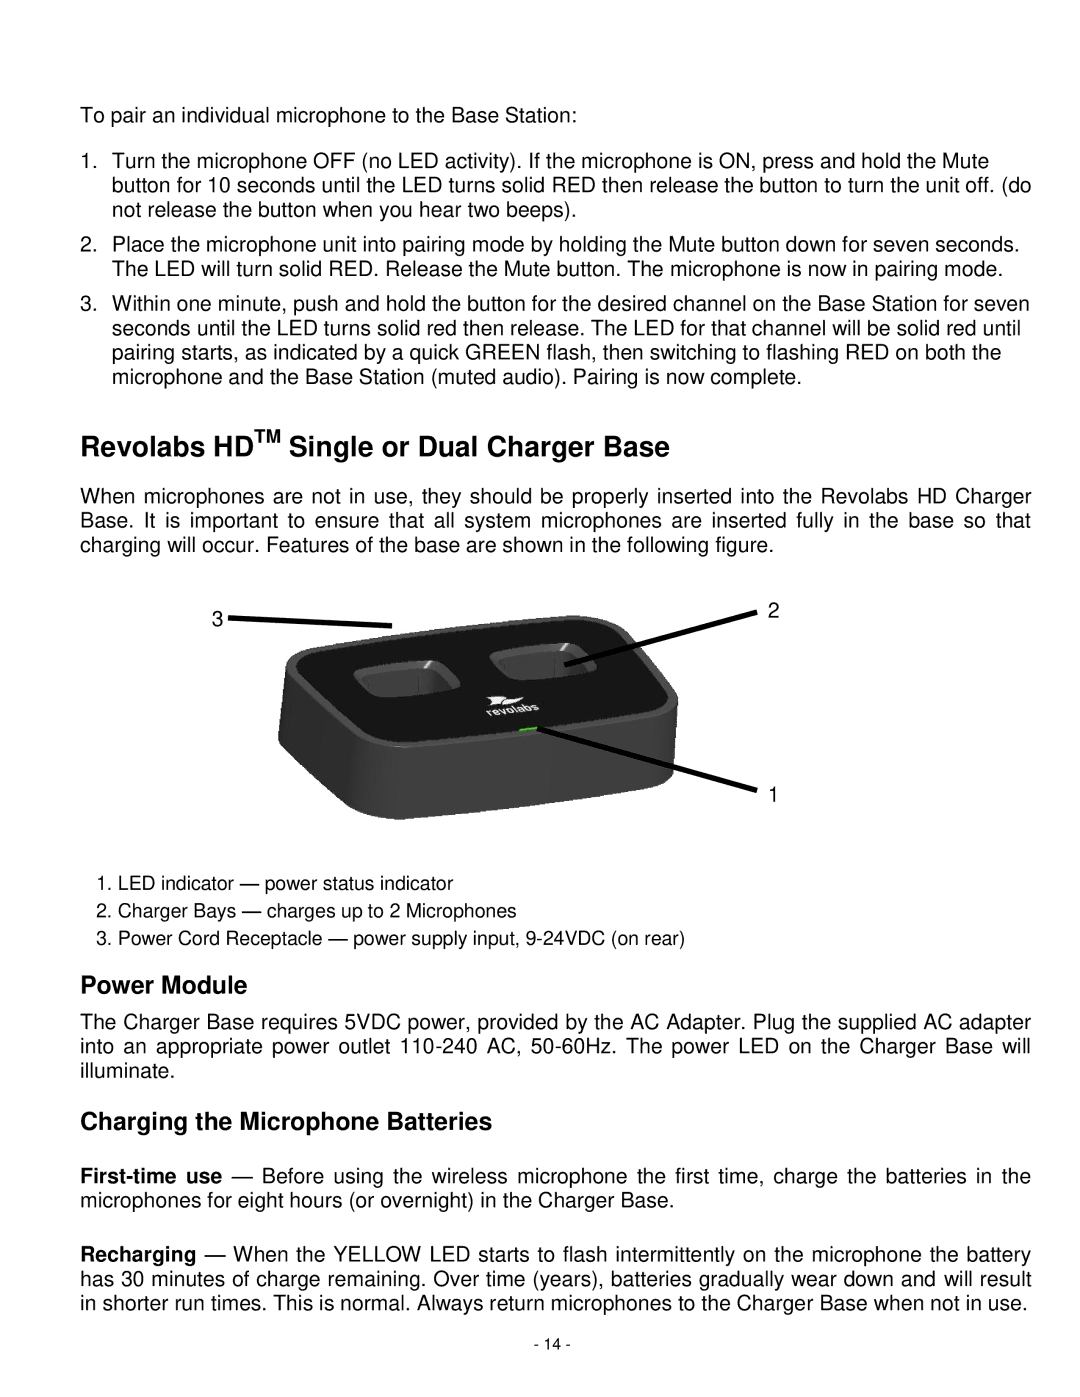
02-HDSGL, 04-HDSGLEU, 02-HDDUAL, 04-HDDUALEU specifications
Revolabs has established itself as a leader in the field of audio conferencing solutions, and its products like the 04-HDDUALEU, 02-HDDUAL, 04-HDSGLEU, and 02-HDSGL are prime examples of the innovation and quality the brand offers. These devices are designed to enhance audio experiences in various settings, including conference rooms and lecture halls, ensuring clarity and ease of use for all participants.The 04-HDDUALEU model is particularly notable for its dual-channel capabilities, allowing two separate audio sources to be transmitted simultaneously. This feature is ideal for scenarios where multiple speakers need to be heard distinctly, such as panel discussions or interviews. Its ability to support multiple microphone types, including handheld and lapel mics, provides flexibility to users, catering to different preferences and situations.
The 02-HDDUAL offers similar advantages but is designed for smaller setups. It maintains the dual-channel functionality while being compact and lightweight, making it a great option for mobile conferencing. This model ensures high-quality audio transmission with minimal interference, which is essential for effective communication during remote meetings.
On the other hand, the 04-HDSGLEU and 02-HDSGL models focus on single-channel configurations. These devices are perfect for more straightforward applications where only one audio source is necessary. Despite being single-channel, both models do not compromise on sound quality, delivering clear and precise audio that enhances the user experience.
All these devices employ advanced technologies like wireless audio transmission, which eliminates the clutter of cables, providing a clean and organized space. This feature is particularly beneficial in collaborative environments, as it allows for free movement without being restrained by wires. Additionally, they use the latest in noise cancellation technology, ensuring that background distractions are minimized, and conversations can flow smoothly.
The devices are engineered to be user-friendly, featuring easy setup processes and intuitive controls. They are compatible with various conferencing platforms, making them versatile tools for any organization. Moreover, their robust build quality ensures durability, making them suitable for long-term use in demanding environments.
In summary, Revolabs’ 04-HDDUALEU, 02-HDDUAL, 04-HDSGLEU, and 02-HDSGL models stand out for their superior audio quality, flexibility in configurations, and advanced wireless technology, making them ideal solutions for enhancing communication in any professional setting.

