OPERATION
OPERATING THE SANDER
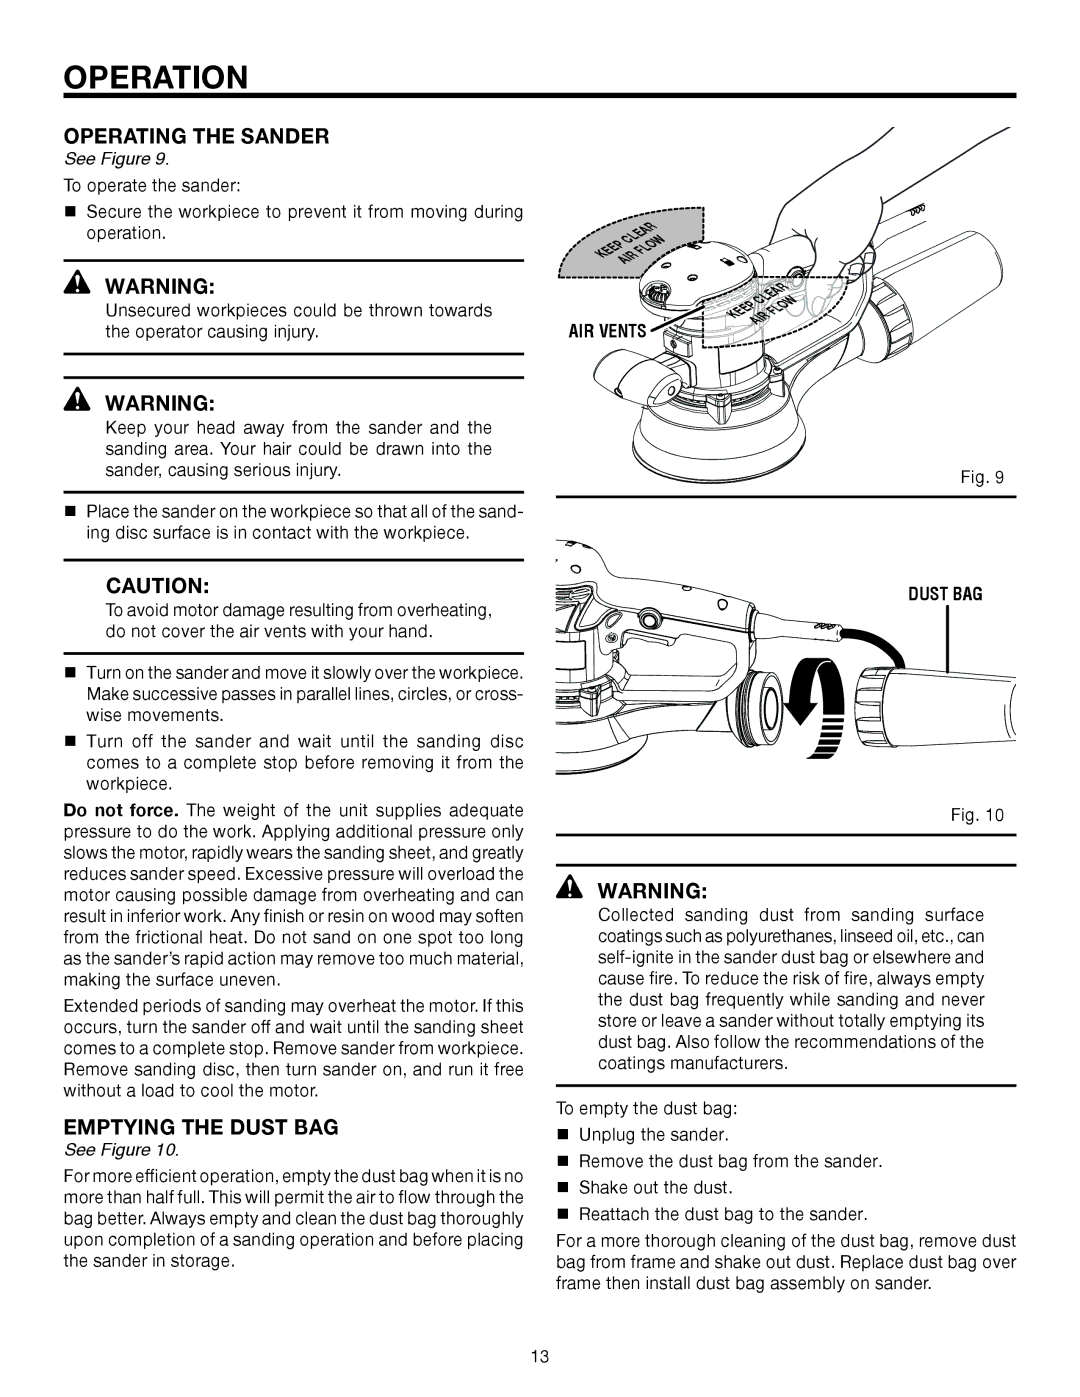
See Figure 9.
To operate the sander:
Secure the workpiece to prevent it from moving during operation.
WARNING:
Unsecured workpieces could be thrown towards the operator causing injury.
|
| R |
|
|
| |
| A |
|
|
| ||
| E |
|
|
|
| |
L |
| W |
|
|
| |
C |
|
|
|
| ||
P |
| O |
|
|
| |
E | L |
|
|
| ||
E | F |
|
|
|
| |
K IR |
|
|
|
|
| |
A |
|
|
|
|
|
|
|
|
|
|
|
| R |
|
|
|
|
| A | |
|
|
|
|
| E | |
|
|
|
| L | ||
|
|
|
| C | W | |
|
|
| P |
| O | |
|
|
| E | L | ||
|
|
| E |
| F | |
|
|
| K | IR |
| |
AIR VENTS | A |
|
| |||
|
|
|
| |||
WARNING:
Keep your head away from the sander and the |
|
sanding area. Your hair could be drawn into the |
|
sander, causing serious injury. | Fig. 9 |
|
Place the sander on the workpiece so that all of the sand- ing disc surface is in contact with the workpiece.
CAUTION:
To avoid motor damage resulting from overheating, do not cover the air vents with your hand.
Turn on the sander and move it slowly over the workpiece. Make successive passes in parallel lines, circles, or cross- wise movements.
Turn off the sander and wait until the sanding disc comes to a complete stop before removing it from the workpiece.
Do not force. The weight of the unit supplies adequate pressure to do the work. Applying additional pressure only slows the motor, rapidly wears the sanding sheet, and greatly reduces sander speed. Excessive pressure will overload the motor causing possible damage from overheating and can result in inferior work. Any finish or resin on wood may soften from the frictional heat. Do not sand on one spot too long as the sander’s rapid action may remove too much material, making the surface uneven.
Extended periods of sanding may overheat the motor. If this occurs, turn the sander off and wait until the sanding sheet comes to a complete stop. Remove sander from workpiece. Remove sanding disc, then turn sander on, and run it free without a load to cool the motor.
EMPTYING THE DUST BAG
See Figure 10.
For more efficient operation, empty the dust bag when it is no more than half full. This will permit the air to flow through the bag better. Always empty and clean the dust bag thoroughly upon completion of a sanding operation and before placing the sander in storage.
DUST BAG
Fig. 10
WARNING:
Collected sanding dust from sanding surface coatings such as polyurethanes, linseed oil, etc., can
To empty the dust bag:
Unplug the sander.
Remove the dust bag from the sander.
Shake out the dust.
Reattach the dust bag to the sander.
For a more thorough cleaning of the dust bag, remove dust bag from frame and shake out dust. Replace dust bag over frame then install dust bag assembly on sander.
13