Stereo 90 specifications
Rogue Audio Stereo 90 is a high-performance power amplifier that stands out in the competitive landscape of audiophile equipment. Renowned for its exceptional sound quality, the Stereo 90 embodies a blend of innovative technology and classic design principles, making it a favorite among music enthusiasts and professionals alike.At the core of the Rogue Audio Stereo 90 is its all-tube design, which delivers a warm, rich sound that many audiophiles cherish. It utilizes a pair of KT90 output tubes, known for their high power handling and superb linearity. This tube configuration enables the amplifier to produce up to 90 watts per channel into an 8-ohm load, making it versatile enough to drive a wide range of speakers with ease and finesse.
One of the standout features of the Stereo 90 is its push-pull topology, which enhances the performance of the amplifier by minimizing distortion and improving overall efficiency. This design approach allows the Stereo 90 to maintain clarity and detail across the frequency spectrum, delivering a lifelike and engaging listening experience.
In addition to its exceptional sound quality, the Rogue Audio Stereo 90 also boasts a robust, high-quality build. Its chassis is constructed from heavy-duty steel, ensuring durability while also minimizing vibrations that can negatively impact audio performance. The amplifier is equipped with high-quality components throughout, including premium capacitors and transformers, which further contribute to its reliability and sonic excellence.
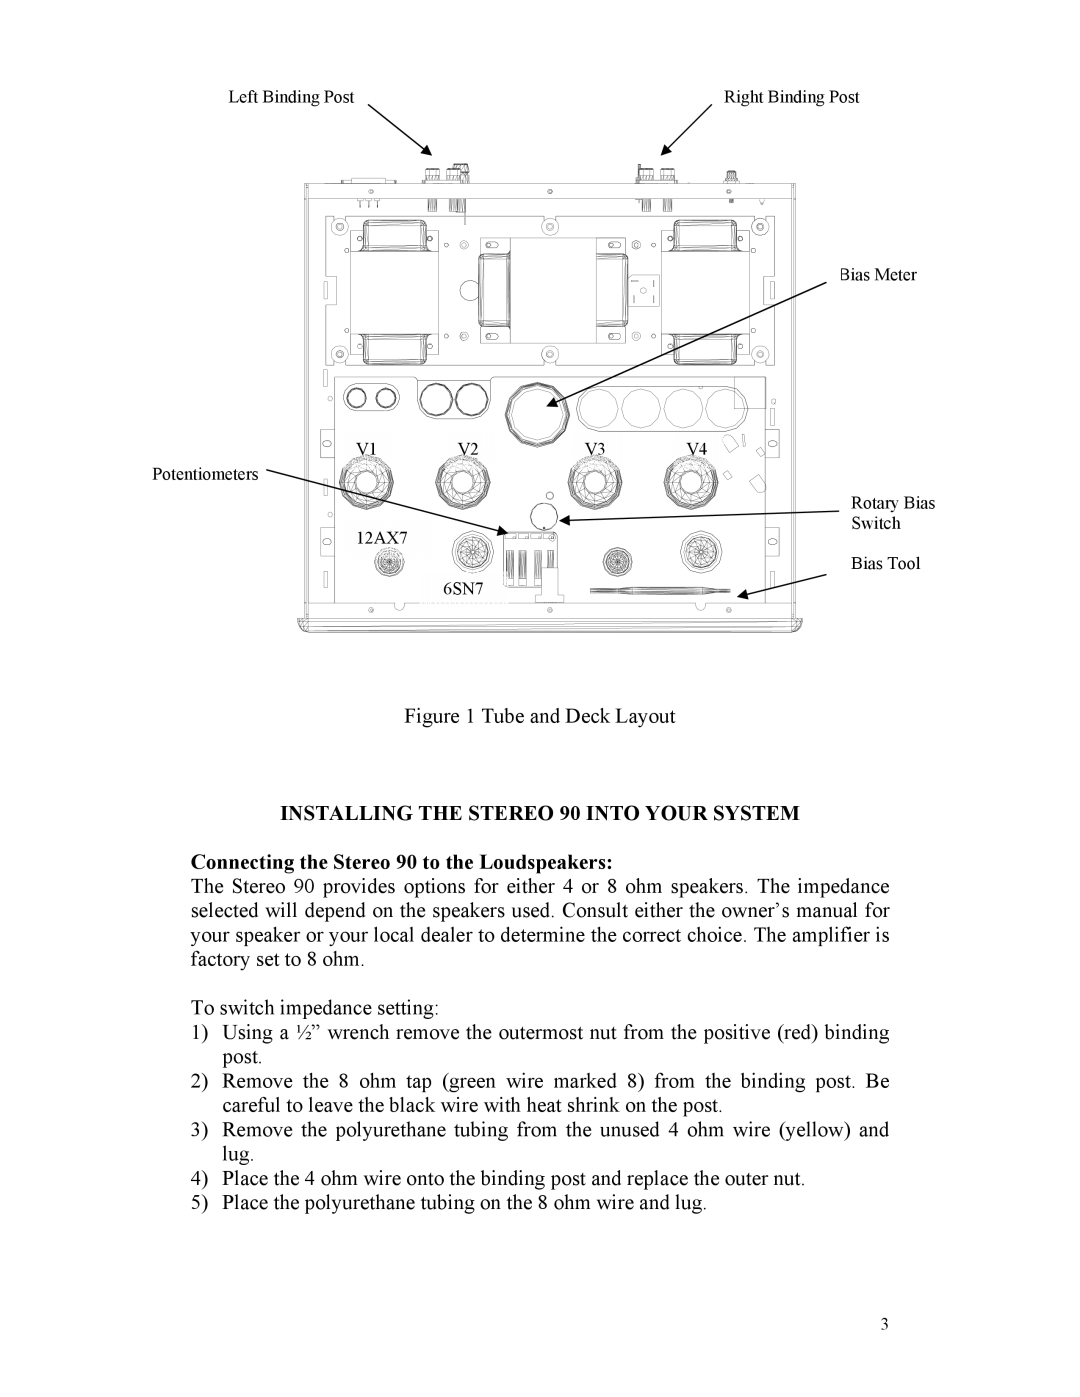
For ease of use, the Stereo 90 features a front-panel bias adjustment, allowing users to easily set the bias on the output tubes for optimal performance. The amplifier also includes a variety of input options, including RCA inputs, making it compatible with a broad range of source components.
The aesthetic appeal of the Rogue Audio Stereo 90 cannot be overlooked. Its classic design features an attractive black chassis with chrome accents, giving it an elegant yet timeless look that will complement any audio setup. The rotary controls add a touch of vintage charm while also providing intuitive access to its features.
In summary, the Rogue Audio Stereo 90 is a powerhouse amplifier that combines advanced tube technology with meticulous craftsmanship. With its ability to deliver stunning audio fidelity, it has become a cornerstone in many audiophile systems, captivating listeners with its detailed soundstage and dynamic range. Whether used for casual listening or critical listening sessions, the Stereo 90 proves to be an exceptional choice for anyone looking to elevate their audio experience.

