SETTING UP
Preliminary
Open the lawn mower cardboard carton carefully folding back the carton top flaps.
Lift out the plastic grass catcher components.
With the aid of a second person carefully lift the lawn mower out of the cardboard carton and place on a level surface.
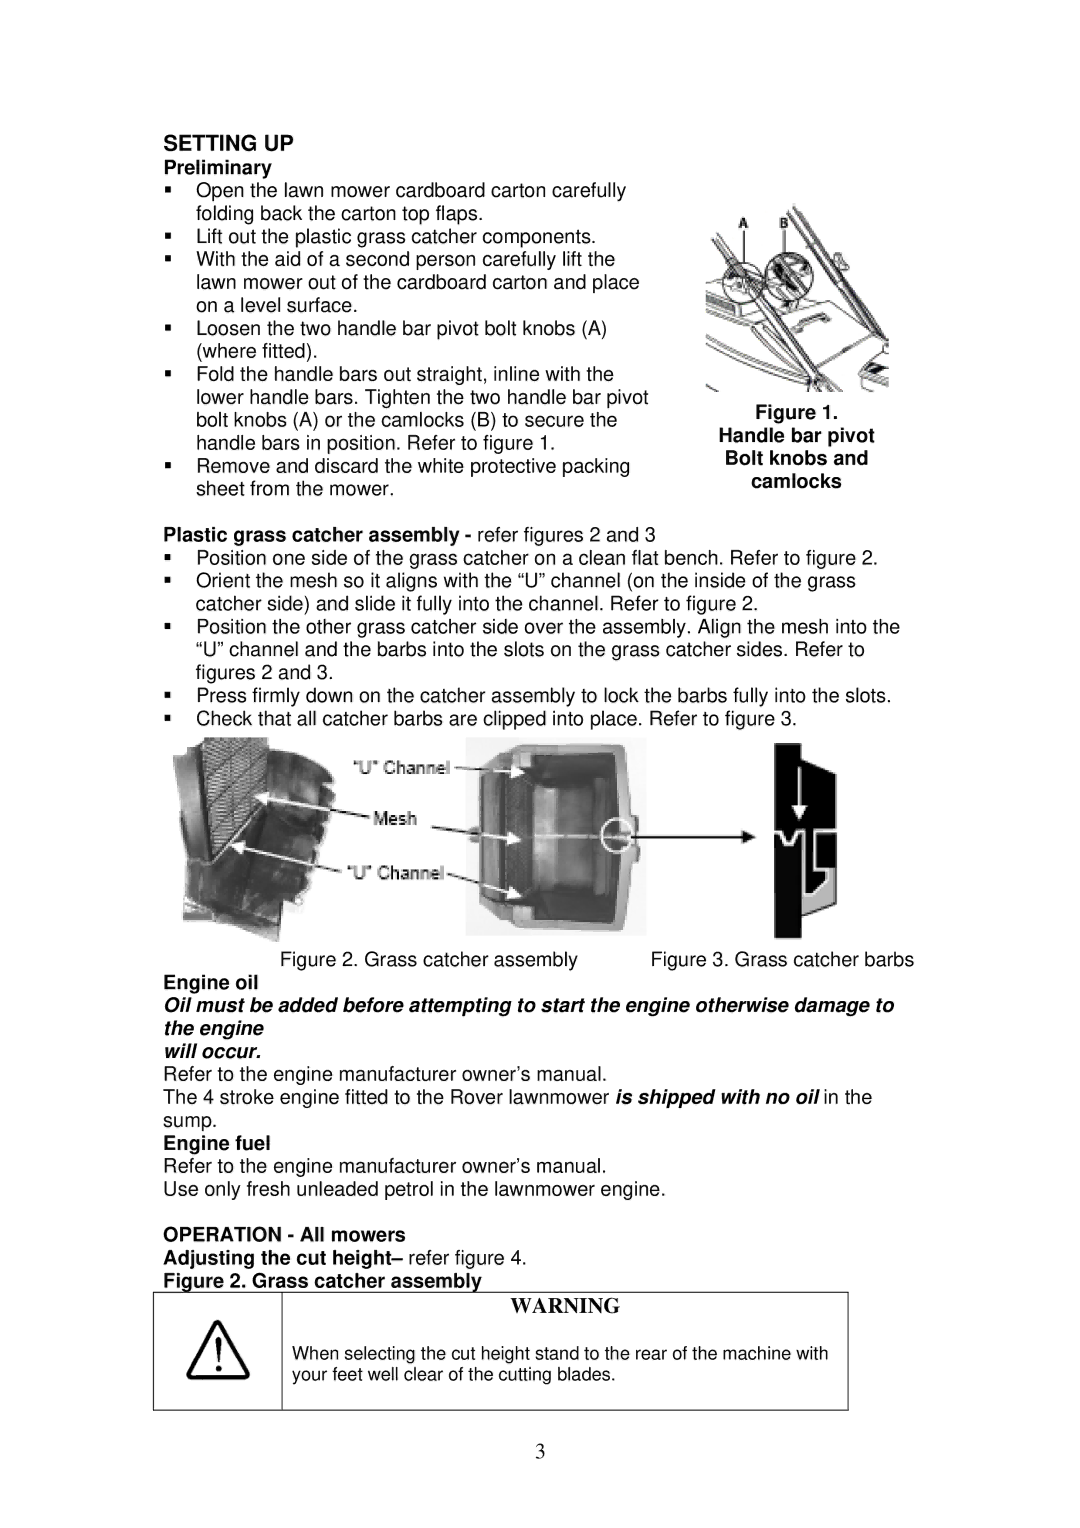
Loosen the two handle bar pivot bolt knobs (A) (where fitted).
Fold the handle bars out straight, inline with the lower handle bars. Tighten the two handle bar pivot bolt knobs (A) or the camlocks (B) to secure the handle bars in position. Refer to figure 1.
Remove and discard the white protective packing sheet from the mower.
Figure 1.
Handle bar pivot Bolt knobs and camlocks
Plastic grass catcher assembly - refer figures 2 and 3
Position one side of the grass catcher on a clean flat bench. Refer to figure 2.
Orient the mesh so it aligns with the “U” channel (on the inside of the grass catcher side) and slide it fully into the channel. Refer to figure 2.
Position the other grass catcher side over the assembly. Align the mesh into the “U” channel and the barbs into the slots on the grass catcher sides. Refer to figures 2 and 3.
Press firmly down on the catcher assembly to lock the barbs fully into the slots.
Check that all catcher barbs are clipped into place. Refer to figure 3.
Figure 2. Grass catcher assembly | Figure 3. Grass catcher barbs |
Engine oil
Oil must be added before attempting to start the engine otherwise damage to the engine
will occur.
Refer to the engine manufacturer owner’s manual.
The 4 stroke engine fitted to the Rover lawnmower is shipped with no oil in the sump.
Engine fuel
Refer to the engine manufacturer owner’s manual.
Use only fresh unleaded petrol in the lawnmower engine.
OPERATION - All mowers
Adjusting the cut height– refer figure 4.
Figure 2. Grass catcher assembly
WARNING
When selecting the cut height stand to the rear of the machine with your feet well clear of the cutting blades.
3