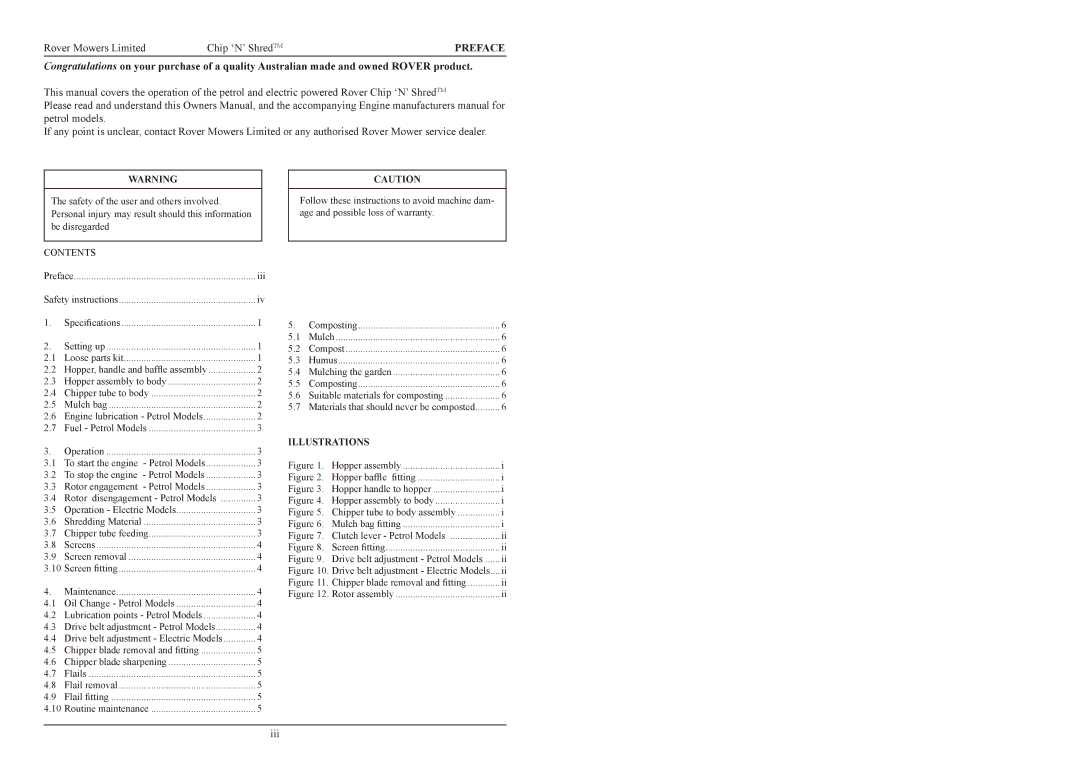
98117, 9885, 9848, 9862 specifications
Rover 9862, 9885, 98117, and 9848 are part of a new generation of advanced robotic systems designed for various applications across multiple sectors, including aerospace, automotive, and healthcare. These models embody the latest innovations in robotic technology, showcasing a blend of robustness, precision, and versatility.Rover 9862 is designed for reconnaissance and exploration tasks. It features a lightweight chassis made from durable composite materials, allowing it to traverse rough terrains with ease. The robotic system is equipped with high-resolution cameras and LIDAR technology, enabling it to map and survey its surroundings accurately. Its autonomy is enhanced by advanced AI algorithms that allow for obstacle detection and path planning, making it suitable for both remote and autonomous operations.
Model 9885 focuses on industrial applications, particularly in manufacturing and logistics. This rover incorporates collaborative technologies, allowing it to work alongside human operators seamlessly. The system is fitted with an array of sensors that ensure precise object handling and transportation. Its robust power management system uses lithium-ion batteries, providing extended operational time, while real-time data analytics help optimize processes and monitor performance.
Rover 98117 represents a leap forward in healthcare applications. Designed for patient monitoring and assistance, it features ergonomic design and user-friendly interfaces. Equipped with biometric sensors and machine learning capabilities, the rover can track vital signs and adapt to individual patient needs. Its mobility allows it to navigate hospital corridors autonomously, delivering medications or supplies and assisting healthcare professionals.
Lastly, Rover 9848 emphasizes connectivity and integration. This model is built on a modular design, allowing for easy upgrades and customization based on user requirements. It supports various communication protocols, enabling it to connect with other devices and systems in a smart ecosystem. The rover’s onboard processing unit utilizes edge computing technology, significantly reducing latency and enhancing real-time decision-making capabilities.
Together, these rovers represent a significant advancement in robotics, driving innovation across different fields with their unique features and capabilities. As technology continues to evolve, these models are set to play a crucial role in shaping the future of automated systems.

