OPERATION

CHARGING A COOL BATTERY PACK

If battery pack is within normal temperature range, the red LED on charger will come on.

NOTE: If the charger does not charge the battery pack under normal circumstances, return both the battery pack and charger to your nearest Authorized Service Center for electrical check.

Charge the battery pack only with the charger provided.

Make sure the power supply is normal household voltage, 120 volts, 60 Hz, AC only.

Connect the charger to the power supply.

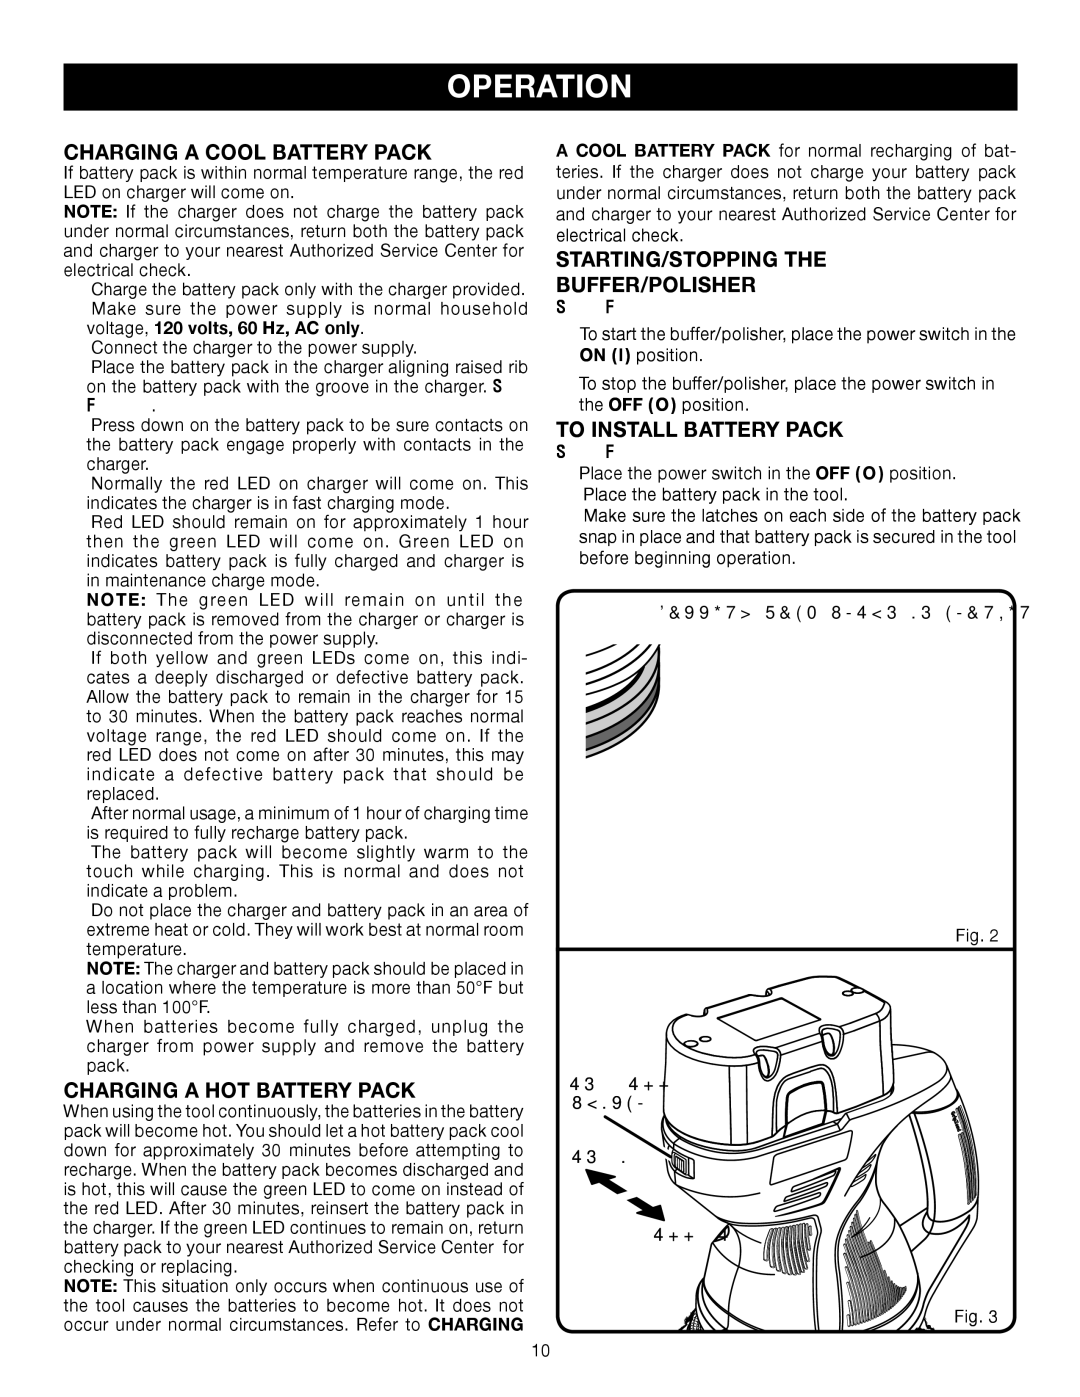
Place the battery pack in the charger aligning raised rib on the battery pack with the groove in the charger. See Figure 2.

Press down on the battery pack to be sure contacts on the battery pack engage properly with contacts in the charger.

Normally the red LED on charger will come on. This indicates the charger is in fast charging mode.

Red LED should remain on for approximately 1 hour then the green LED will come on. Green LED on indicates battery pack is fully charged and charger is in maintenance charge mode.

NOTE: The green LED will remain on until the battery pack is removed from the charger or charger is disconnected from the power supply.

If both yellow and green LEDs come on, this indi- cates a deeply discharged or defective battery pack. Allow the battery pack to remain in the charger for 15 to 30 minutes. When the battery pack reaches normal voltage range, the red LED should come on. If the red LED does not come on after 30 minutes, this may indicate a defective battery pack that should be replaced.

After normal usage, a minimum of 1 hour of charging time is required to fully recharge battery pack.

The battery pack will become slightly warm to the touch while charging. This is normal and does not indicate a problem.

Do not place the charger and battery pack in an area of extreme heat or cold. They will work best at normal room temperature.

NOTE: The charger and battery pack should be placed in a location where the temperature is more than 50°F but less than 100°F.

When batteries become fully charged, unplug the charger from power supply and remove the battery pack.

CHARGING A HOT BATTERY PACK

When using the tool continuously, the batteries in the battery pack will become hot. You should let a hot battery pack cool down for approximately 30 minutes before attempting to recharge. When the battery pack becomes discharged and is hot, this will cause the green LED to come on instead of the red LED. After 30 minutes, reinsert the battery pack in the charger. If the green LED continues to remain on, return battery pack to your nearest Authorized Service Center for checking or replacing.

NOTE: This situation only occurs when continuous use of the tool causes the batteries to become hot. It does not occur under normal circumstances. Refer to CHARGING

A COOL BATTERY PACK for normal recharging of bat- teries. If the charger does not charge your battery pack under normal circumstances, return both the battery pack and charger to your nearest Authorized Service Center for electrical check.

STARTING/STOPPING THE

BUFFER/POLISHER

See Figures 3.

To start the buffer/polisher, place the power switch in the ON ( l ) position.

To stop the buffer/polisher, place the power switch in the OFF ( O ) position.

TO INSTALL BATTERY PACK

See Figure 4.

Place the power switch in the OFF ( O ) position.

Place the battery pack in the tool.

Make sure the latches on each side of the battery pack snap in place and that battery pack is secured in the tool before beginning operation.

BATTERY PACK SHOWN IN CHARGER

Fig. 2

ON / OFF

SWITCH

ON (I)

OFF (O)

Fig. 3

10

Page 10
Image 10
Ryobi P430 manual Charging a Cool Battery Pack, Charging a HOT Battery Pack, Starting/Stopping Buffer/Polisher

P430 specifications

The Ryobi P430 is a powerful and versatile cordless electric pole saw that has gained popularity among homeowners and professionals alike for its efficiency and ease of use. With its robust design and advanced technologies, the P430 provides an ideal solution for trimming tree branches and cutting down small trees, making yard work a breeze.

One of the standout features of the Ryobi P430 is its impressive motor, which delivers a substantial amount of cutting power. The saw's 8-inch bar and chain allow users to cut through branches up to 6 inches in diameter with ease. The tool is designed for convenience, equipped with an automatic oiler that ensures the chain remains well-lubricated during use, thus extending the lifespan of the saw and enhancing cutting performance.

The P430 is powered by Ryobi's reliable ONE+ battery system. Compatible with the entire ONE+ line of tools, the 18V battery packs are designed for extended runtime and can be conveniently charged using Ryobi's rapid charger. This not only saves time but also enables users to interchange batteries between various Ryobi tools, offering a high level of convenience and cost-effectiveness.

In terms of ergonomics, the Ryobi P430 is designed with user comfort in mind. The lightweight construction allows for reduced fatigue during extended use, and the adjustable telescoping pole extends up to 9.5 feet, providing access to higher branches without the need for ladders. The saw also features a comfortable grip, which ensures better control and stability while operating.

Safety is another important aspect of the P430's design. The tool includes a safety switch to prevent accidental start-ups, and the chain brake helps prevent kickback, ensuring a secure cutting experience. The unit is engineered for easy maintenance, with tool-less chain tensioning allowing users to adjust the chain easily, keeping it tight and ensuring optimized performance.

Overall, the Ryobi P430 combines innovative features, reliable battery technology, and user-friendly design to deliver an effective pole saw solution for various cutting tasks. Whether you are maintaining trees or clearing away unwanted branches, this tool stands out as a practical choice for anyone looking to simplify their outdoor tasks while achieving professional-grade results.