|
| Icon | Description |
|
|
|
|
|
|
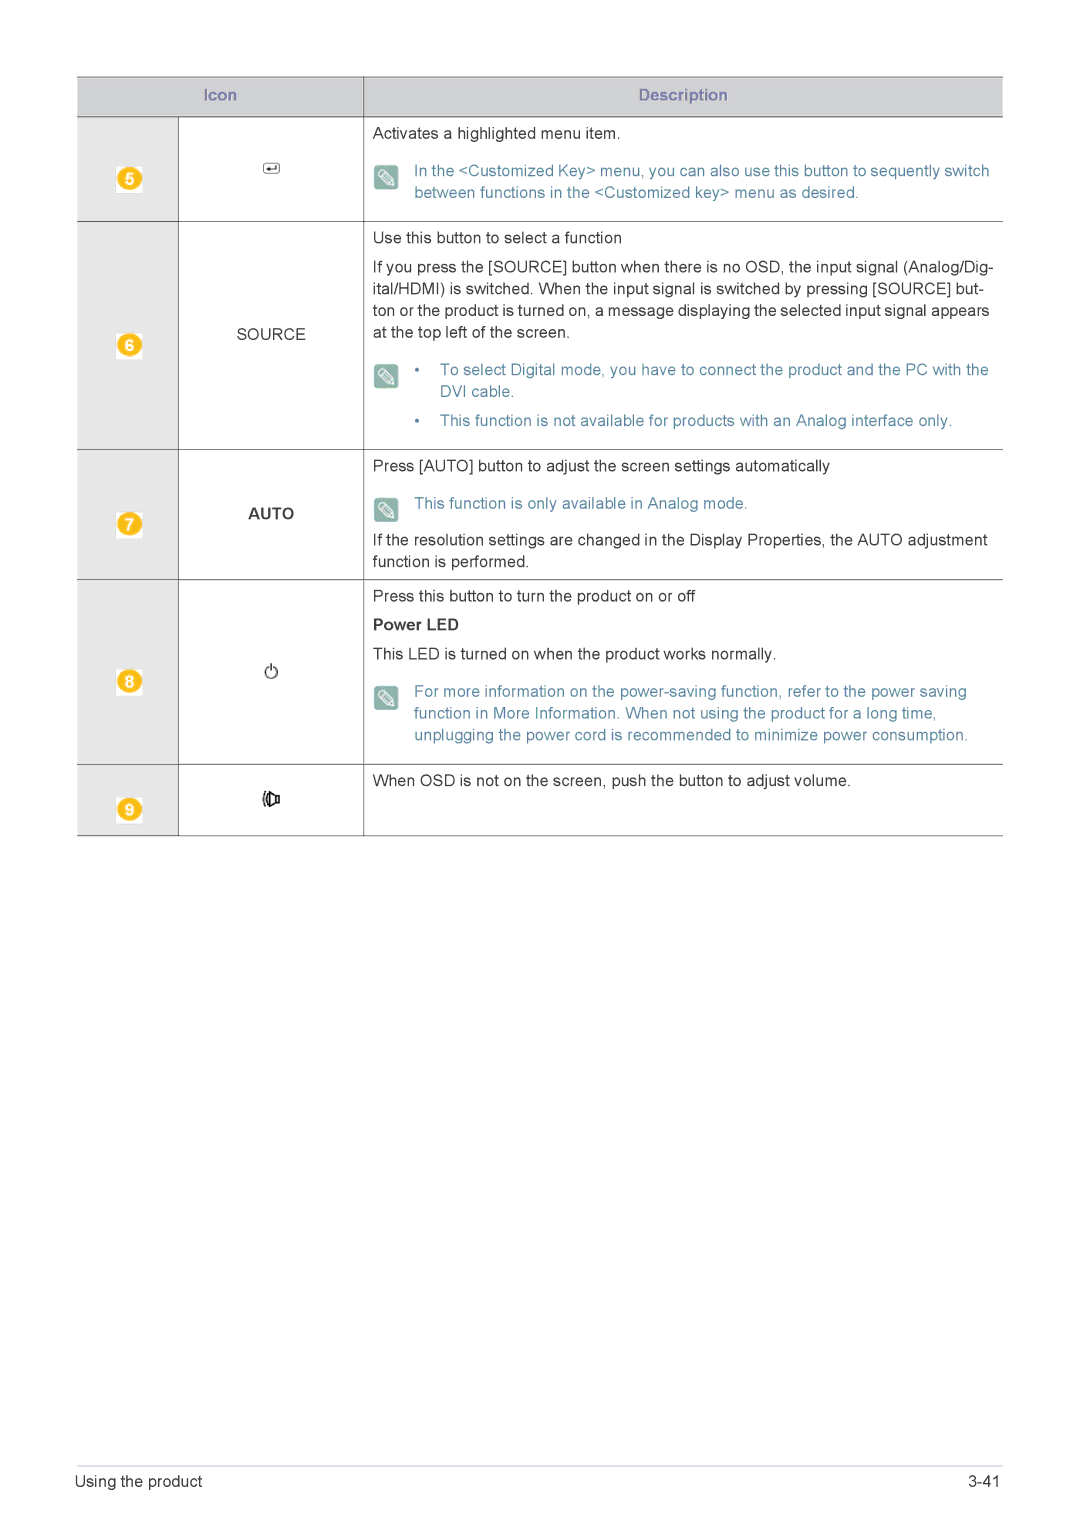
| Activates a highlighted menu item. |
|
|
| In the <Customized Key> menu, you can also use this button to sequently switch |
|
|
| |
|
|
| between functions in the <Customized key> menu as desired. |
|
|
| |
|
|
|
|
|
|
| Use this button to select a function |
|
|
| If you press the [SOURCE] button when there is no OSD, the input signal (Analog/Dig- |
|
|
| ital/HDMI) is switched. When the input signal is switched by pressing [SOURCE] but- |
|
|
| ton or the product is turned on, a message displaying the selected input signal appears |
|
| SOURCE | at the top left of the screen. |
|
| ||
|
|
| • To select Digital mode, you have to connect the product and the PC with the |
|
|
| |
|
|
| DVI cable. |
|
|
| • This function is not available for products with an Analog interface only. |
Press [AUTO] button to adjust the screen settings automatically
AUTO | This function is only available in Analog mode. |
|
If the resolution settings are changed in the Display Properties, the AUTO adjustment function is performed.
Press this button to turn the product on or off
Power LED
This LED is turned on when the product works normally.
For more information on the
When OSD is not on the screen, push the button to adjust volume.
Using the product |
