DivX(R) Deactivation
Select this to get a new registration code.
![]() Settings
Settings
Display | Initial settings | : |
Audio | Disc Menu | |
System | Audio | : |
Network | Do you wantSubtitleto deactivate your device?: | |
Language |
|
|
Security | Yes | No |
General |
|
|
Support |
|
|
✎NOTE
▪This function can be operated when DivX(R) Registration function is deactivated.
Network
To begin setting up the network connection for your product, follow these steps:
1.In the Home menu, press the ◄► buttons to select the Settings, and then press the ENTER button.
2.Press the ▲▼ buttons to select Network, and then press the ENTER button.
3.Press the ▲▼ buttons to select Network Settings, and then press the ENTER button.
4.Press the ▲▼ buttons to select Network Type, and then press the ENTER button.
5.Press the ▲▼ buttons to select Wired or Wireless, and then press the ENTER button.
6.Go to the next section.
Network Settings
Please contact your ISP to find out if your IP address is static or dynamic. If it is dynamic, we recommend using the Auto setting. This is the easiest and will work in the majority of cases. If it is static, you must use the manual set up procedure. Directions for wired networks are below. Directions for wireless networks are after the directions for wired networks.
Wired Network
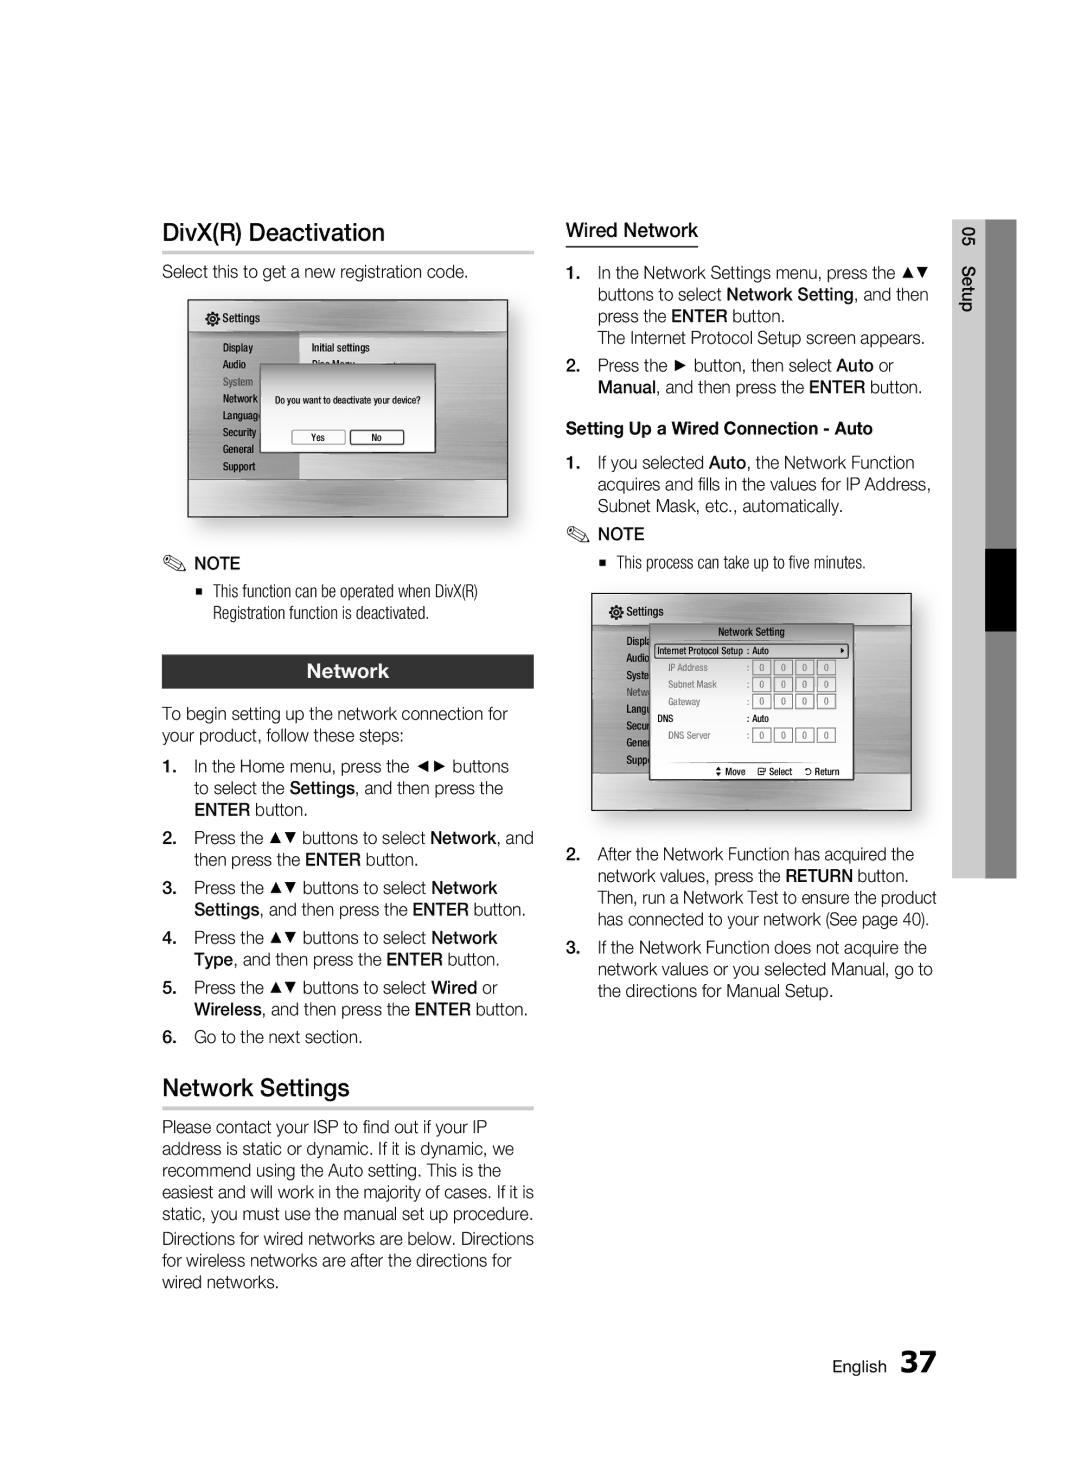
1.In the Network Settings menu, press the ▲▼ buttons to select Network Setting, and then press the ENTER button.
The Internet Protocol Setup screen appears.
2.Press the ► button, then select Auto or Manual, and then press the ENTER button.
Setting Up a Wired Connection - Auto
1.If you selected Auto, the Network Function acquires and fills in the values for IP Address, Subnet Mask, etc., automatically.
✎NOTE
▪ This process can take up to five minutes.
Settings
Display |
| Network Setting |
|
| |||
Internet Protocol Setup | : Auto |
|
|
| |||
Audio | 0 | 0 | \ | ||||
System |
| IP Address | : | 0 | 0 | ||
| Subnet Mask | : | 0 | 0 | 0 | 0 | |
Network | |||||||
Language Gateway | : | 0 | 0 | 0 | 0 | ||
| DNS | : Auto |
|
|
| ||
Security | DNS Server | : | 0 | 0 | 0 | 0 | |
General | |||||||
Support | > Move |
| " Select | ' Return | |||
|
|
| |||||
2.After the Network Function has acquired the network values, press the RETURN button. Then, run a Network Test to ensure the product has connected to your network (See page 40).
3.If the Network Function does not acquire the network values or you selected Manual, go to the directions for Manual Setup.
05 Setup
English 37
