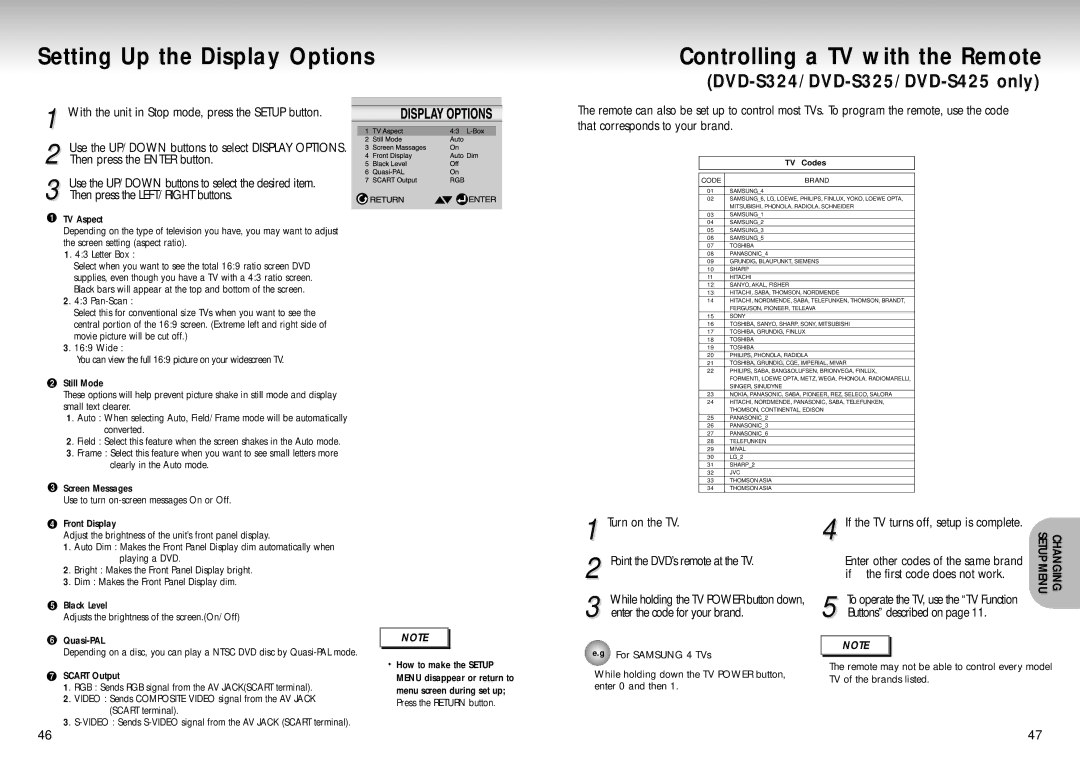
Setting Up the Display Options
Controlling a TV with the Remote
(DVD-S324/DVD-S325/DVD-S425 only)
1 With the unit in Stop mode, press the SETUP button.
2 Use the UP/DOWN buttons to select DISPLAY OPTIONS. Then press the ENTER button.
3 Use the UP/DOWN buttons to select the desired item. Then press the LEFT/RIGHT buttons.
TV Aspect
Depending on the type of television you have, you may want to adjust the screen setting (aspect ratio).
1. 4:3 Letter Box :
Select when you want to see the total 16:9 ratio screen DVD supplies, even though you have a TV with a 4:3 ratio screen. Black bars will appear at the top and bottom of the screen.
2. 4:3
Select this for conventional size TVs when you want to see the central portion of the 16:9 screen. (Extreme left and right side of movie picture will be cut off.)
3. 16:9 Wide :
You can view the full 16:9 picture on your widescreen TV.
Still Mode
These options will help prevent picture shake in still mode and display small text clearer.
1. Auto : When selecting Auto, Field/Frame mode will be automatically converted.
2. Field : Select this feature when the screen shakes in the Auto mode.
3. Frame : Select this feature when you want to see small letters more clearly in the Auto mode.
Screen Messages
Use to turn
The remote can also be set up to control most TVs. To program the remote, use the code that corresponds to your brand.
| TV Codes |
|
|
|
|
CODE | BRAND |
|
|
01 | SAMSUNG_4 |
02 | SAMSUNG_6, LG, LOEWE, PHILIPS, FINLUX, YOKO, LOEWE OPTA, |
| MITSUBISHI, PHONOLA, RADIOLA, SCHNEIDER |
03 | SAMSUNG_1 |
04 | SAMSUNG_2 |
05 | SAMSUNG_3 |
06 | SAMSUNG_5 |
07 | TOSHIBA |
08 | PANASONIC_4 |
09 | GRUNDIG, BLAUPUNKT, SIEMENS |
10 | SHARP |
11 | HITACHI |
12 | SANYO, AKAL, FISHER |
13 | HITACHI, SABA, THOMSON, NORDMENDE |
14 | HITACHI, NORDMENDE, SABA, TELEFUNKEN, THOMSON, BRANDT, |
| FERGUSON, PIONEER, TELEAVA |
15 | SONY |
16 | TOSHIBA, SANYO, SHARP, SONY, MITSUBISHI |
17 | TOSHIBA, GRUNDIG, FINLUX |
18 | TOSHIBA |
19 | TOSHIBA |
20 | PHILIPS, PHONOLA, RADIOLA |
21 | TOSHIBA, GRUNDIG, CGE, IMPERIAL, MIVAR |
22 | PHILIPS, SABA, BANG&OLUFSEN, BRIONVEGA, FINLUX, |
| FORMENTI, LOEWE OPTA, METZ, WEGA, PHONOLA, RADIOMARELLI, |
| SINGER, SINUDYNE |
23 | NOKIA, PANASONIC, SABA, PIONEER, REZ, SELECO, SALORA |
24 | HITACHI, NORDMENDE, PANASONIC, SABA, TELEFUNKEN, |
| THOMSON, CONTINENTAL, EDISON |
25 | PANASONIC_2 |
26 | PANASONIC_3 |
27 | PANASONIC_6 |
28 | TELEFUNKEN |
29 | MIVAL |
30 | LG_2 |
31 | SHARP_2 |
32 | JVC |
33 | THOMSON ASIA |
34 | THOMSON ASIA |
Front Display
Adjust the brightness of the unit’s front panel display.
1. Auto Dim : Makes the Front Panel Display dim automatically when playing a DVD.
2. Bright : Makes the Front Panel Display bright.
3. Dim : Makes the Front Panel Display dim.
Black Level
Adjusts the brightness of the screen.(On/Off)
1
2
3
Turn on the TV.
Point the DVD’s remote at the TV.
While holding the TV POWER button down, enter the code for your brand.
4 If the TV turns off, setup is complete. Enter other codes of the same brand
| if the first code does not work. |
5 | To operate the TV, use the “TV Function |
Buttons” described on page 11. |
CHANGING SETUP MENU
Depending on a disc, you can play a NTSC DVD disc by
SCART Output
1. RGB : Sends RGB signal from the AV JACK(SCART terminal).
2. VIDEO : Sends COMPOSITE VIDEO signal from the AV JACK (SCART terminal).
3.
NOTE |
•How to make the SETUP MENU disappear or return to menu screen during set up; Press the RETURN button.
e.g | NOTE |
For SAMSUNG 4 TVs |
The remote may not be able to control every model
While holding down the TV POWER button, TV of the brands listed. enter 0 and then 1.
46 | 47 |
