Quick view
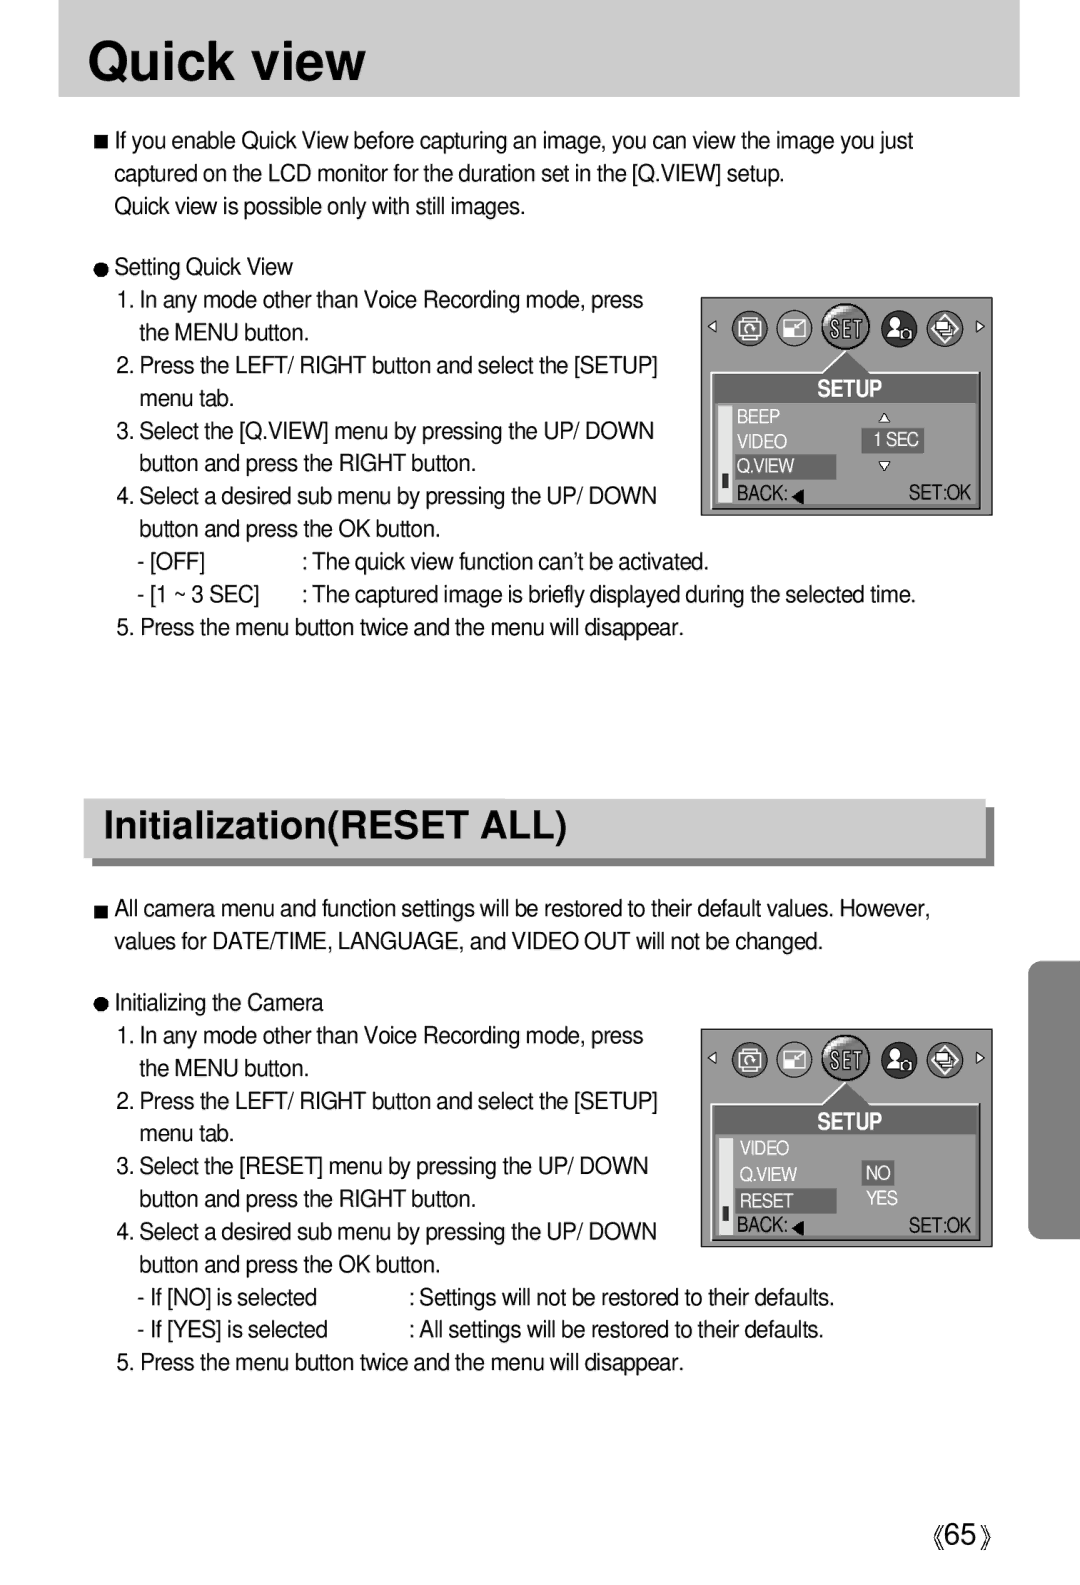
![]() If you enable Quick View before capturing an image, you can view the image you just captured on the LCD monitor for the duration set in the [Q.VIEW] setup.
If you enable Quick View before capturing an image, you can view the image you just captured on the LCD monitor for the duration set in the [Q.VIEW] setup.
Quick view is possible only with still images.
Setting Quick View |
|
|
|
|
|
1. In any mode other than Voice Recording mode, press |
|
|
|
|
|
|
|
|
|
| |
the MENU button. |
|
|
|
|
|
2. Press the LEFT/ RIGHT button and select the [SETUP] |
|
| SETUP | ||
menu tab. |
|
| |||
3. Select the [Q.VIEW] menu by pressing the UP/ DOWN |
| BEEP |
|
|
|
| VIDEO |
| 1 SEC |
| |
button and press the RIGHT button. |
|
|
| ||
| Q.VIEW |
|
|
| |
4. Select a desired sub menu by pressing the UP/ DOWN |
| BACK: |
| SET:OK | |
|
|
|
|
|
|
button and press the OK button.
- [OFF] | : The quick view function can’t be activated. |
- [1 ~ 3 SEC] | : The captured image is briefly displayed during the selected time. |
5. Press the menu button twice and the menu will disappear.
Initialization(RESET ALL)
![]() All camera menu and function settings will be restored to their default values. However, values for DATE/TIME, LANGUAGE, and VIDEO OUT will not be changed.
All camera menu and function settings will be restored to their default values. However, values for DATE/TIME, LANGUAGE, and VIDEO OUT will not be changed.
Initializing the Camera |
|
|
|
|
|
|
1. In any mode other than Voice Recording mode, press |
|
|
|
|
| |
|
|
|
|
| ||
the MENU button. |
|
|
|
|
|
|
|
|
|
|
|
| |
2. Press the LEFT/ RIGHT button and select the [SETUP] |
| SETUP | ||||
menu tab. |
|
| ||||
3. Select the [RESET] menu by pressing the UP/ DOWN |
| VIDEO |
|
|
| |
| Q.VIEW |
|
| NO | ||
button and press the RIGHT button. |
| RESET |
|
| YES | |
4. Select a desired sub menu by pressing the UP/ DOWN |
| BACK: |
|
| SET:OK | |
|
|
| ||||
button and press the OK button. |
|
|
|
|
| |
- If [NO] is selected | : Settings will not be restored to their defaults. |
|
|
| ||
- If [YES] is selected | : All settings will be restored to their defaults. |
|
|
| ||
5. Press the menu button twice and the menu will disappear.
![]() 65
65![]()
