EC-NV10ZTBA/E1, EC-NV10ZBBB/E1, EC-NV10ZBBP/E1, EC-NV10ZBBA/PT, EC-NV10ZBBJ/E1 specifications
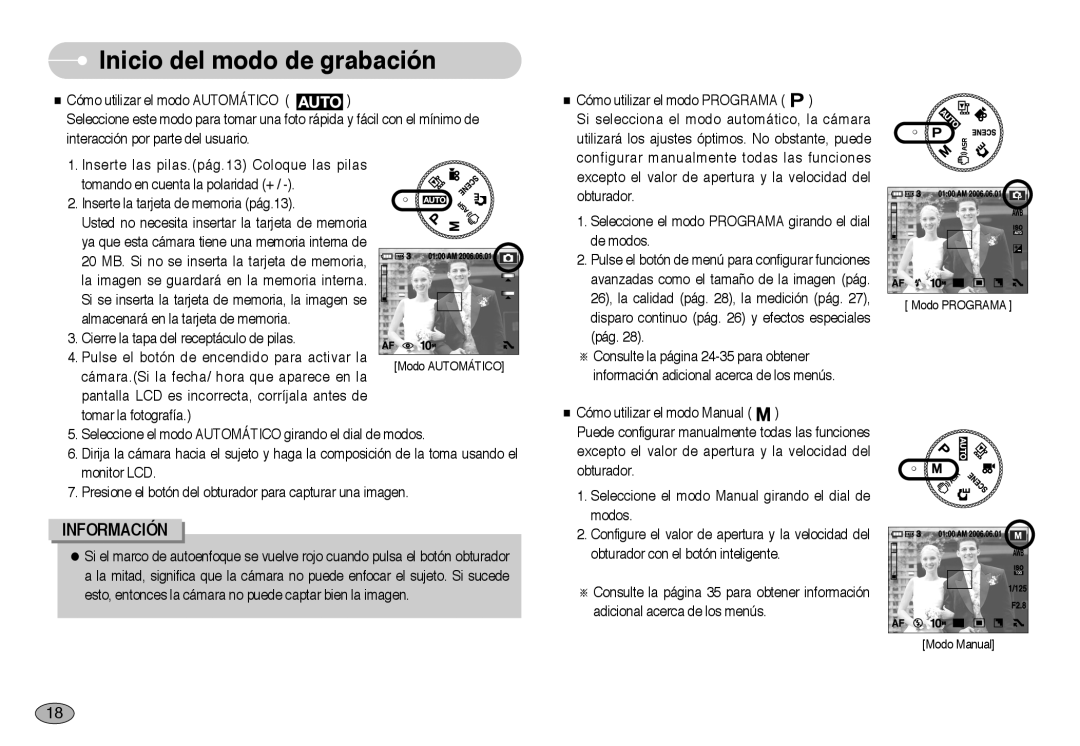
The Samsung EC-NV10 series, including models EC-NV10ZBBL/E1, EC-NV10ZBBA/TH, EC-NV10ZBBT/E1, EC-NV10ZBBA/AR, and EC-NV10ZBBC/TR, represents a blend of advanced technology and user-centered design, making it a compelling choice for both amateur and professional photographers. These models cater to various photography needs, offering a range of compelling features that make capturing high-quality images seamless and enjoyable.One of the standout features of the EC-NV10 series is its 10.2-megapixel sensor. This high-resolution sensor enables users to capture detailed photographs with vibrant colors and excellent clarity. Additionally, the cameras are equipped with a powerful 5x optical zoom lens, allowing for versatile shooting options, from wide-angle landscapes to close-up portraits, providing photographers with the flexibility they need in various situations.
The EC-NV10 models also incorporate Samsung's Smart Auto technology, which intelligently analyzes the shooting environment to optimize camera settings automatically. This feature significantly simplifies the photography process, allowing users to focus on composition rather than technical adjustments. Along with Smart Auto, the cameras include a range of scene modes, including sunset, portrait, and macro, further enhancing their usability across different shooting conditions.
In terms of design, the Samsung EC-NV10 series showcases a sleek and compact form factor. Its lightweight build makes it easy to carry, ideal for spontaneous photography sessions. The cameras also feature a bright and clear LCD display that simplifies navigation through settings and playback of captured images. The user-friendly interface ensures that even those new to photography can quickly adapt to the camera's functionalities.
The series supports various shooting modes and video recording capabilities, allowing users to create full HD videos, sharing their stories with ease. Coupled with built-in image stabilization technology, the EC-NV10 cameras minimize the effects of blurriness caused by shaky hands, ensuring that every photo and video is sharp and fluid.
Connectivity options, including USB and HDMI ports, facilitate easy transfer of images to computers and other devices for editing and sharing. With these features, the Samsung EC-NV10 series encapsulates the essence of modern photography technology, enabling users to shoot with confidence and creativity in any setting. Overall, these models are fantastic options for anyone seeking a reliable and powerful compact camera.

