3

Drücken Sie [

], um in den Standby-Betrieb zurückzukehren.

4

Verbinden Sie die Multifunktionsbuchse am Gerät mit dem PC-Datenkabel mit

5

einem PC.


Wenn die Verbindung hergestellt ist, wählen Sie Verbinden.

6

Öffnen Sie den

Ordner, um Dateien anzuzeigen.

7

Kopieren Sie Dateien vom PC auf die Speicherkarte.

8

Wenn Sie fertig sind, wählen Sie Ausschalten.

Zum Abtrennen des Geräts vom PC klicken Sie in der Windows-Taskleiste auf das USB-Gerätesymbol und dann auf die Option zum sicheren Entfernen des Massenspeichergeräts. Trennen Sie dann das PC-Datenkabel vom PC ab. Anderenfalls können auf der Speicherkarte gespeicherte Dateien verloren gehen oder die Speicherkarte beschädigt werden.

WLAN

Erfahren Sie, wie Sie die drahtlosen Netzfunktionen des Geräts verwenden, um Verbindung mit einem drahtlosen lokalen Netzwerk (WLAN) herzustellen, das mit dem Standard IEEE 802.11 a/b/g/n kompatibel ist.

Sie können die Verbindung mit dem Internet oder anderen Netzgeräten herstellen, wenn ein Zugangspunkt oder ein drahtloser Hotspot verfügbar ist.

Dieses Gerät verwendet eine nicht harmonisierte Frequenz und ist für den Einsatz in allen europäischen Ländern geeignet. Die WLAN-Funktion darf innerhalb der EU ohne Einschränkung in Gebäuden genutzt werden, in Frankreich jedoch nicht außerhalb von Gebäuden.

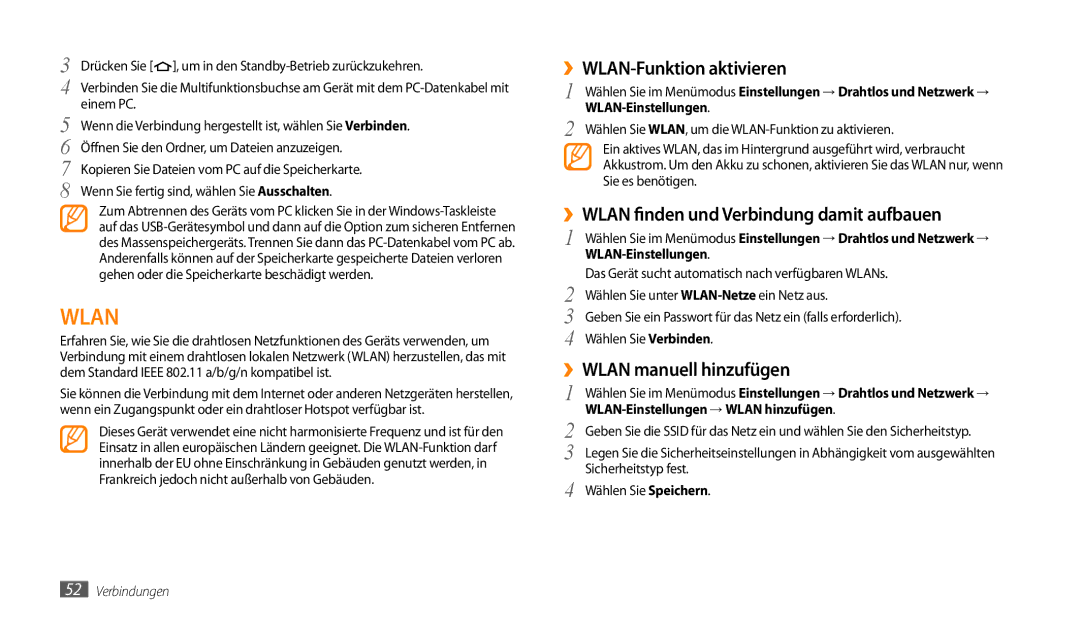
››WLAN-Funktion aktivieren

1

Wählen Sie im Menümodus Einstellungen Drahtlos und Netzwerk

WLAN-Einstellungen.

2

Wählen Sie WLAN, um die WLAN-Funktion zu aktivieren.

Ein aktives WLAN, das im Hintergrund ausgeführt wird, verbraucht Akkustrom. Um den Akku zu schonen, aktivieren Sie das WLAN nur, wenn Sie es benötigen.

››WLAN finden und Verbindung damit aufbauen

1

Wählen Sie im Menümodus Einstellungen Drahtlos und Netzwerk

WLAN-Einstellungen.

2

Das Gerät sucht automatisch nach verfügbaren WLANs.

Wählen Sie unter WLAN-Netzeein Netz aus.

3

Geben Sie ein Passwort für das Netz ein (falls erforderlich).

4

Wählen Sie Verbinden.

››WLAN manuell hinzufügen

1

Wählen Sie im Menümodus Einstellungen Drahtlos und Netzwerk

WLAN-Einstellungen WLAN hinzufügen.

2

Geben Sie die SSID für das Netz ein und wählen Sie den Sicherheitstyp.

3

Legen Sie die Sicherheitseinstellungen in Abhängigkeit vom ausgewählten

4

Sicherheitstyp fest.

Wählen Sie Speichern.

52Verbindungen

Page 52
Image 52
Samsung GT-P1000CWDVD2 ››WLAN-Funktion aktivieren, ››WLAN finden und Verbindung damit aufbauen, ››WLAN manuell hinzufügen

GT-P1000CWADBT, GT-P1000CWDVIA, GT-P1000CWDVD2, GT-P1000CWAVIA, GT-P1000CWAATO specifications

The Samsung GT-P1000 series represents a notable entry into the tablet market, showcasing an innovative blend of design, functionality, and user-friendly features. The various models within this series, including the GT-P1000CWDDBT, GT-P1000CWAEPL, GT-P1000CWDDTM, GT-P1000MSAVIA, and GT-P1000ZKDDBT, share a common foundation while offering distinct characteristics that cater to diverse user preferences.

All models come equipped with a 7-inch TFT display, delivering a resolution of 1024 x 600 pixels. This compact size enhances portability, making it an ideal companion for users on the go. The vivid colors and sharp clarity of the screen allow for an enjoyable reading experience, whether browsing the web or consuming media content.

Powering the devices is a 1GHz ARM Cortex-A8 processor, ensuring smooth performance while handling applications. Coupled with 512MB of RAM, multitasking becomes efficient, allowing users to switch between apps seamlessly. The tablets run on Android 2.2 Froyo, providing access to a wide range of applications via the Google Play Store, although updates to newer Android versions might be limited due to hardware constraints.

The GT-P1000 series stands out with its range of connectivity options, including Wi-Fi, Bluetooth, and optional 3G capabilities. This enables users to stay connected, whether at home, in a café, or on the move. Additionally, with a microSD slot supporting up to 32GB of expandable storage, users can easily store and manage their data.

Multimedia capabilities are robust, featuring a 3MP rear camera for basic photography and a front-facing VGA camera for video calls. The built-in speakers offer decent sound quality for media playback, enhancing entertainment value.

Battery life is another key highlight, with a Li-Ion 4000 mAh battery that provides up to 13 hours of usage on a single charge, catering to users’ needs for extended periods of usage without frequent recharging.

In conclusion, the Samsung GT-P1000 series, with its range of models, presents a well-rounded tablet solution. Ideal for casual users looking for functionality, entertainment, and portability, these tablets embody Samsung's commitment to innovation and user satisfaction.