Setting up the recording function using the LCD monitor
Self Portrait
When taking
※Selectable modes : Auto, Program, Manual, DUAL IS, Photo Help Guide, Portrait, Beach & Snow
•When locating the face in the center of the screen, it repeatedly emits a faster sound unlike the sounds that are emitted when the face is not in the center.
•The guiding sound can be set using the sound setting menu.(See p.71)
•If [Self Portrait] is set, it is fixed to Macro focus.
•If [Self Portrait] is set, [Motion Timer] cannot be selected.
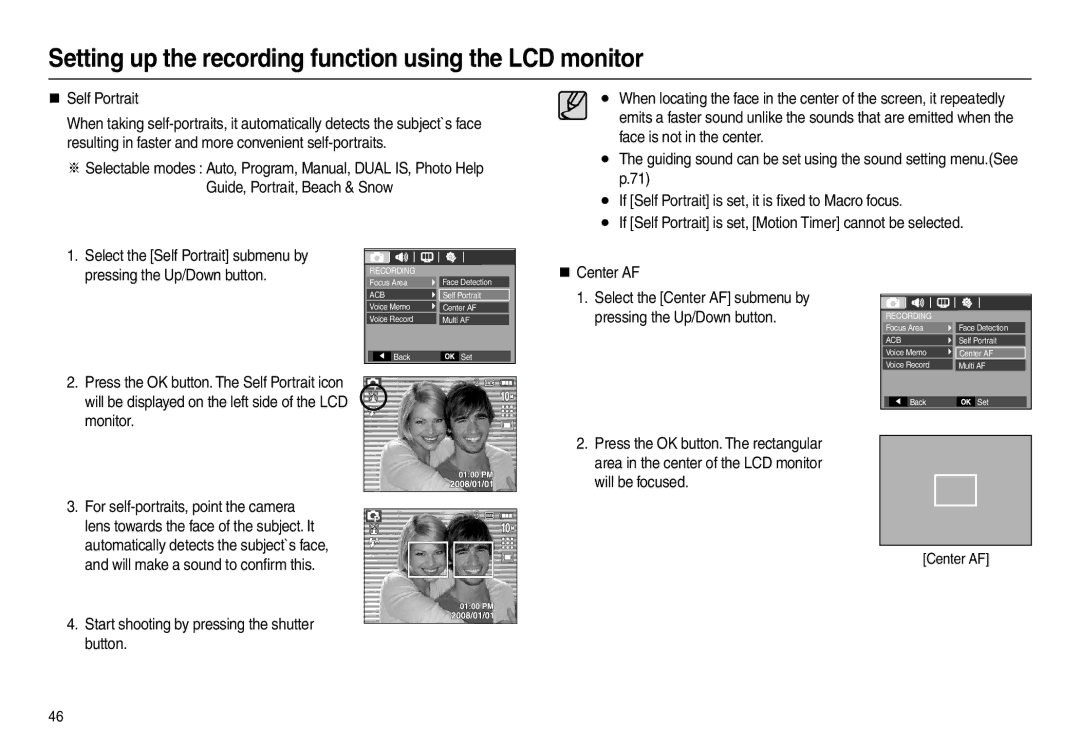
1. | Select the [Self Portrait] submenu by |
| pressing the Up/Down button. |
2. | Press the OK button. The Self Portrait icon |
| RECORDING |
|
|
| |||
| Focus Area | Face Detection | |||||
| ACB | Self Portrait | |||||
| Voice Memo | Center AF |
| ||||
| Voice Record | Multi AF | |||||
|
|
|
|
|
|
|
|
|
|
|
| Back |
| Set | |
|
|
|
|
|
|
|
|
|
|
|
|
|
|
|
|
Center AF
1.Select the [Center AF] submenu by pressing the Up/Down button.
RECORDING |
|
Focus Area | Face Detection |
ACB | Self Portrait |
Voice Memo |
|
Center AF | |
Voice Record | Multi AF |
| will be displayed on the left side of the LCD |
| monitor. |
3. | For |
| lens towards the face of the subject. It |
| automatically detects the subject`s face, |
| and will make a sound to confirm this. |
4. | Start shooting by pressing the shutter |
| button. |
Back | Set |
2.Press the OK button. The rectangular area in the center of the LCD monitor
will be focused.
[Center AF]
46