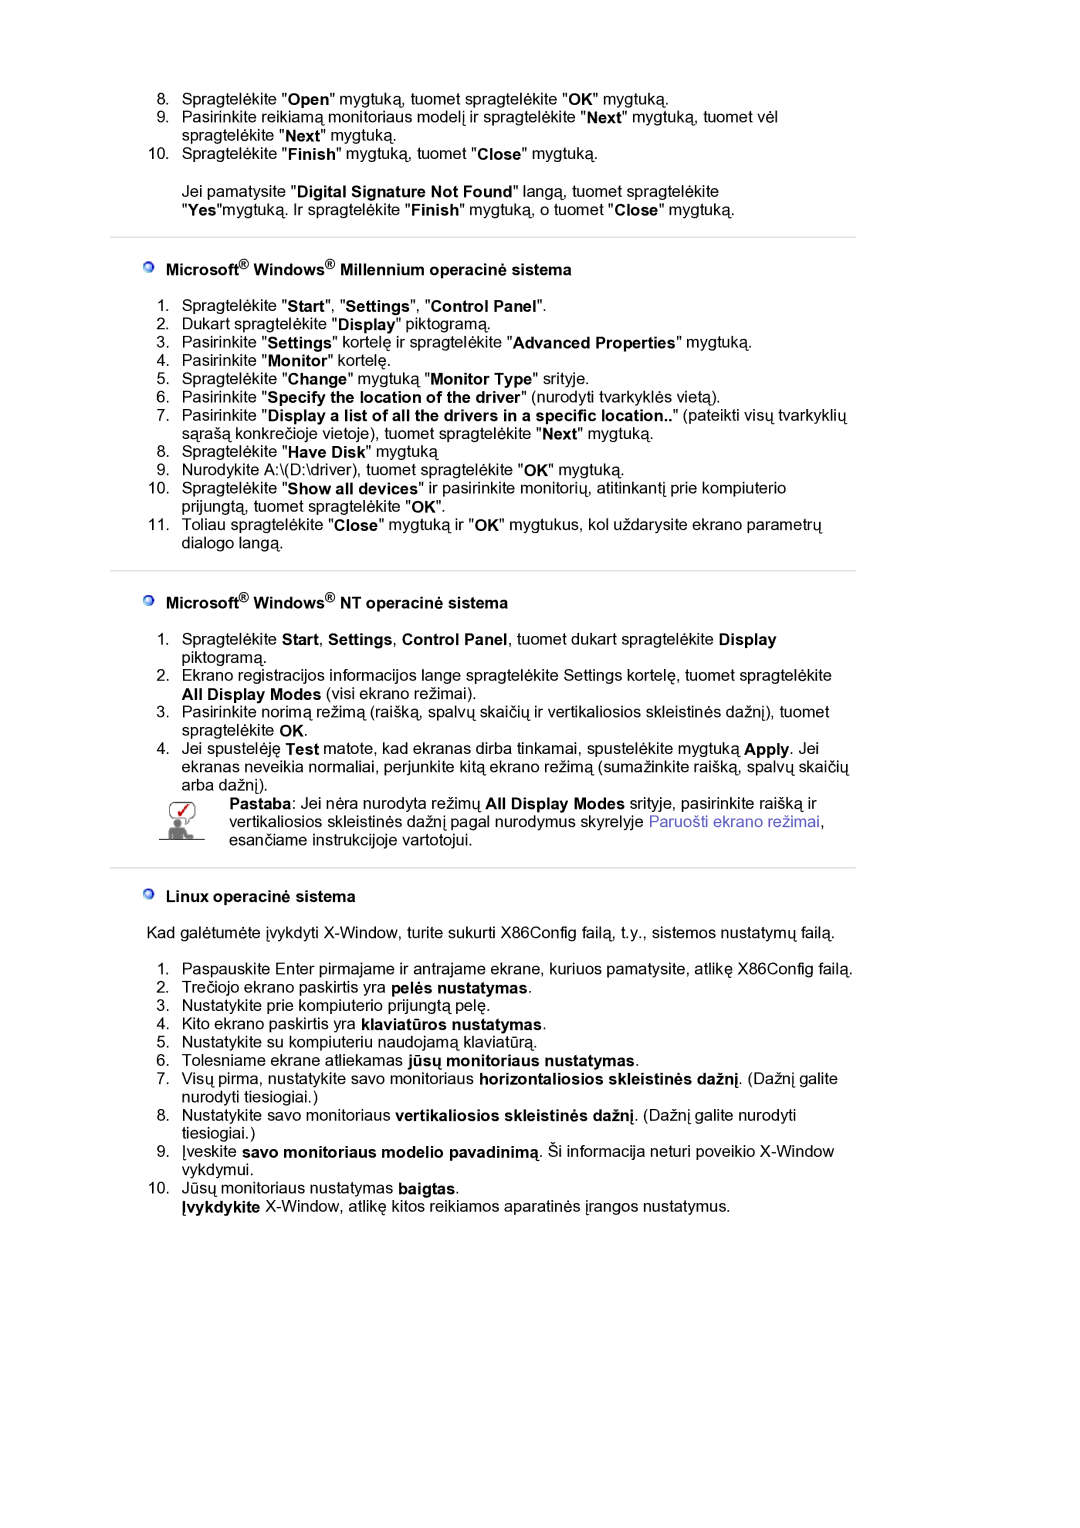
8.Spragtelėkite "Open" mygtuką, tuomet spragtelėkite "OK" mygtuką.

9.Pasirinkite reikiamą monitoriaus modelį ir spragtelėkite "Next" mygtuką, tuomet vėl spragtelėkite "Next" mygtuką.

10.Spragtelėkite "Finish" mygtuką, tuomet "Close" mygtuką.

Jei pamatysite "Digital Signature Not Found" langą, tuomet spragtelėkite

"Yes"mygtuką. Ir spragtelėkite "Finish" mygtuką, o tuomet "Close" mygtuką.

Microsoft® Windows® Millennium operacinė sistema

1.Spragtelėkite "Start", "Settings", "Control Panel".

2.Dukart spragtelėkite "Display" piktogramą.

3.Pasirinkite "Settings" kortelę ir spragtelėkite "Advanced Properties" mygtuką.

4.Pasirinkite "Monitor" kortelę.

5.Spragtelėkite "Change" mygtuką "Monitor Type" srityje.

6.Pasirinkite "Specify the location of the driver" (nurodyti tvarkyklės vietą).

7.Pasirinkite "Display a list of all the drivers in a specific location.." (pateikti visų tvarkyklių sąrašą konkrečioje vietoje), tuomet spragtelėkite "Next" mygtuką.

8.Spragtelėkite "Have Disk" mygtuką

9.Nurodykite A:\(D:\driver), tuomet spragtelėkite "OK" mygtuką.

10.Spragtelėkite "Show all devices" ir pasirinkite monitorių, atitinkantį prie kompiuterio prijungtą, tuomet spragtelėkite "OK".

11.Toliau spragtelėkite "Close" mygtuką ir "OK" mygtukus, kol uždarysite ekrano parametrų dialogo langą.

Microsoft® Windows® NT operacinė sistema

1.Spragtelėkite Start, Settings, Control Panel, tuomet dukart spragtelėkite Display piktogramą.

2.Ekrano registracijos informacijos lange spragtelėkite Settings kortelę, tuomet spragtelėkite All Display Modes (visi ekrano režimai).

3.Pasirinkite norimą režimą (raišką, spalvų skaičių ir vertikaliosios skleistinės dažnį), tuomet spragtelėkite OK.

4.Jei spustelėję Test matote, kad ekranas dirba tinkamai, spustelėkite mygtuką Apply. Jei ekranas neveikia normaliai, perjunkite kitą ekrano režimą (sumažinkite raišką, spalvų skaičių arba dažnį).

Pastaba: Jei nėra nurodyta režimų All Display Modes srityje, pasirinkite raišką ir vertikaliosios skleistinės dažnį pagal nurodymus skyrelyje Paruošti ekrano režimai, esančiame instrukcijoje vartotojui.

Linux operacinė sistema

Kad galėtumėte įvykdyti X-Window, turite sukurti X86Config failą, t.y., sistemos nustatymų failą.

1.Paspauskite Enter pirmajame ir antrajame ekrane, kuriuos pamatysite, atlikę X86Config failą.

2.Trečiojo ekrano paskirtis yra pelės nustatymas.

3.Nustatykite prie kompiuterio prijungtą pelę.

4.Kito ekrano paskirtis yra klaviatūros nustatymas.

5.Nustatykite su kompiuteriu naudojamą klaviatūrą.

6.Tolesniame ekrane atliekamas jūsų monitoriaus nustatymas.

7.Visų pirma, nustatykite savo monitoriaus horizontaliosios skleistinės dažnį. (Dažnį galite nurodyti tiesiogiai.)

8.Nustatykite savo monitoriaus vertikaliosios skleistinės dažnį. (Dažnį galite nurodyti tiesiogiai.)

9.Įveskite savo monitoriaus modelio pavadinimą. Ši informacija neturi poveikio X-Window vykdymui.

10.Jūsų monitoriaus nustatymas baigtas.

Įvykdykite X-Window, atlikę kitos reikiamos aparatinės įrangos nustatymus.

Page 22
Image 22
Samsung LS19HANKSM/EDC manual Microsoft Windows NT operacinė sistema, Linux operacinė sistema

LS19HANKSM/EDC specifications

The Samsung LS19HANKSM/EDC is a standout monitor designed to cater to both professional and casual users, blending sleek design with cutting-edge technology. This 19-inch display is an ideal choice for a variety of applications, from office work to home entertainment.

One of the main features of the LS19HANKSM/EDC is its vibrant display. With a resolution of 1366 x 768 pixels, the monitor delivers sharp images and crisp text. The LED-backlit technology enhances brightness and contrast, making colors pop and providing a richer viewing experience. Whether you are watching videos or working on detailed documents, the clarity of the Samsung LS19HANKSM/EDC ensures that every detail is well represented.

Another significant characteristic of this monitor is its ergonomically designed stand. The screen can be tilted to various angles, allowing users to find their preferred viewing position. This flexibility promotes comfort during extended usage, which is essential in both professional settings and home offices. Additionally, the monitor features a slim profile, making it easy to fit into any workspace.

The LS19HANKSM/EDC is equipped with multiple connectivity options, including HDMI and VGA ports, making it compatible with a wide range of devices, from computers to laptops. This versatility ensures that users can easily connect their devices without the hassle of searching for additional adapters.

In terms of energy efficiency, the monitor is designed to consume less power, making it an eco-friendly choice. It comes with energy-saving modes that automatically adjust brightness based on the ambient light in the room, further reducing energy consumption without compromising on display quality.

The Samsung LS19HANKSM/EDC also includes technologies aimed at enhancing the user experience. It comes with anti-glare capabilities that minimize reflections and reduce eye strain during long working hours. This feature is particularly beneficial for those who work in brightly lit environments.

Furthermore, the monitor boasts a wide viewing angle, allowing multiple users to view the screen comfortably without experiencing color distortion. This makes it suitable for collaborative work scenarios, where presentations or group discussions take place.

In conclusion, the Samsung LS19HANKSM/EDC monitor combines excellent display quality, user-friendly features, and modern connectivity options, making it a reliable and versatile choice for anyone in need of an efficient monitor. Whether for work or leisure, this model meets the demands of today’s users while maintaining a stylish appearance.