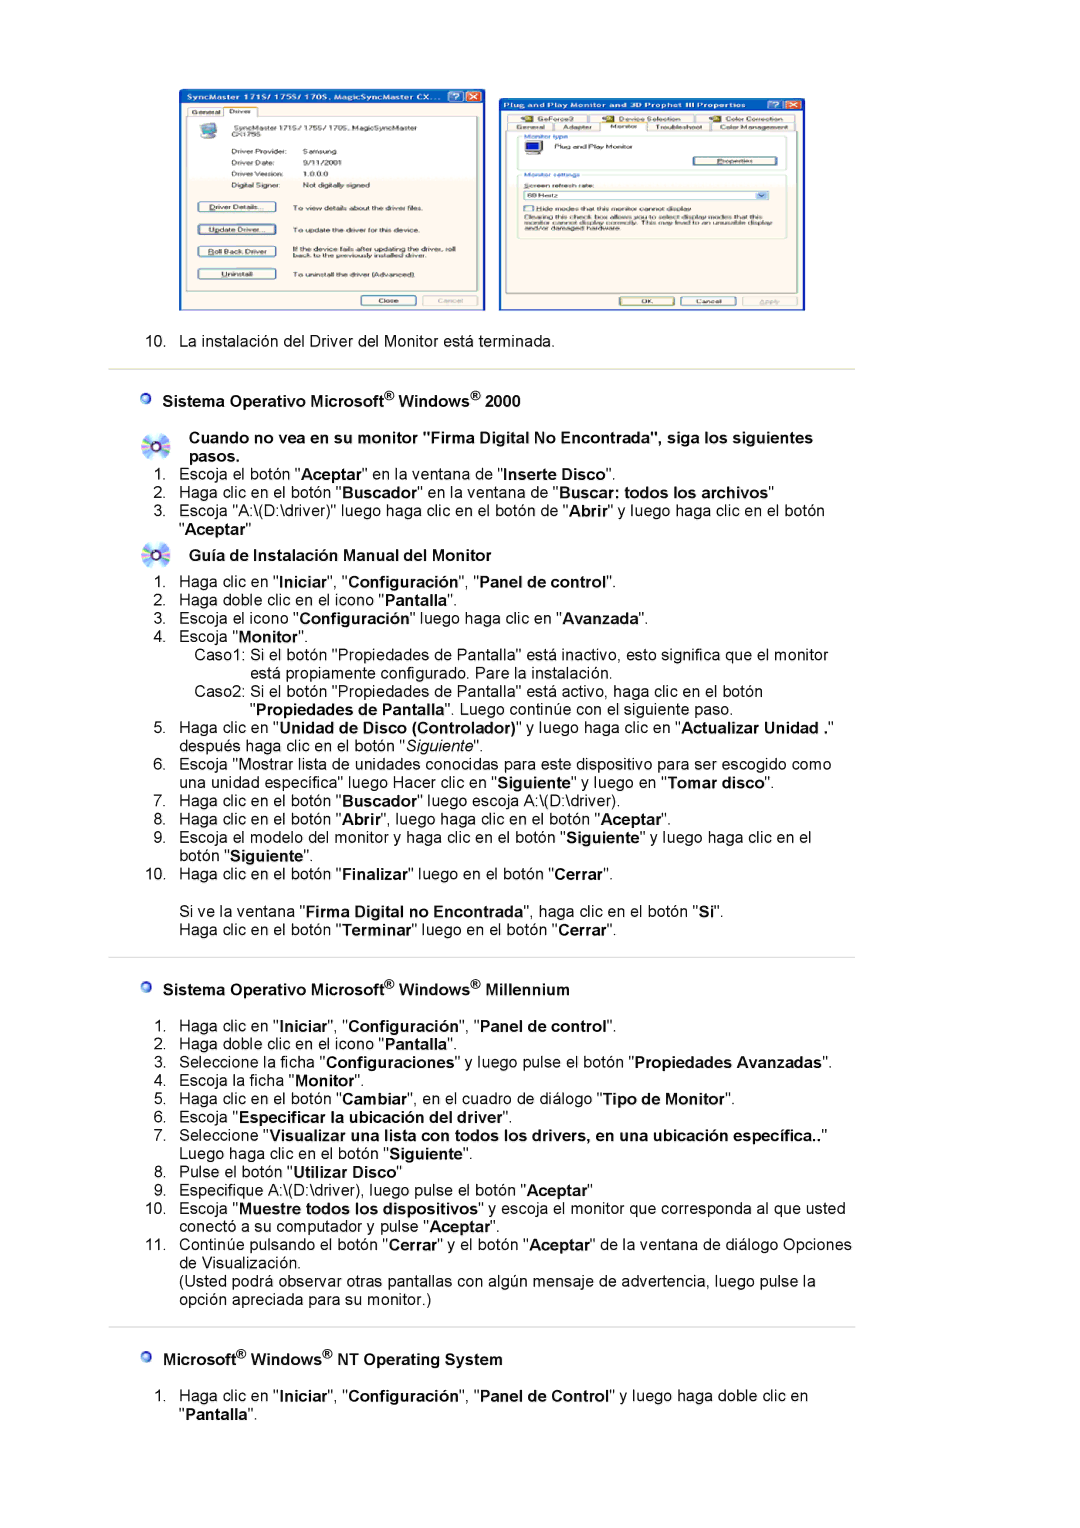
10. La instalación del Driver del Monitor está terminada.

Sistema Operativo Microsoft® Windows® 2000

Cuando no vea en su monitor "Firma Digital No Encontrada", siga los siguientes pasos.

1.Escoja el botón "Aceptar" en la ventana de "Inserte Disco".

2.Haga clic en el botón "Buscador" en la ventana de "Buscar: todos los archivos"

3.Escoja "A:\(D:\driver)" luego haga clic en el botón de "Abrir" y luego haga clic en el botón "Aceptar"

Guía de Instalación Manual del Monitor

1.Haga clic en "Iniciar", "Configuración", "Panel de control".

2.Haga doble clic en el icono "Pantalla".

3.Escoja el icono "Configuración" luego haga clic en "Avanzada".

4.Escoja "Monitor".

Caso1: Si el botón "Propiedades de Pantalla" está inactivo, esto significa que el monitor está propiamente configurado. Pare la instalación.

Caso2: Si el botón "Propiedades de Pantalla" está activo, haga clic en el botón "Propiedades de Pantalla". Luego continúe con el siguiente paso.

5.Haga clic en "Unidad de Disco (Controlador)" y luego haga clic en "Actualizar Unidad ." después haga clic en el botón "Siguiente".

6.Escoja "Mostrar lista de unidades conocidas para este dispositivo para ser escogido como una unidad específica" luego Hacer clic en "Siguiente" y luego en "Tomar disco".

7.Haga clic en el botón "Buscador" luego escoja A:\(D:\driver).

8.Haga clic en el botón "Abrir", luego haga clic en el botón "Aceptar".

9.Escoja el modelo del monitor y haga clic en el botón "Siguiente" y luego haga clic en el botón "Siguiente".

10.Haga clic en el botón "Finalizar" luego en el botón "Cerrar".

Si ve la ventana "Firma Digital no Encontrada", haga clic en el botón "Si". Haga clic en el botón "Terminar" luego en el botón "Cerrar".

Sistema Operativo Microsoft® Windows® Millennium

1.Haga clic en "Iniciar", "Configuración", "Panel de control".

2.Haga doble clic en el icono "Pantalla".

3.Seleccione la ficha "Configuraciones" y luego pulse el botón "Propiedades Avanzadas".

4.Escoja la ficha "Monitor".

5.Haga clic en el botón "Cambiar", en el cuadro de diálogo "Tipo de Monitor".

6.Escoja "Especificar la ubicación del driver".

7.Seleccione "Visualizar una lista con todos los drivers, en una ubicación específica.." Luego haga clic en el botón "Siguiente".

8.Pulse el botón "Utilizar Disco"

9.Especifique A:\(D:\driver), luego pulse el botón "Aceptar"

10.Escoja "Muestre todos los dispositivos" y escoja el monitor que corresponda al que usted conectó a su computador y pulse "Aceptar".

11.Continúe pulsando el botón "Cerrar" y el botón "Aceptar" de la ventana de diálogo Opciones de Visualización.

(Usted podrá observar otras pantallas con algún mensaje de advertencia, luego pulse la opción apreciada para su monitor.)

Microsoft® Windows® NT Operating System

1.Haga clic en "Iniciar", "Configuración", "Panel de Control" y luego haga doble clic en "Pantalla".

Page 20
Image 20
Samsung LS17VDPXHQ/EDC, LS19VDPXBQ/EDC, LS19VDPXHQ/EDC manual Microsoft Windows NT Operating System

LS19VDPXHQ/EDC, LS19VDPXBQ/EDC, LS17VDPXHQ/EDC specifications

The Samsung LS19VDPXBQ/EDC and LS19VDPXHQ/EDC are compelling additions to the realm of affordable yet feature-rich monitor solutions. Designed primarily for home and office environments, these monitors deliver crisp visuals, ergonomic design, and a slew of modern technologies to enhance user experience.

At the core of these models is a 19-inch display, offering a resolution of 1366 x 768 pixels, which ensures clear and vibrant imagery. This makes them suitable for a variety of applications, from working on spreadsheets to watching videos. The LED backlighting enhances the overall brightness and contrast, allowing users to enjoy deeper blacks and brighter whites.

One of the standout features is the use of Samsung's advanced Display Technology, which includes a high contrast ratio that contributes to the clarity and sharpness of images. The monitors also incorporate Samsung's MagicUpscale technology, which enhances the image quality of lower-resolution content by upscaling it without compromising details.

Ergonomics are a key aspect of the LS19VDPXBQ and LS19VDPXHQ designs. Both models come with a tilt-adjustable design, allowing users to find their ideal viewing angle. This feature is particularly beneficial for long working hours, as it helps reduce strain on the neck and eyes. Additionally, they are VESA-compatible, making wall mounting a feasible option for those looking to save desk space or create a more cohesive work environment.

Connectivity options include VGA and HDMI ports, providing versatility for various devices. This ensures that users can easily connect the monitor to their PCs, laptops, or gaming consoles without any hassle. Furthermore, the monitors feature integrated speakers, eliminating the need for additional audio equipment and simplifying the setup process.

The aesthetic design combines functionality with a modern look, featuring slim bezels that maximise screen real estate and minimalist styling that fits seamlessly into any decor.

In conclusion, the Samsung LS19VDPXBQ/EDC and LS19VDPXHQ/EDC monitors stand out for their impressive combination of display quality, user ergonomics, and connectivity options. They cater to those seeking an efficient, stylish, and reliable monitor for both personal and professional use, making them excellent investment choices for anyone seeking a balanced computing experience.