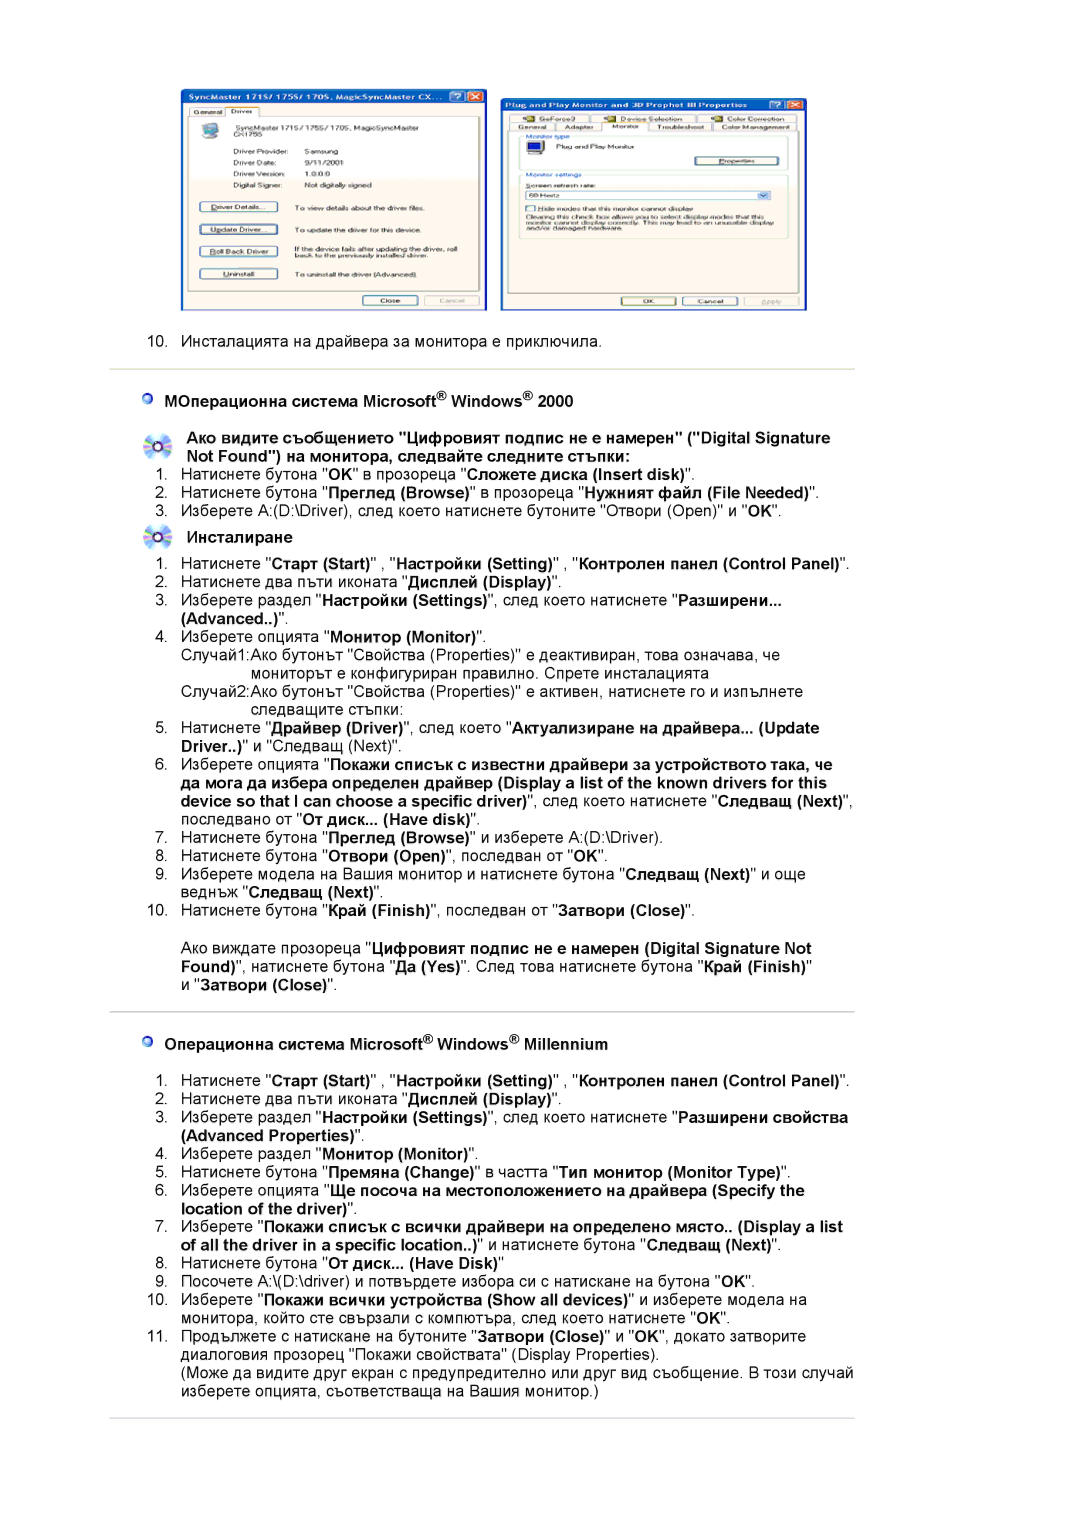
10.Инсталацията на драйвера за монитора е приключила.

MОперационна система Microsoft® Windows® 2000

Ако видите съобщението "Цифровият подпис не е намерен" ("Digital Signature Not Found") на монитора, следвайте следните стъпки:

1.Натиснете бутона "OK" в прозореца "Сложете диска (Insert disk)".

2.Натиснете бутона "Преглед (Browse)" в прозореца "Нужният файл (File Needed)".

3.Изберете A:(D:\Driver), след което натиснете бутоните "Отвори (Open)" и "OK".

Инсталиране

1.Натиснете "Старт (Start)" , "Настройки (Setting)" , "Контролен панел (Control Panel)".

2.Натиснете два пъти иконата "Дисплей (Display)".

3.Изберете раздел "Настройки (Settings)", след което натиснете "Разширени...

(Advanced..)".

4.Изберете опцията "Монитор (Monitor)".

Случай1:Ако бутонът "Свойства (Properties)" е деактивиран, това означава, че

мониторът е конфигуриран правилно. Спрете инсталацията

Случай2:Ако бутонът "Свойства (Properties)" е активен, натиснете го и изпълнете следващите стъпки:

5.Натиснете "Драйвер (Driver)", след което "Актуализиране на драйвера... (Update Driver..)" и "Следващ (Next)".

6.Изберете опцията "Покажи списък с известни драйвери за устройството така, че да мога да избера определен драйвер (Display a list of the known drivers for this device so that I can choose a specific driver)", след което натиснете "Следващ (Next)", последвано от "От диск... (Have disk)".

7.Натиснете бутона "Преглед (Browse)" и изберете A:(D:\Driver).

8.Натиснете бутона "Отвори (Open)", последван от "OK".

9.Изберете модела на Вашия монитор и натиснете бутона "Следващ (Next)" и още веднъж "Следващ (Next)".

10.Натиснете бутона "Край (Finish)", последван от "Затвори (Close)".

Ако виждате прозореца "Цифровият подпис не е намерен (Digital Signature Not Found)", натиснете бутона "Да (Yes)". След това натиснете бутона "Край (Finish)"

и "Затвори (Close)".

Операционна система Microsoft® Windows® Millennium

1.Натиснете "Старт (Start)" , "Настройки (Setting)" , "Контролен панел (Control Panel)".

2.Натиснете два пъти иконата "Дисплей (Display)".

3.Изберете раздел "Настройки (Settings)", след което натиснете "Разширени свойства

(Advanced Properties)".

4.Изберете раздел "Монитор (Monitor)".

5.Натиснете бутона "Премяна (Change)" в частта "Тип монитор (Monitor Type)".

6.Изберете опцията "Ще посоча на местоположението на драйвера (Specify the location of the driver)".

7.Изберете "Покажи списък с всички драйвери на определено място.. (Display a list of all the driver in a specific location..)" и натиснете бутона "Следващ (Next)".

8.Натиснете бутона "От диск... (Have Disk)"

9.Посочете A:\(D:\driver) и потвърдете избора си с натискане на бутона "OK".

10.Изберете "Покажи всички устройства (Show all devices)" и изберете модела на монитора, който сте свързали с компютъра, след което натиснете "OK".

11.Продължете с натискане на бутоните "Затвори (Close)" и "OK", докато затворите диалоговия прозорец "Покажи свойствата" (Display Properties).

(Може да видите друг екран с предупредително или друг вид съобщение. В този случай изберете опцията, съответстваща на Вашия монитор.)

Page 20
Image 20
Samsung LS19VDPXBQ/EDC, LS19VDPXHQ/EDC manual Advanced Properties

LS19VDPXHQ/EDC, LS19VDPXBQ/EDC specifications

The Samsung LS19VDPXBQ/EDC and LS19VDPXHQ/EDC are compelling additions to the realm of affordable yet feature-rich monitor solutions. Designed primarily for home and office environments, these monitors deliver crisp visuals, ergonomic design, and a slew of modern technologies to enhance user experience.

At the core of these models is a 19-inch display, offering a resolution of 1366 x 768 pixels, which ensures clear and vibrant imagery. This makes them suitable for a variety of applications, from working on spreadsheets to watching videos. The LED backlighting enhances the overall brightness and contrast, allowing users to enjoy deeper blacks and brighter whites.

One of the standout features is the use of Samsung's advanced Display Technology, which includes a high contrast ratio that contributes to the clarity and sharpness of images. The monitors also incorporate Samsung's MagicUpscale technology, which enhances the image quality of lower-resolution content by upscaling it without compromising details.

Ergonomics are a key aspect of the LS19VDPXBQ and LS19VDPXHQ designs. Both models come with a tilt-adjustable design, allowing users to find their ideal viewing angle. This feature is particularly beneficial for long working hours, as it helps reduce strain on the neck and eyes. Additionally, they are VESA-compatible, making wall mounting a feasible option for those looking to save desk space or create a more cohesive work environment.

Connectivity options include VGA and HDMI ports, providing versatility for various devices. This ensures that users can easily connect the monitor to their PCs, laptops, or gaming consoles without any hassle. Furthermore, the monitors feature integrated speakers, eliminating the need for additional audio equipment and simplifying the setup process.

The aesthetic design combines functionality with a modern look, featuring slim bezels that maximise screen real estate and minimalist styling that fits seamlessly into any decor.

In conclusion, the Samsung LS19VDPXBQ/EDC and LS19VDPXHQ/EDC monitors stand out for their impressive combination of display quality, user ergonomics, and connectivity options. They cater to those seeking an efficient, stylish, and reliable monitor for both personal and professional use, making them excellent investment choices for anyone seeking a balanced computing experience.