Lugar de instalación de su micro- componente

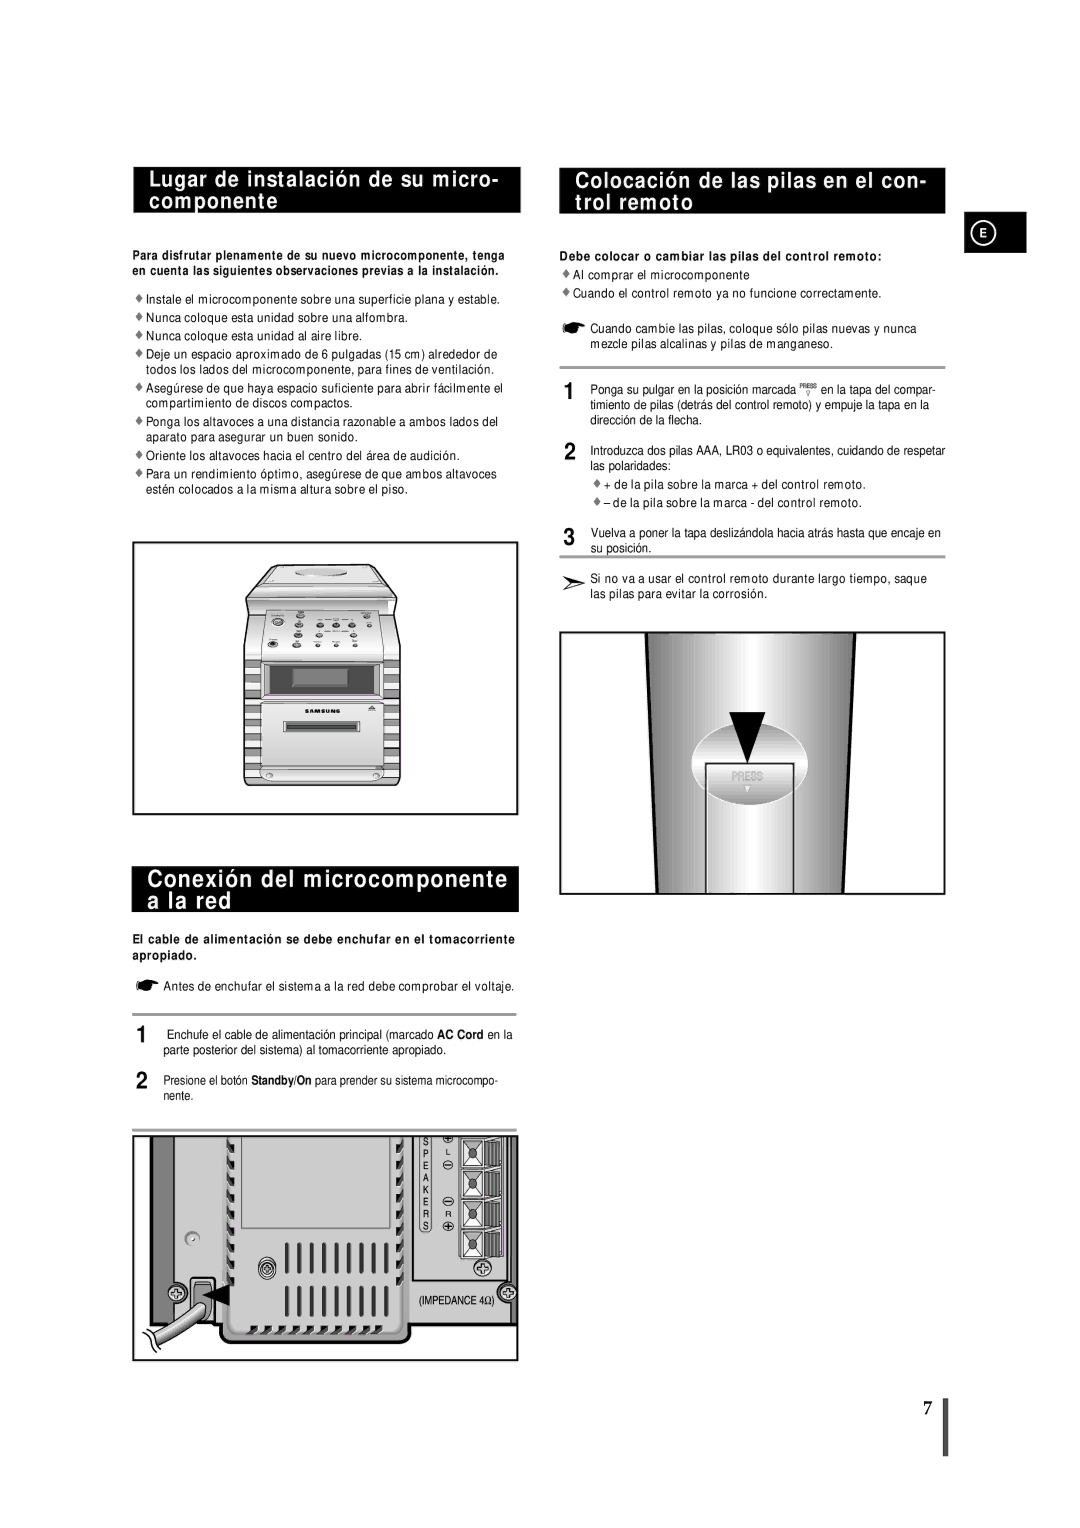
Para disfrutar plenamente de su nuevo microcomponente, tenga en cuenta las siguientes observaciones previas a la instalación.

Instale el microcomponente sobre una superficie plana y estable.

Nunca coloque esta unidad sobre una alfombra.

Nunca coloque esta unidad al aire libre.

Deje un espacio aproximado de 6 pulgadas (15 cm) alrededor de todos los lados del microcomponente, para fines de ventilación.

Asegúrese de que haya espacio suficiente para abrir fácilmente el compartimiento de discos compactos.

Ponga los altavoces a una distancia razonable a ambos lados del aparato para asegurar un buen sonido.

Oriente los altavoces hacia el centro del área de audición.

Para un rendimiento óptimo, asegúrese de que ambos altavoces estén colocados a la misma altura sobre el piso.


TUNER

Open/Close

Standby/On


CD


TAPE


Phones

AUX


Full Auto Remote Control Operation

Conexión del microcomponente a la red

El cable de alimentación se debe enchufar en el tomacorriente apropiado.

Antes de enchufar el sistema a la red debe comprobar el voltaje.

1

Enchufe el cable de alimentación principal (marcado AC Cord en la


parte posterior del sistema) al tomacorriente apropiado.

2

Presione el botón Standby/On para prender su sistema microcompo-


nente.


Colocación de las pilas en el con- trol remoto

E

Debe colocar o cambiar las pilas del control remoto:

Al comprar el microcomponente

Cuando el control remoto ya no funcione correctamente.

Cuando cambie las pilas, coloque sólo pilas nuevas y nunca mezcle pilas alcalinas y pilas de manganeso.

1

Ponga su pulgar en la posición marcada

en la tapa del compar-


timiento de pilas (detrás del control remoto) y empuje la tapa en la


dirección de la flecha.


2

Introduzca dos pilas AAA, LR03 o equivalentes, cuidando de respetar


las polaridades:


+ de la pila sobre la marca + del control remoto.


– de la pila sobre la marca - del control remoto.

3

Vuelva a poner la tapa deslizándola hacia atrás hasta que encaje en


su posición.


Si no va a usar el control remoto durante largo tiempo, saque las pilas para evitar la corrosión.

7

Page 7
Image 7
Samsung MM-B7, MMB7RH/ELS manual Conexión del microcomponente a la red, Lugar de instalación de su micro- componente

MMB7RH/ELS, MM-B7 specifications

The Samsung MM-B7, specifically the MMB7RH/ELS model, is a powerful and versatile microwave oven that brings convenience and efficiency to modern kitchens. This countertop microwave is designed with a focus on user-friendliness and advanced cooking technologies, making it a valuable addition to any household.

One of the standout features of the Samsung MM-B7 is its sleek and contemporary design. The appliance is available in a stylish finish that seamlessly blends with various kitchen aesthetics. This microwave is not just about looks; it offers a generous capacity of 23 liters, making it ideal for preparing meals for families or entertaining guests.

Functionality is at the heart of the MM-B7. It comes equipped with Samsung's innovative Smart Sensor technology, which automatically adjusts cooking time and power levels for optimal results. This feature ensures that your food is cooked evenly and to perfection, taking the guesswork out of microwave cooking. Additionally, the ceramic enamel interior is designed for easy cleaning and durability, resisting scratches and bacteria growth.

The MM-B7 also boasts multiple cooking modes, including reheat, defrost, and various auto-cook presets that cater to a wide array of dishes, from popcorn to pizza. This versatility allows users to explore and experiment in their cooking endeavors while saving time and energy.

Another notable characteristic of this microwave is its user-friendly control panel. The intuitive layout, featuring easy-to-read buttons and a digital display, ensures that programming the microwave is a hassle-free experience. The child lock feature adds an extra layer of safety, making it a great option for families with young children.

Moreover, the Samsung MM-B7 is designed with energy efficiency in mind, allowing users to save on electricity bills while still enjoying the benefits of a high-performance microwave. With its combination of sleek design, advanced cooking technology, and user-friendly features, the Samsung MM-B7, MMB7RH/ELS, stands out as a reliable appliance that enhances the cooking experience in today’s fast-paced world.