Basic Functions

Setting the Clock

For each step, you have a few seconds to set the required options. If you exceed this time, you must start again.

1.Switch the system on by pressing the

STANDBY/ON ( ) button.

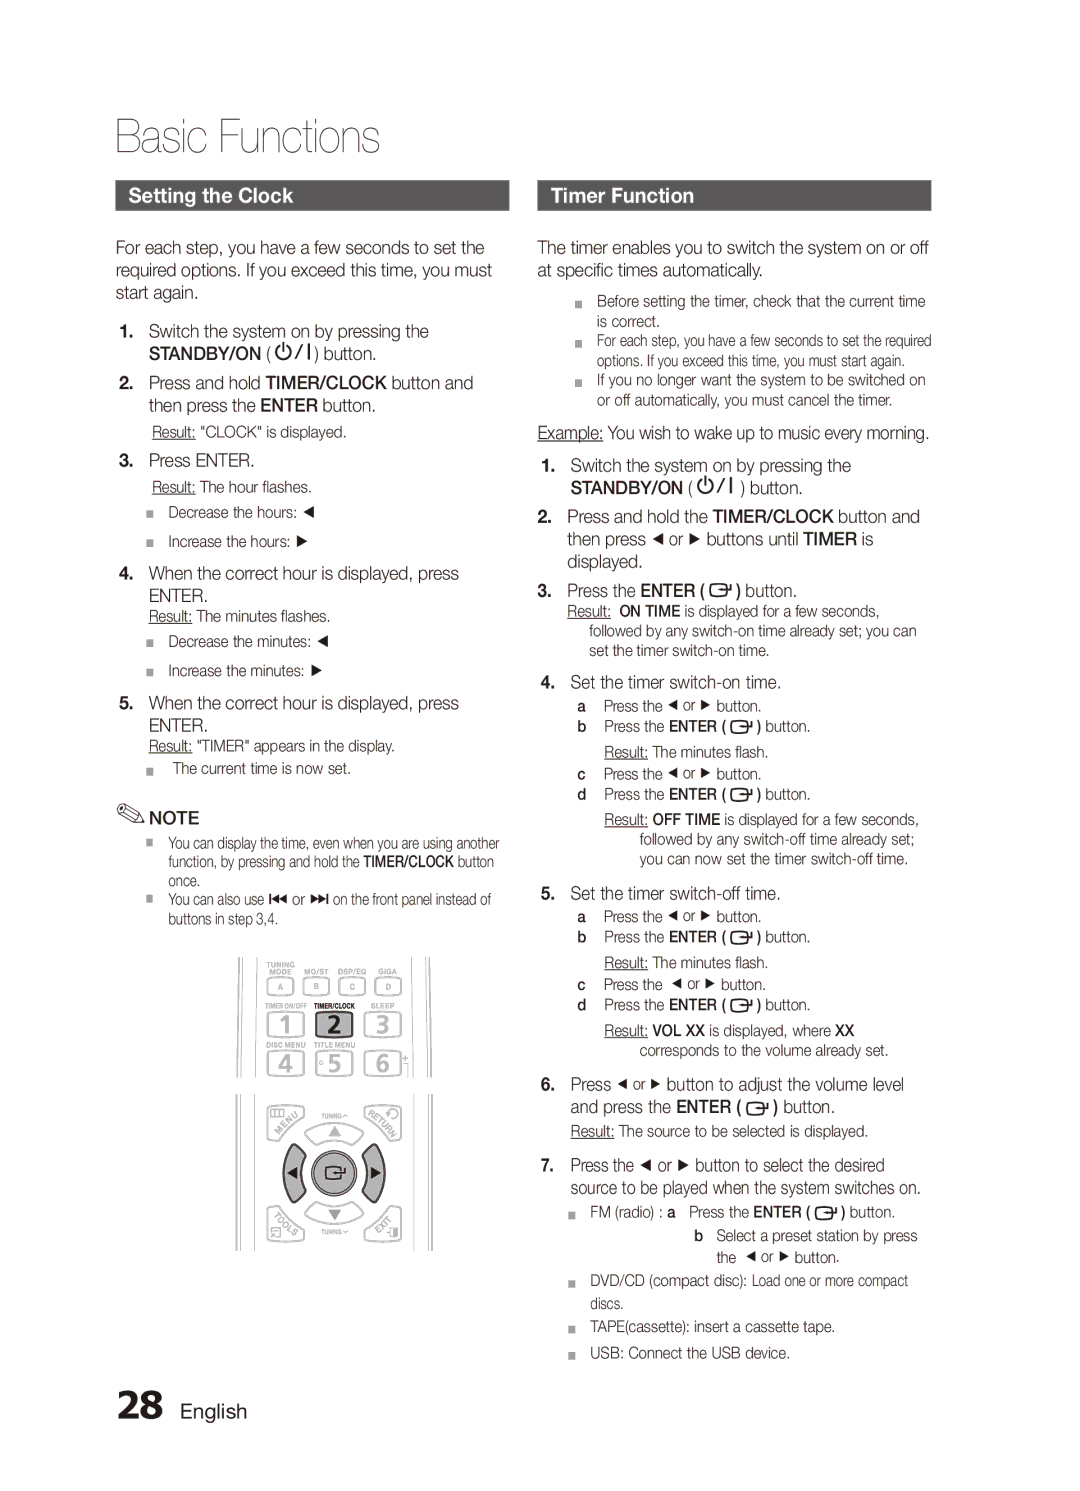
2.Press and hold TIMER/CLOCK button and then press the ENTER button.

Result: "CLOCK" is displayed.

3.Press ENTER.

Result: The hour flashes. `` Decrease the hours: _ `` Increase the hours: +

4.When the correct hour is displayed, press

ENTER.

Result: The minutes flashes.

`` Decrease the minutes: _

`` Increase the minutes: +

5.When the correct hour is displayed, press

ENTER.

Result: "TIMER" appears in the display.

`` The current time is now set.

NOTE

`` You can display the time, even when you are using another function, by pressing and hold the TIMER/CLOCK button once.

`` You can also use [ or ] on the front panel instead of buttons in step 3,4.

Timer Function

The timer enables you to switch the system on or off at specific times automatically.

`` Before setting the timer, check that the current time is correct.

`` For each step, you have a few seconds to set the required options. If you exceed this time, you must start again.

`` If you no longer want the system to be switched on or off automatically, you must cancel the timer.

Example: You wish to wake up to music every morning.

1.Switch the system on by pressing the

STANDBY/ON ( ) button.

2.Press and hold the TIMER/CLOCK button and then press _ or + buttons until TIMER is displayed.

3.Press the ENTER ( ) button.

Result: ON TIME is displayed for a few seconds, followed by any switch-on time already set; you can set the timer switch-on time.

444Set the timer switch-on time.

aPress the _ or + button.

bPress the ENTER ( ) button. Result: The minutes flash.

cPress the _ or + button.

dPress the ENTER ( ) button.

Result: OFF TIME is displayed for a few seconds, followed by any switch-off time already set; you can now set the timer switch-off time.

555Set the timer switch-off time. a Press the _ or + button.

b Press the ENTER ( ) button.

Result: The minutes flash.

cPress the _ or + button.

dPress the ENTER ( ) button.

Result: VOL XX is displayed, where XX corresponds to the volume already set.

666Press _ or + button to adjust the volume level and press the ENTER ( ) button.

Result: The source to be selected is displayed.

777Press the _ or + button to select the desired source to be played when the system switches on.

`` FM (radio) : a Press the ENTER ( ) button. b Select a preset station by press

the _ or + button.

`` DVD/CD (compact disc): Load one or more compact discs.

`` TAPE(cassette): insert a cassette tape.

`` USB: Connect the USB device.

28 English

Page 28
Image 28
Samsung MX-C630D/HAC manual Setting the Clock, Timer Function, Press Enter, When the correct hour is displayed, press

MX-C730D/AFR, MX-C730D/SAH, MX-C630D/LAG, MX-C730D/HAC, MX-C730D/LAG specifications

The Samsung MX-C730D and MX-C630D series printers are designed to meet the demands of modern workplaces with their cutting-edge features and reliable performance. The MX-C730D model, available in multiple regional variants such as UMG, KE, and MEA, is tailored for versatile usage across various environments. Similarly, the MX-C630D series, particularly the SAH and KE models, cater to diverse printing needs, ensuring excellent functionality.

One of the standout characteristics of the MX-C730D is its impressive print speed. Capable of producing documents at a rapid pace, it significantly enhances productivity in busy office settings. The model supports a wide range of paper sizes and types, facilitating the printing of everything from standard letter documents to more specialized materials such as envelopes and labels. This versatility makes it a reliable choice for a multitude of printing tasks.

In terms of technology, the MX-C730D is equipped with advanced color printing capabilities that produce vibrant and sharp images. Its LED printing technology ensures high-quality outputs with lower energy consumption compared to traditional laser printers. The integration of this technology not only reduces operational costs but also supports environmentally friendly initiatives in the workplace.

Security is another critical aspect of the MX-C730D and MX-C630D series. These models come equipped with robust security features, including user authentication and secure printing options. This ensures that sensitive documents are kept safe and only authorized personnel can access or print them.

The user interface of these printers is intuitive, featuring a touchscreen display that makes navigation easy. Users can quickly access print settings, check ink levels, and perform maintenance tasks without hassle. Additionally, both models offer seamless connectivity options, including USB, Ethernet, and wireless capabilities, allowing users to print from various devices such as computers, tablets, and smartphones.

Maintenance is straightforward, with easy access to replaceable parts and consumables. The printer’s design prioritizes user convenience, making it simple to keep it in optimal condition. Overall, the Samsung MX-C730D and MX-C630D series are exceptional choices for businesses looking for high-performance, versatile, and secure printing solutions. With their combination of advanced technology, user-friendly features, and robust security measures, these printers are set to elevate efficiency and productivity in any workplace.