RL39WBSM1/BWT, RL39EBNS1/EUR, RL36EBMS1/XEE, RL39EBSM1/XEE, RL39EBSW1/XEE specifications
The Samsung RL38SBSW1/XEN, RL38SBSW1/XET, RL39WBSM1/XEG, RL38SBSW1/XEH, and RL39WBSM1/XEH are standout refrigerator models that exemplify innovation, efficiency, and convenience. These appliances are designed to enhance modern kitchens with their sleek aesthetics and advanced technology.At the core of these models is Samsung's Twin Cooling Plus technology, which utilizes separate cooling systems for both the refrigerator and freezer compartments. This ensures that the humidity levels are maintained in the fridge, keeping fruits and vegetables fresh for longer periods. The freezer operates effectively without causing freezer burn, thus preserving the quality of food items.
Another significant feature is the Energy Efficiency Rating, which allows these models to consume less energy while delivering optimal performance. With a focus on sustainability, these refrigerators provide users with cost savings on energy bills without compromising on functionality.
Storage solutions are thoughtfully designed in these models, featuring adjustable shelving, easy-access bins, and spacious drawers. This modular approach allows for flexible organization, making it easy to store and retrieve items of various sizes. The Smart Storage System efficiently utilizes every inch of space, from door bins to larger compartments.
The digital inverter compressor technology is a hallmark of these Samsung refrigerators, providing precise temperature control and quieter operation. This system adapts the compressor's speed based on cooling demand, resulting in enhanced energy savings and reduced noise levels.
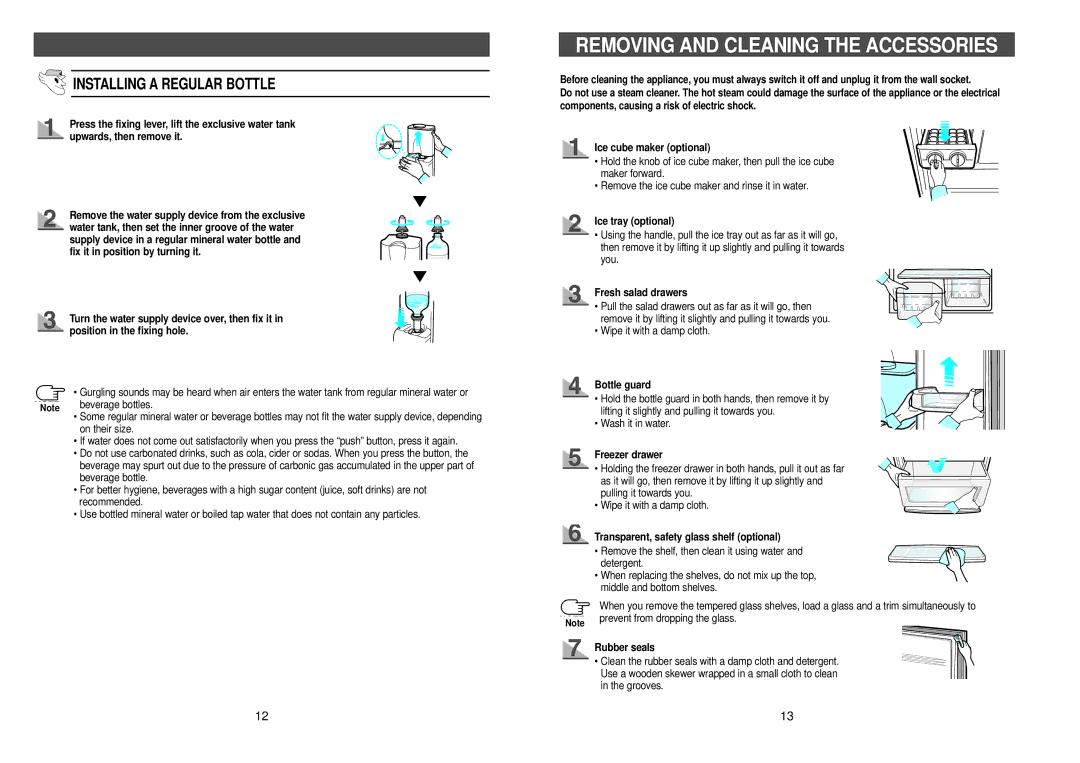
Ease of use is a priority, with features such as LED lighting that illuminates the interior, ensuring that ingredients are visible and easy to locate. The external water dispenser and ice maker offer convenient access to chilled water and ice, promoting a healthy lifestyle.
Moreover, these refrigerators boast a minimalist design, blending seamlessly into contemporary kitchen decor. The stainless-steel finish adds a touch of elegance while being resistant to fingerprints and smudges, making upkeep effortless.
Overall, the Samsung RL38SBSW1/XEN, RL38SBSW1/XET, RL39WBSM1/XEG, RL38SBSW1/XEH, and RL39WBSM1/XEH models stand out for their combination of advanced technology, energy efficiency, and user-friendly design. They cater to the needs of modern households, making them a smart choice for anyone looking to upgrade their kitchen appliances.

