PUTTING THE BATTERIES INTO THE REMOTE CONTROL UNIT
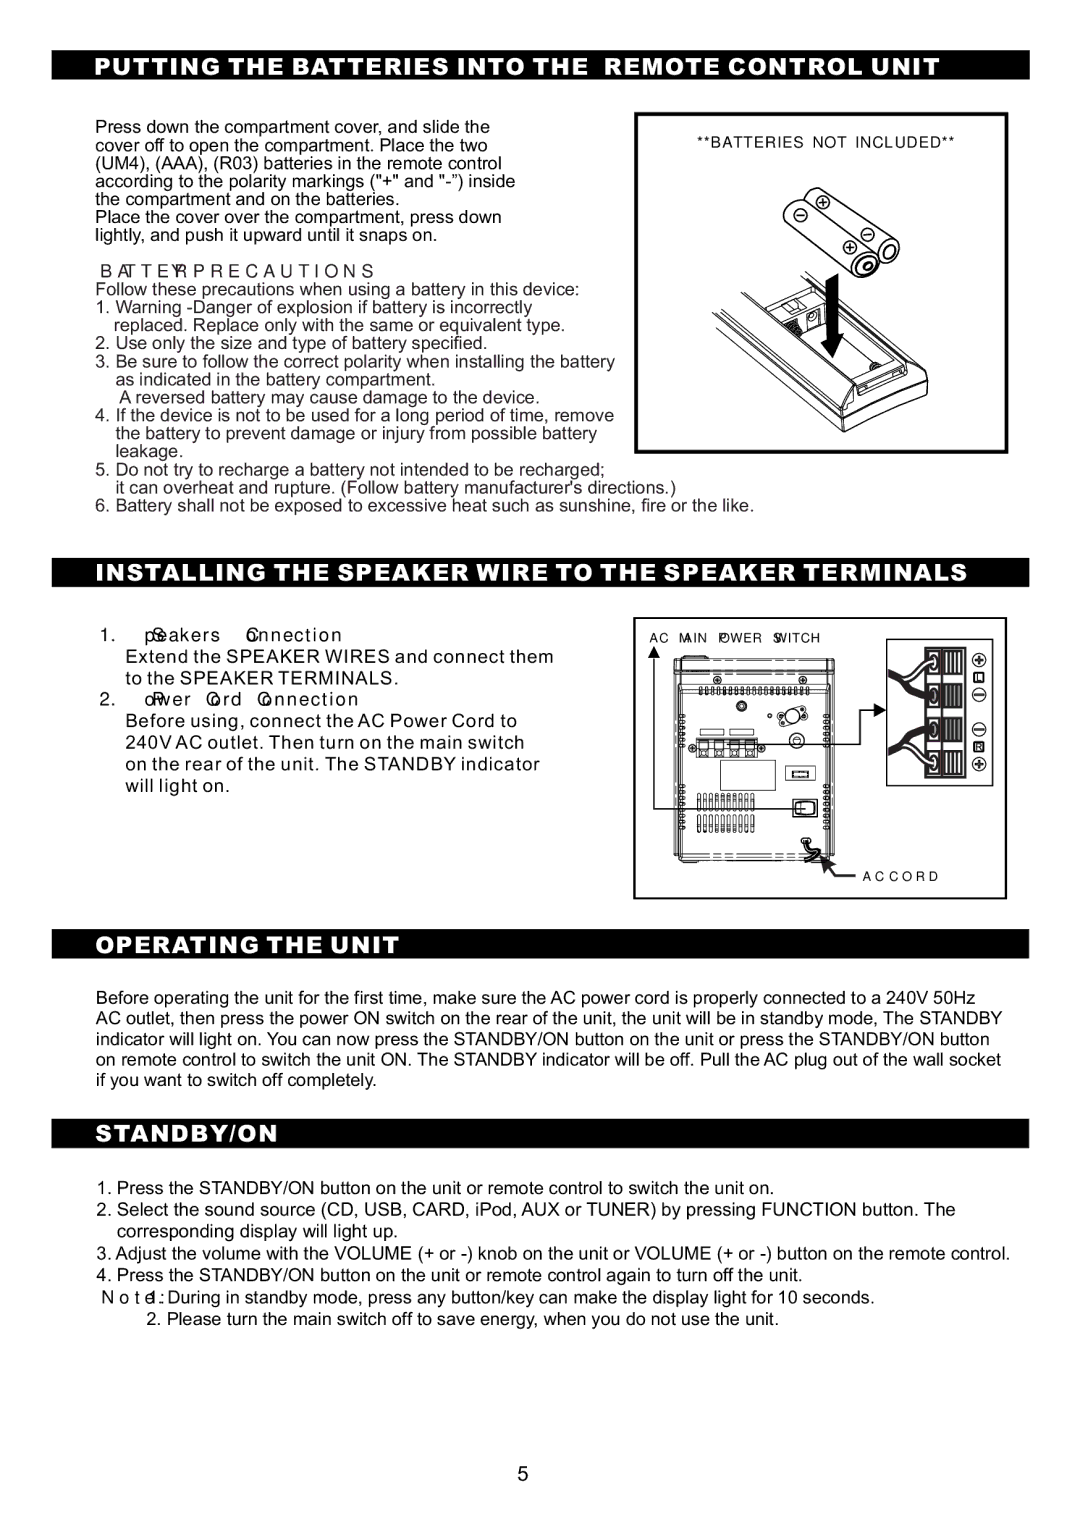
Press down the compartment cover, and slide the | **BATTERIES NOT INCLUDED** | |||||
cover off to open the compartment. Place the two | ||||||
(UM4), (AAA), (R03) batteries in the remote control |
|
|
|
|
|
|
according to the polarity markings ("+" and |
|
|
|
|
|
|
the compartment and on the batteries. |
|
|
|
|
|
|
Place the cover over the compartment, press down |
|
|
|
|
|
|
|
|
|
|
|
| |
lightly, and push it upward until it snaps on. |
|
|
|
|
|
|
BATTERY PRECAUTIONS
Follow these precautions when using a battery in this device:
1. Warning
2. Use only the size and type of battery specified.
3. Be sure to follow the correct polarity when installing the battery as indicated in the battery compartment.
A reversed battery may cause damage to the device.
4. If the device is not to be used for a long period of time, remove the battery to prevent damage or injury from possible battery leakage.
5.Do not try to recharge a battery not intended to be recharged;
it can overheat and rupture. (Follow battery manufacturer's directions.)
6.Battery shall not be exposed to excessive heat such as sunshine, fire or the like.
INSTALLING THE SPEAKER WIRE TO THE SPEAKER TERMINALS
1.Speakers Connection
Extend the SPEAKER WIRES and connect them to the SPEAKER TERMINALS.
2.Power Cord Connection
Before using, connect the AC Power Cord to 240V AC outlet. Then turn on the main switch on the rear of the unit. The STANDBY indicator will light on.
AC MAIN POWER SWITCH
![]() AC CORD
AC CORD
OPERATING THE UNIT
Before operating the unit for the first time, make sure the AC power cord is properly connected to a 240V 50Hz AC outlet, then press the power ON switch on the rear of the unit, the unit will be in standby mode, The STANDBY indicator will light on. You can now press the STANDBY/ON button on the unit or press the STANDBY/ON button on remote control to switch the unit ON. The STANDBY indicator will be off. Pull the AC plug out of the wall socket if you want to switch off completely.
STANDBY/ON
1.Press the STANDBY/ON button on the unit or remote control to switch the unit on.
2.Select the sound source (CD, USB, CARD, iPod, AUX or TUNER) by pressing FUNCTION button. The corresponding display will light up.
3.Adjust the volume with the VOLUME (+ or
4.Press the STANDBY/ON button on the unit or remote control again to turn off the unit.
Note: 1. During in standby mode, press any button/key can make the display light for 10 seconds. 2. Please turn the main switch off to save energy, when you do not use the unit.
5
