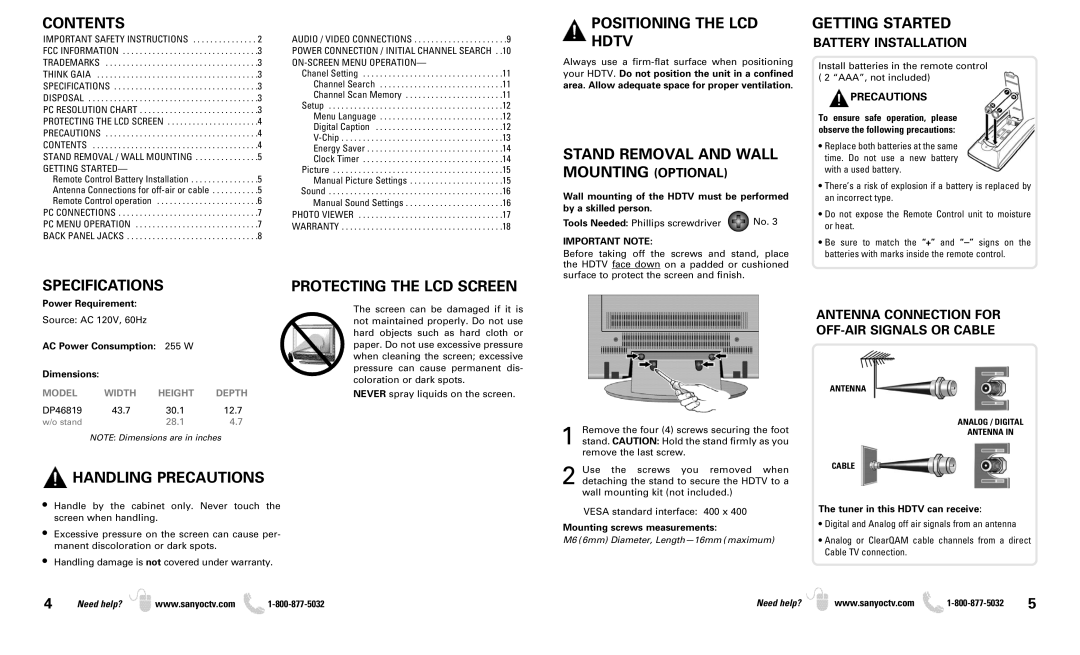
CONTENTS
IMPORTANT SAFETY INSTRUCTIONS . . . . . . . . . . . . . . . 2 FCC INFORMATION . . . . . . . . . . . . . . . . . . . . . . . . . . . . . . . .3 TRADEMARKS . . . . . . . . . . . . . . . . . . . . . . . . . . . . . . . . . . . .3 THINK GAIA . . . . . . . . . . . . . . . . . . . . . . . . . . . . . . . . . . . . . .3 SPECIFICATIONS . . . . . . . . . . . . . . . . . . . . . . . . . . . . . . . . . .3 DISPOSAL . . . . . . . . . . . . . . . . . . . . . . . . . . . . . . . . . . . . . . . .3 PC RESOLUTION CHART . . . . . . . . . . . . . . . . . . . . . . . . . . . .3 PROTECTING THE LCD SCREEN . . . . . . . . . . . . . . . . . . . . . .4 PRECAUTIONS . . . . . . . . . . . . . . . . . . . . . . . . . . . . . . . . . . . .4 CONTENTS . . . . . . . . . . . . . . . . . . . . . . . . . . . . . . . . . . . . . . .4 STAND REMOVAL / WALL MOUNTING . . . . . . . . . . . . . . .5
GETTING STARTED—
Remote Control Battery Installation . . . . . . . . . . . . . . . .5 Antenna Connections for
AUDIO / VIDEO CONNECTIONS . . . . . . . . . . . . . . . . . . . . . .9
POWER CONNECTION / INITIAL CHANNEL SEARCH . .10
Chanel Setting . . . . . . . . . . . . . . . . . . . . . . . . . . . . . . . . .11 Channel Search . . . . . . . . . . . . . . . . . . . . . . . . . . . . .11 Channel Scan Memory . . . . . . . . . . . . . . . . . . . . . . .11 Setup . . . . . . . . . . . . . . . . . . . . . . . . . . . . . . . . . . . . . . . . .12 Menu Language . . . . . . . . . . . . . . . . . . . . . . . . . . . . .12 Digital Caption . . . . . . . . . . . . . . . . . . . . . . . . . . . . . .12
POSITIONING THE LCD
HDTV
Always use a
STAND REMOVAL AND WALL MOUNTING (OPTIONAL)
Wall mounting of the HDTV must be performed by a skilled person.
Tools Needed: Phillips screwdriver | No. 3 |
IMPORTANT NOTE:
Before taking off the screws and stand, place the HDTV face down on a padded or cushioned surface to protect the screen and finish.
GETTING STARTED
BATTERY INSTALLATION
Install batteries in the remote control
(2 “AAA”, not included)
![]() PRECAUTIONS
PRECAUTIONS
To ensure safe operation, please observe the following precautions:
•Replace both batteries at the same time. Do not use a new battery with a used battery.
•There’s a risk of explosion if a battery is replaced by an incorrect type.
•Do not expose the Remote Control unit to moisture or heat.
•Be sure to match the “+” and
SPECIFICATIONS
Power Requirement:
Source: AC 120V, 60Hz
AC Power Consumption: 255 W
Dimensions:
PROTECTING THE LCD SCREEN
The screen can be damaged if it is not maintained properly. Do not use hard objects such as hard cloth or paper. Do not use excessive pressure when cleaning the screen; excessive pressure can cause permanent dis- coloration or dark spots.
ANTENNA CONNECTION FOR
MODEL | WIDTH | HEIGHT | DEPTH |
DP46819 | 43.7 | 30.1 | 12.7 |
w/o stand |
| 28.1 | 4.7 |
NOTE: Dimensions are in inches
NEVER spray liquids on the screen.
1Remove the four (4) screws securing the foot stand. CAUTION: Hold the stand firmly as you remove the last screw.
ANTENNA
ANALOG / DIGITAL
ANTENNA IN
 HANDLING PRECAUTIONS
•Handle by the cabinet only. Never touch the screen when handling.
•Excessive pressure on the screen can cause per- manent discoloration or dark spots.
•Handling damage is not covered under warranty.
4 | Need help? | www.sanyoctv.com |
2 Use the screws you removed when detaching the stand to secure the HDTV to a wall mounting kit (not included.)
VESA standard interface: 400 x 400
Mounting screws measurements:
M6 (6mm) Diameter,
Need help?
CABLE
The tuner in this HDTV can receive:
•Digital and Analog off air signals from an antenna
•Analog or ClearQAM cable channels from a direct Cable TV connection.
www.sanyoctv.com ![]()